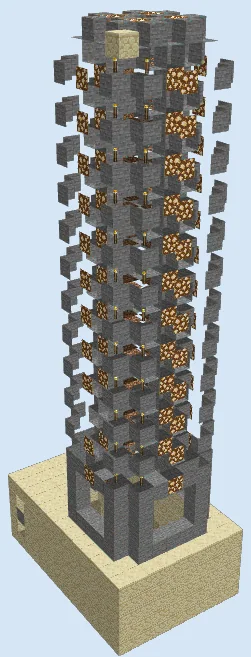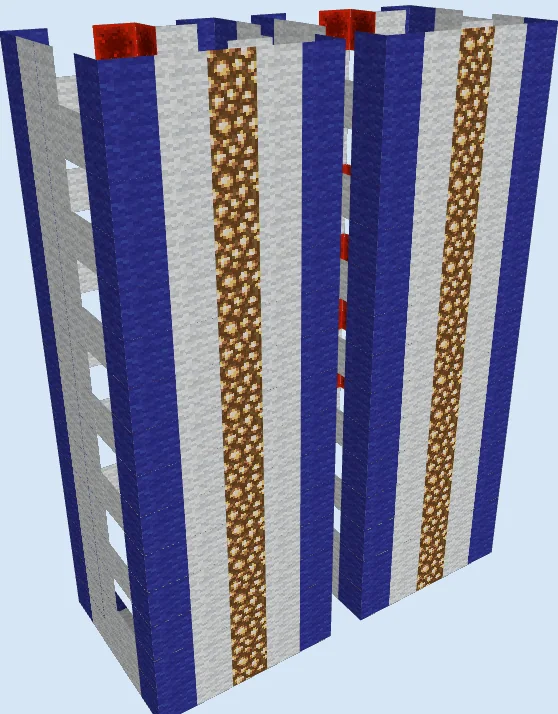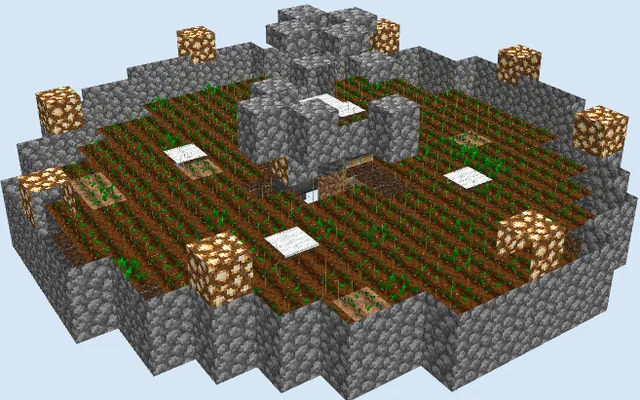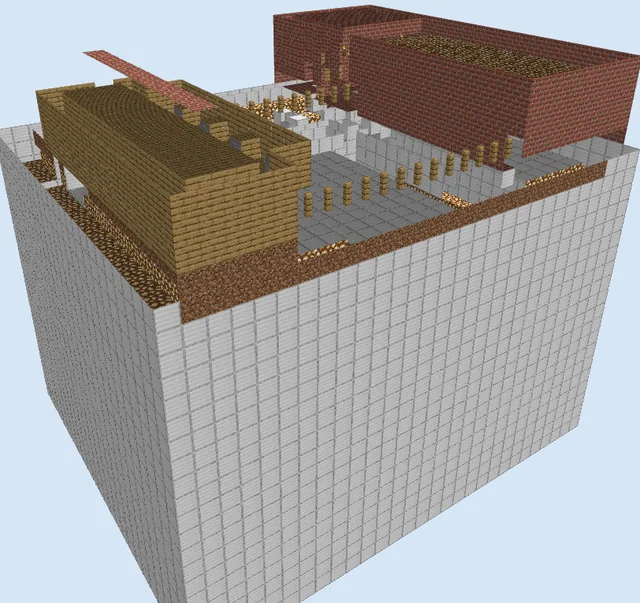
What you are building
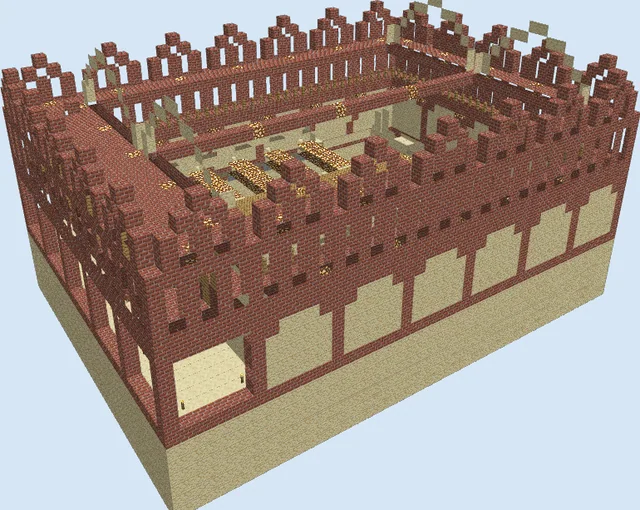
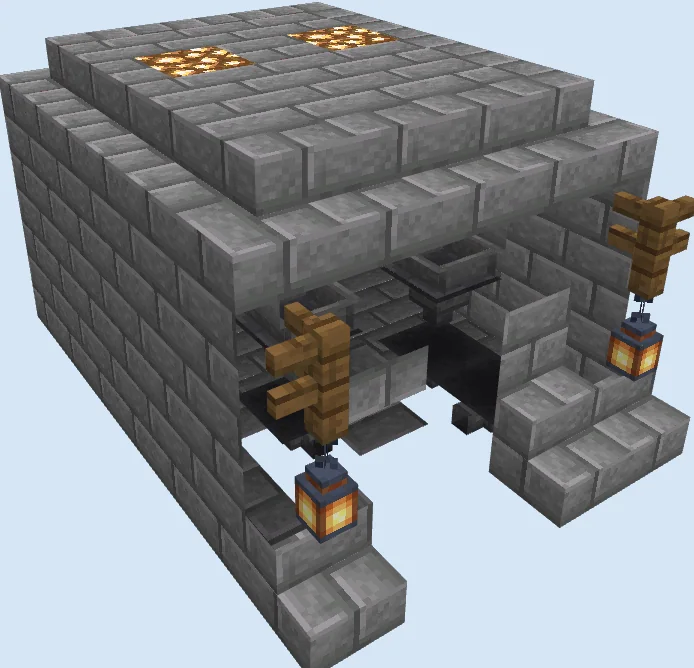
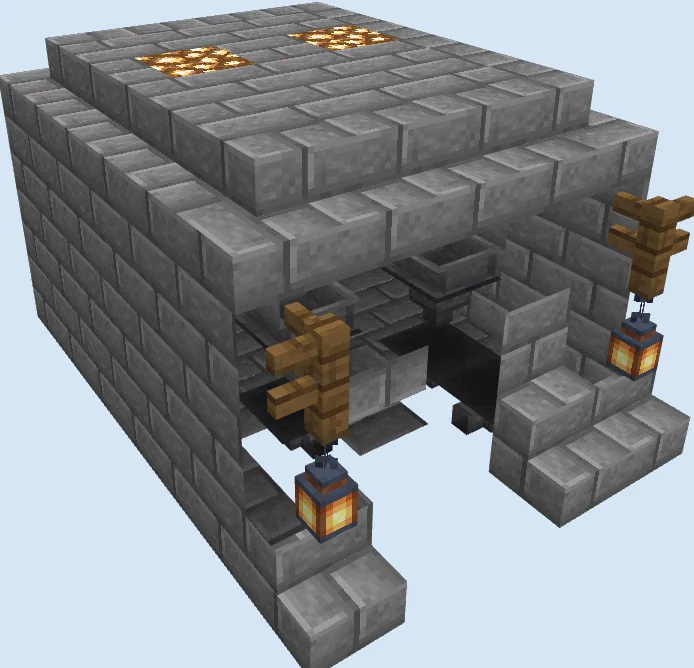
Melons provide an effortless supply of food and brewing ingredients, but manual harvesting quickly becomes tedious. This self-contained setup packages an automated harvesting chamber into a polished stone brick structure that fits naturally into village or courtyard builds.
Building an automated melon harvester saves you time and ensures your chests stay stocked passively while you work nearby. Because of its compact rectangular footprint, it can be embedded into a retaining wall or set up as a standalone roadside stall near your survival base.
This design comes from an older file format; while fundamental crop growth and observer mechanics remain reliable, test it in a creative world before committing survival resources.
You can substitute pumpkin seeds in place of melon seeds without changing any redstone or structural blocks.
Materials 122 blocks · 16 types
- Stone Bricks671 stack + 3
- Stone Brick Stairs22
- Stone Brick Slab6
- Hopper5
- Glass4
- Chest2
- Dirt2
- Lantern2
- Redstone Wire2
- Piston2
- Spruce Fence2
- Glowstone2
- Farmland1
- Water1
- Observer1
- Melon Stem1
How it works
A central melon stem is planted on hydrated farmland with dirt blocks situated on either side for melons to spawn. An observer positioned over the stem detects state changes whenever a melon grows, immediately sending a pulse through redstone wire to fire the adjacent pistons.
The extended piston heads smash the newly grown melon into slices. The loose items drop down directly into the hopper array arranged across the collection floor, which channels the slices safely into a double chest accessible from the front.
How to use it
Plant a melon seed on the tilled farmland block and allow the stem to mature fully before sealing the unit. Once mature, the machine runs entirely on its own; simply check the front storage chest periodically to collect your accumulated melon slices.
Lay the Foundation, Soil, and Collection Hoppers
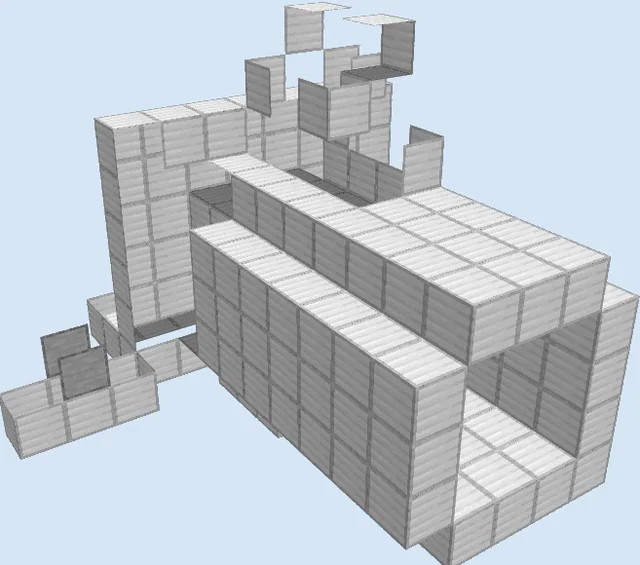
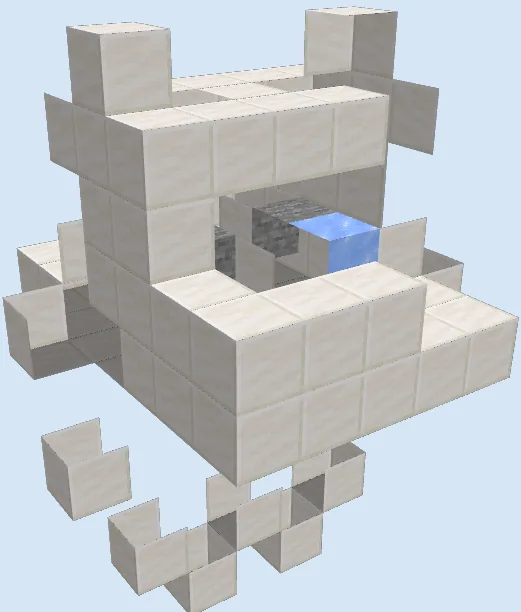
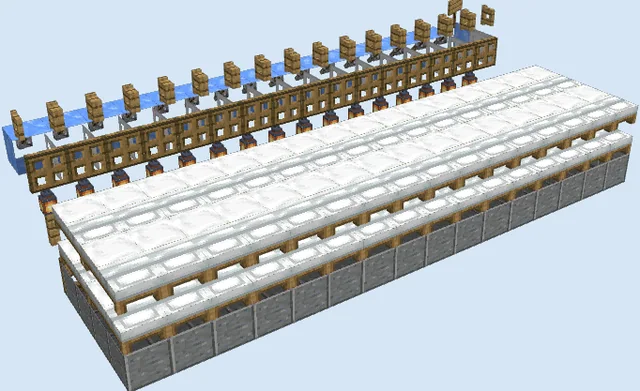
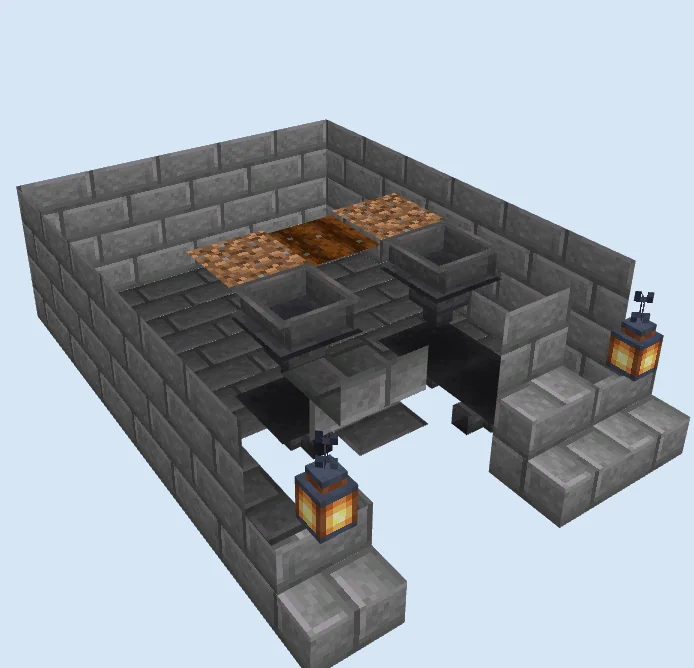
Layers 1–2 of 4Outline the 5x7 perimeter using stone bricks and stone brick stairs, framing an entryway flanked by spruce fence posts and hanging lanterns. Embed a water source block along the rear to hydrate the central farmland block, flanked by two dirt blocks.
Install a double chest at the front entrance and connect a network of five hoppers leading directly into it. Ensure the hopper funnels point forward so any dropped items over the front threshold route straight into storage.
Install Redstone, Pistons, and Roof Enclosure
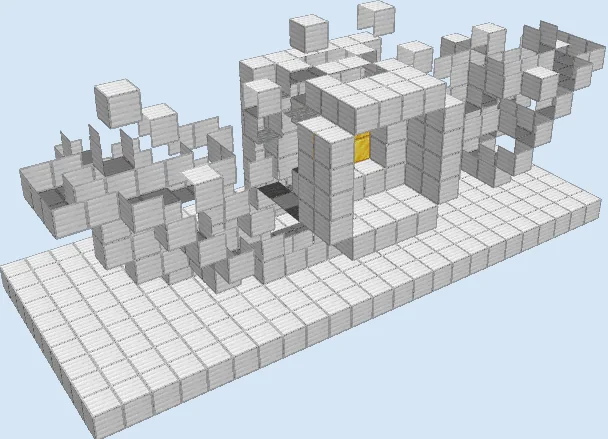
Layers 3–4 of 4Place the melon stem on the farmland, position an observer facing the stem, and mount two regular pistons facing the dirt growth spots. Connect redstone wire across the top to trigger both pistons simultaneously whenever the observer detects stem activity.
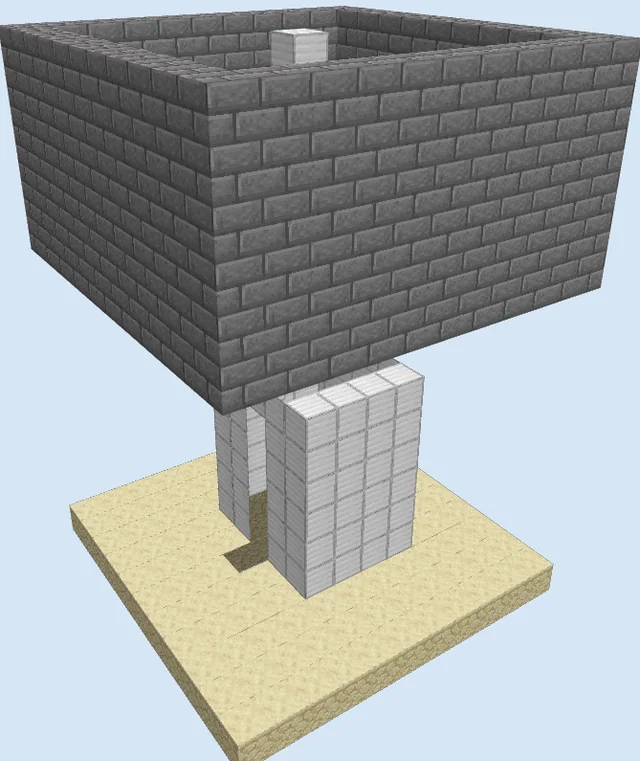
Seal the interior with glass and stone brick walls to keep harvested items from flying out of reach. Cap the build with a layered roof of stone bricks, stone brick slabs, and two glowstone blocks to keep the crop fully illuminated.
Finishing touches
Before sealing the roof, test the system by placing a melon block manually on one of the dirt pads to verify that the observer detects the update, fires the pistons, and feeds the dropped slices into the chest. Ensure the glowstone blocks remain directly above the growing chamber to maintain sufficient light levels at night.
Frequently Asked Questions
Why is my melon stem not producing any fruit?
Melon stems require an empty dirt, grass, or farmland block adjacent to them and sufficient light levels to produce fruit; ensure the side pads remain clear of foreign blocks and the glowstone above is in place.
Can I replace the glass blocks with solid blocks?
Yes, solid stone bricks can be used instead of glass, though transparent blocks make it easier to inspect the piston action and crop stem without breaking into the chamber.