What you are building
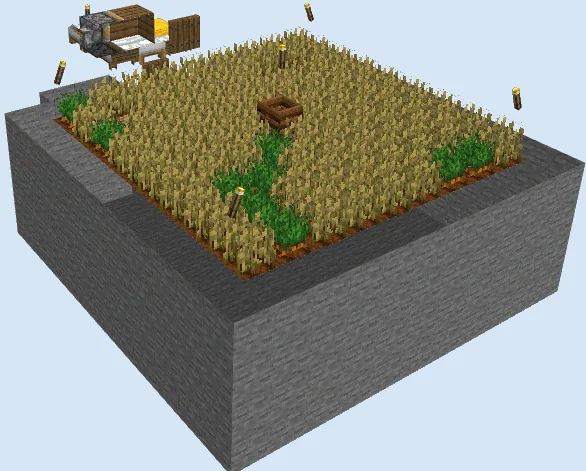
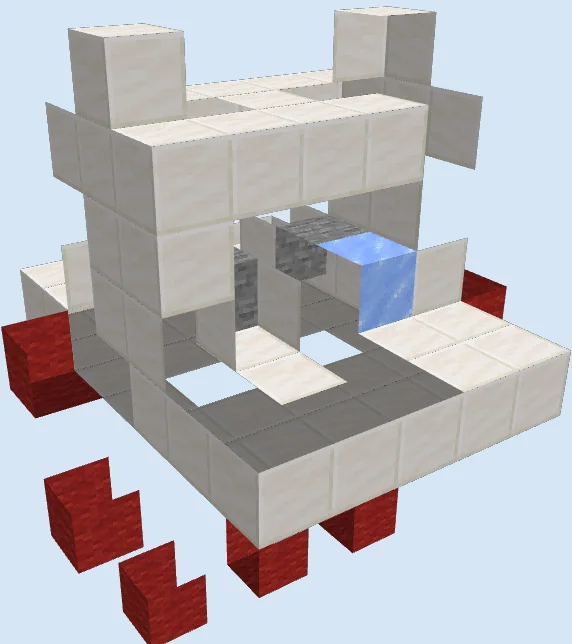
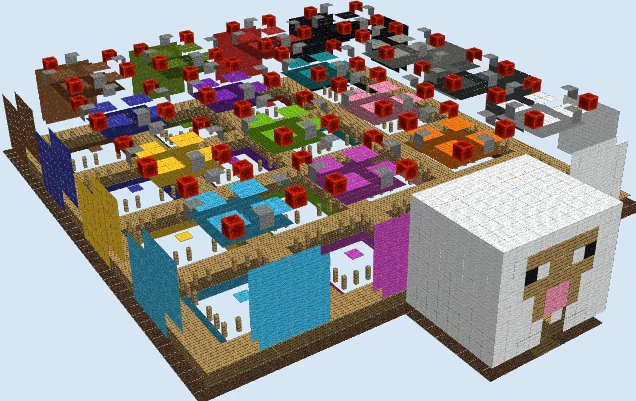
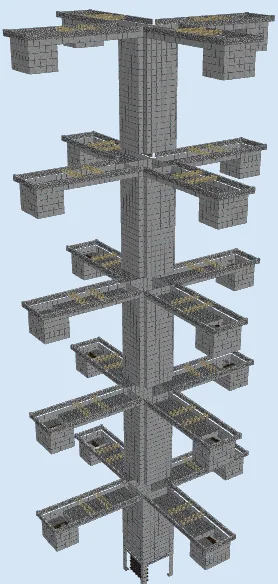
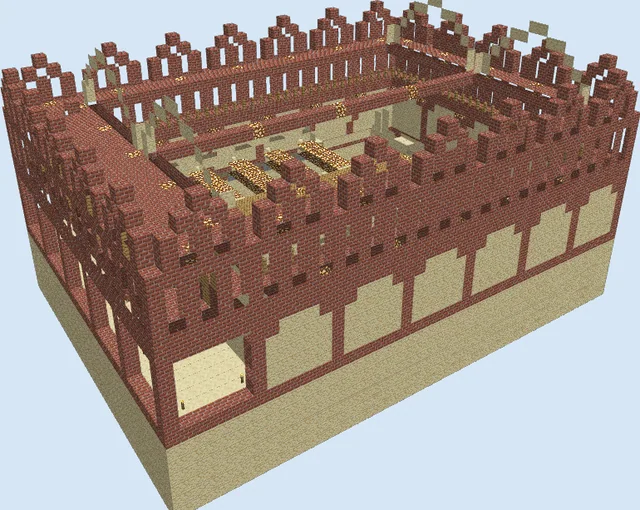
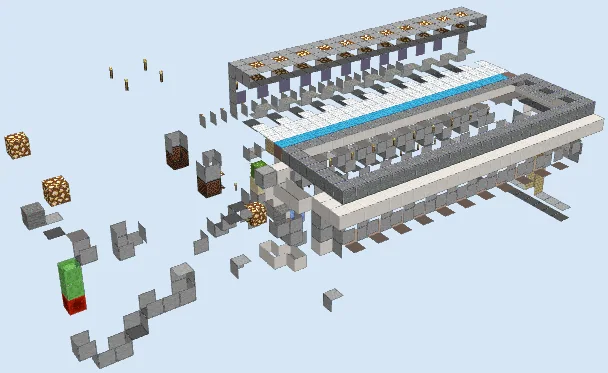
The Villager Trading Hall and Rail Breeder Complex provides an organized center for housing, trading with, and transporting villagers across dedicated stalls. By integrating individual containment cubicles with a powered rail delivery loop, it keeps your trading roster neatly organized and easy to navigate.
Constructed primarily from smooth stone, quartz slabs, and white stained glass, this facility fits seamlessly into a modern survival base. Because this is a legacy design from an older game version, you should test the layout in a creative world first before committing survival resources.
Materials 3,596 blocks · 52 types
- Quartz Slab1,19918 stacks + 47
- White Stained Glass4567 stacks + 8
- Smooth Stone3335 stacks + 13
- Powered Rail2594 stacks + 3
- Acacia Slab1842 stacks + 56
- Redstone Lamp1011 stack + 37
- Lever911 stack + 27
- Quartz Block871 stack + 23
- Stone Slab741 stack + 10
- Torch721 stack + 8
- Polished Andesite63
- White Carpet58
- Water54
- Light Blue Stained Glass Pane47
- Quartz Pillar46
- Birch Planks39
- Quartz Stairs38
- Vine35
- Iron Trapdoor35
- Rail30
- Light Gray Terracotta23
- Activator Rail22
- White Terracotta22
- Light Blue Terracotta22
- Light Blue Carpet22
- Redstone Wire21
- Oak Wall Sign19
- Stone15
- Glowstone15
- Oak Trapdoor14
- Heavy Weighted Pressure Plate12
- Birch Door12
- Piston11
- White Wool11
- Light Gray Carpet11
- Ladder7
- Sticky Piston5
- Tripwire Hook4
- Stone Button4
- Redstone Torch3
- Chest3
- Packed Ice2
- Redstone Block2
- Tripwire2
- Dispenser2
- Slime Block2
- Note Block2
- Repeater1
- Sand1
- Hopper1
- Lava1
- Cactus1
How it works
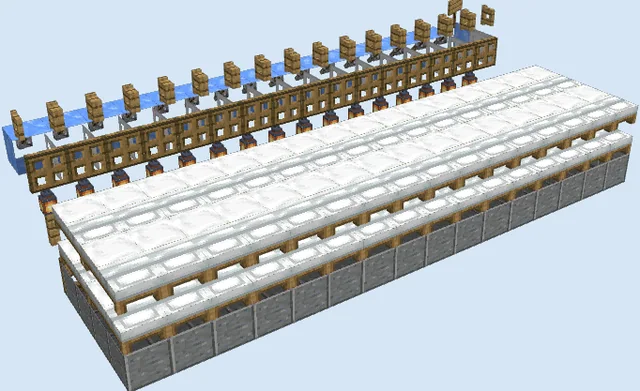
Villagers are moved along a powered rail track and activator rail network that guides them directly into partitioned trading booths. Water channels and drop pathways assist in sorting villagers, while iron trapdoors and glass panes lock each resident securely into their cubicle for safe interaction.
Above each trading module, redstone lamps and levers provide toggleable lighting and clear visual indicators. The extensive rail system loops behind the stalls, allowing minecarts to cycle villagers in or out as you expand your trading hall.
How to use it
To use the hall, introduce villagers into the system and launch minecarts along the powered rail loop to guide them into empty stalls. Walk along the main corridor to browse trades, using the levers above each booth to illuminate redstone lamps to mark occupied stalls or completed transactions.
Lay Foundation Footprint and Lower Tracks
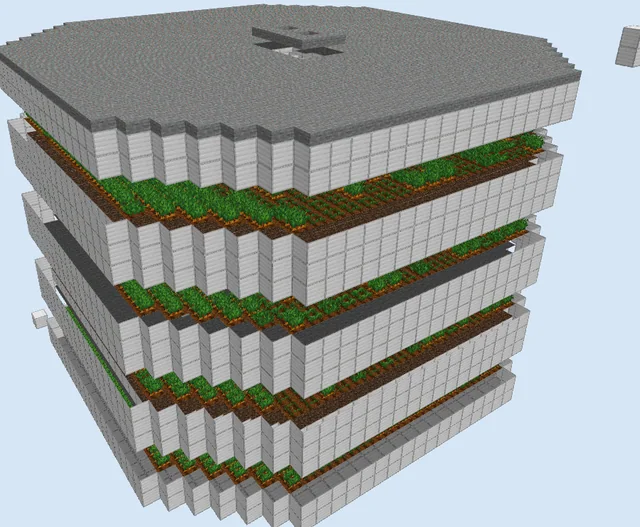
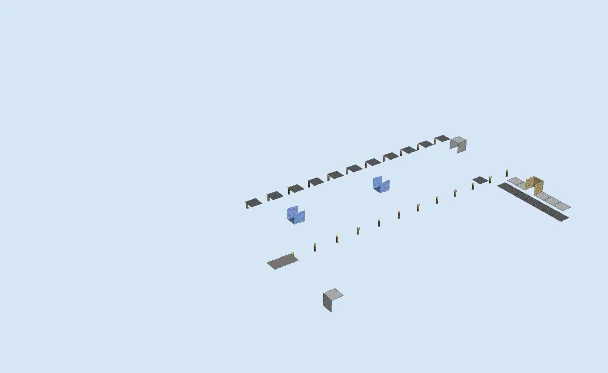
Layers 1–3 of 21Start by setting down the lower foundation points using smooth stone and quartz slabs across the build area. Position torches to mark stall spacing and lay the foundational rail lines that form the lower return loop.
Erect Stall Dividers and Pod Walls
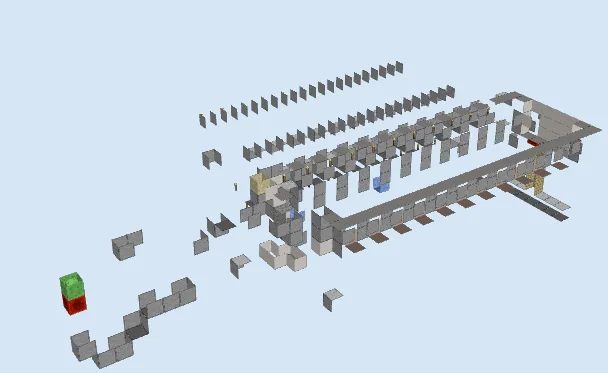
Layers 4–9 of 21Build up the vertical stall partitions using white stained glass, smooth stone, and polished andesite. Frame the individual holding cells along both sides of the corridor, placing iron trapdoors and stone slabs to form distinct villager bays.
Install Water Channels and Upper Rails
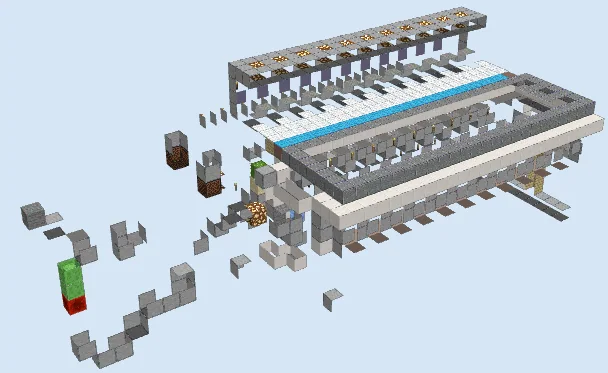
Layers 10–15 of 21Construct the central channel flanked by quartz blocks to guide movement and install powered rails along the upper walkways. Mount redstone lamps in a line across the overhead beam to illuminate the stalls and prepare the ceiling circuitry.
Cap the Roof and Wire Lighting Controls
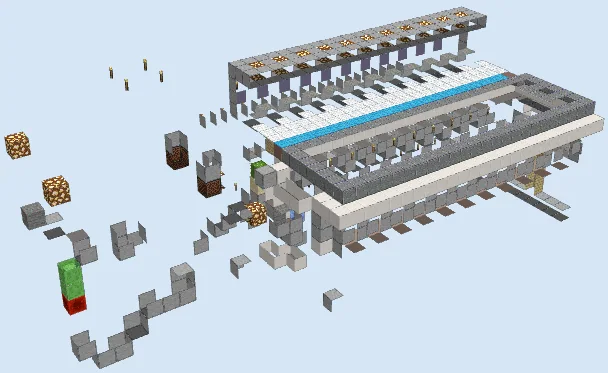
Layers 16–21 of 21Complete the structure by laying quartz slabs and stairs across the roofline to seal every booth. Place levers adjacent to the redstone lamps for quick lighting control, roll out white carpet along inspection paths, and connect the final rail switches.
Finishing touches
Before moving villagers into the hall, ride a minecart through every section of the rail network to confirm that powered rails remain energized and switches route properly. Ensure all interior alcoves are thoroughly illuminated with torches or redstone lamps to prevent hostile mobs from spawning inside the booths.
Frequently Asked Questions
Can this build be used in modern Minecraft versions?
Because this is a legacy design, villager breeding and trading mechanics have changed significantly. You should test the layout in a creative world first and adapt the stalls to fit modern bed and workstation requirements.
What is the purpose of the powered rail loops?
The powered rail lines allow you to transport villagers via minecart directly from your breeding or holding area into individual stalls without manual pushing.