What you are building
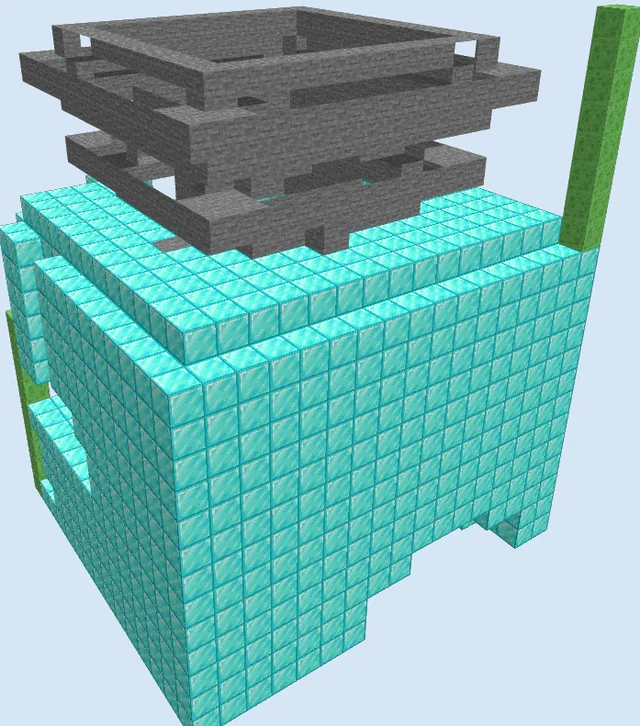
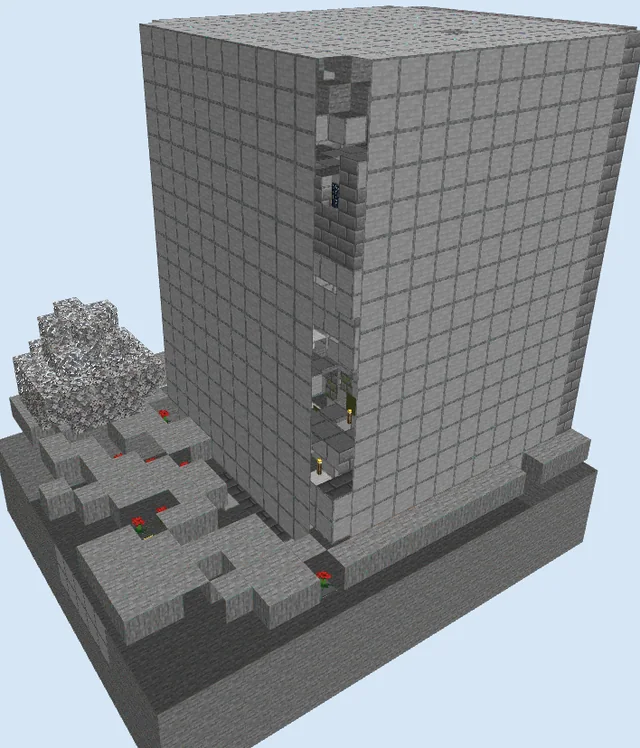
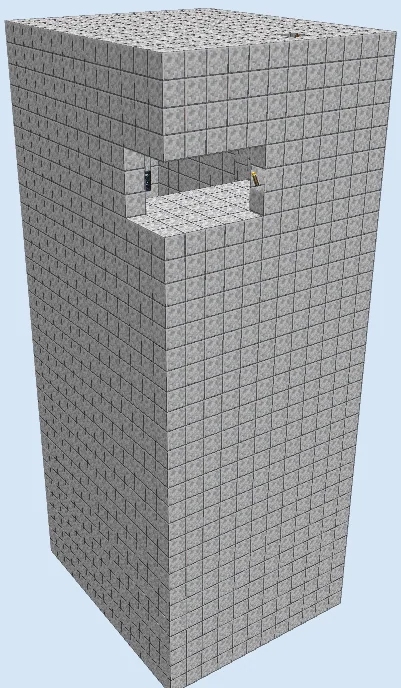
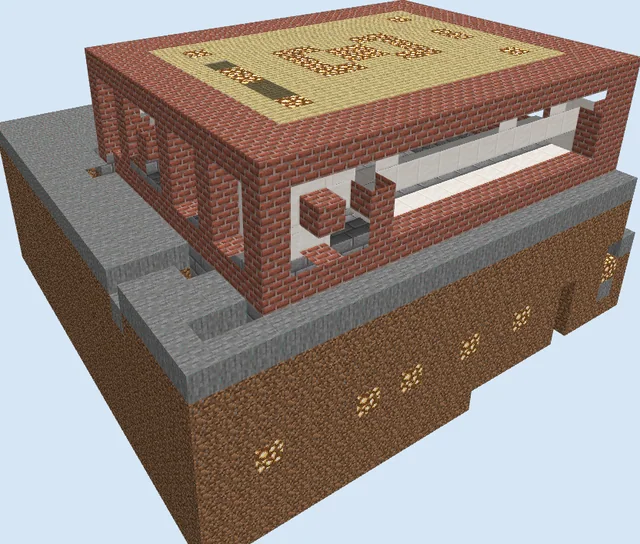
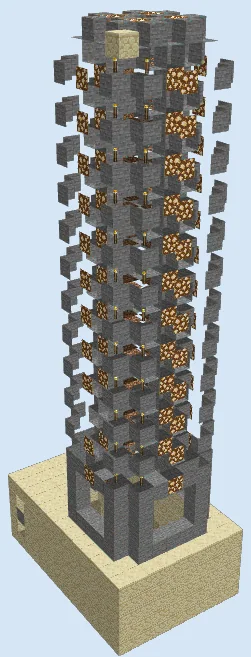
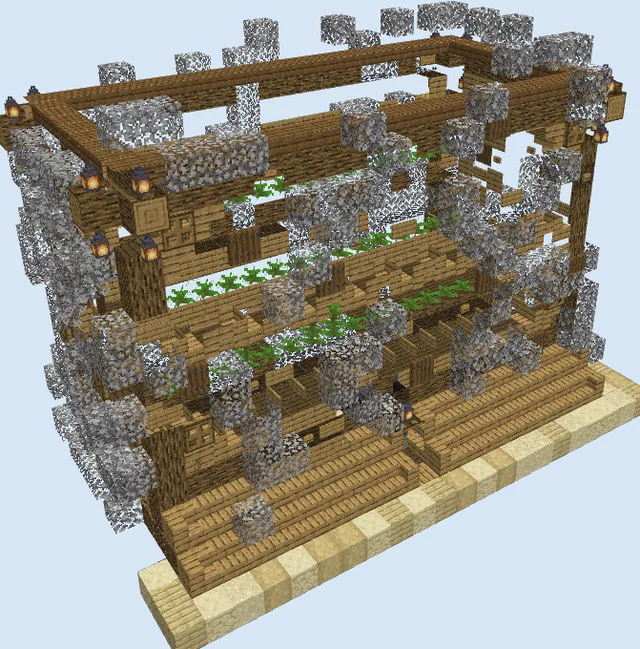
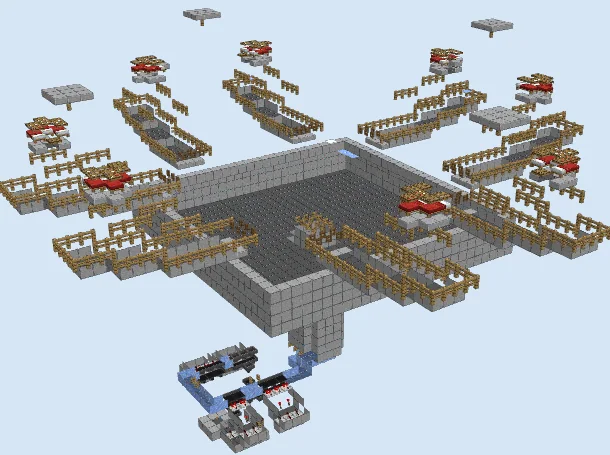
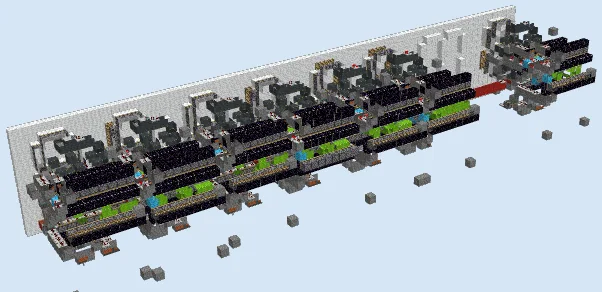
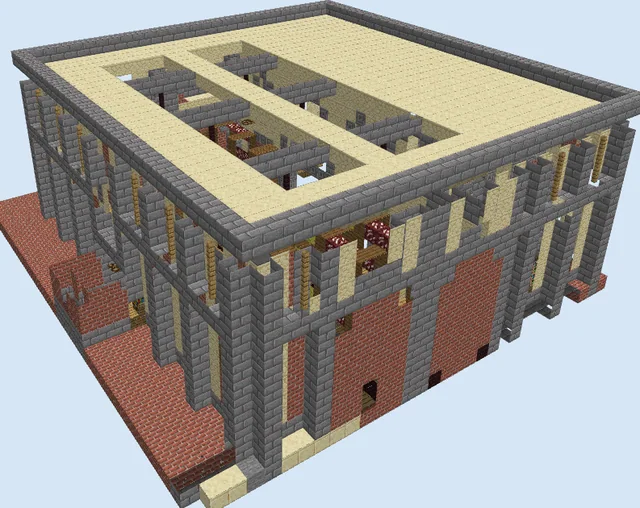
Designed for setups featuring clustered or custom-placed blaze spawners, this farm routes spawning blazes into a central collection channel. It uses tiered pushers along the funnel walls to sweep floating blazes downward toward your kill station. An integrated beacon tower provides combat status effects like Strength, allowing you to dispatch groups with minimal effort.Because this schematic requires multiple spawners, it is best suited for custom servers, creative world experiments, or worlds with spawner moving capabilities.
Drink a Potion of Fire Resistance or keep the effect active while standing near the drop chute to stay completely safe from stray blaze fireballs.
Materials 2,270 blocks · 10 types
- Polished Andesite6399 stacks + 63
- Stone Slab4426 stacks + 58
- Polished Diorite4056 stacks + 21
- Repeater1923 stacks
- Stone Pressure Plate1923 stacks
- Sticky Piston1923 stacks
- Iron Block1662 stacks + 38
- Spawner40
- Dead Bush1
- Beacon1
How it works
Blazes emerge from the elevated spawner row along the upper tier of the trench. As they drift down onto the stepped terraces, pressure plates detect their presence, powering repeaters that trigger sticky pistons to shove them off the ledges into the main collection drop.
Because blazes naturally float and cannot be swept by water in the Nether, the mechanical piston walls keep them moving downward continuously. Once clustered below, the integrated iron block beacon pyramid grants Strength II to your player, turning the accumulated blazes into effortless one-hit kills for rapid XP and blaze rod harvesting.
How to use it
Stand at the bottom kill chamber directly beneath the active beacon beam to receive the Strength II effect. Slay the grouped blazes with a sword to collect experience orbs and retrieve blaze rods from the collection trench.
Establish the Foundation and Centerline
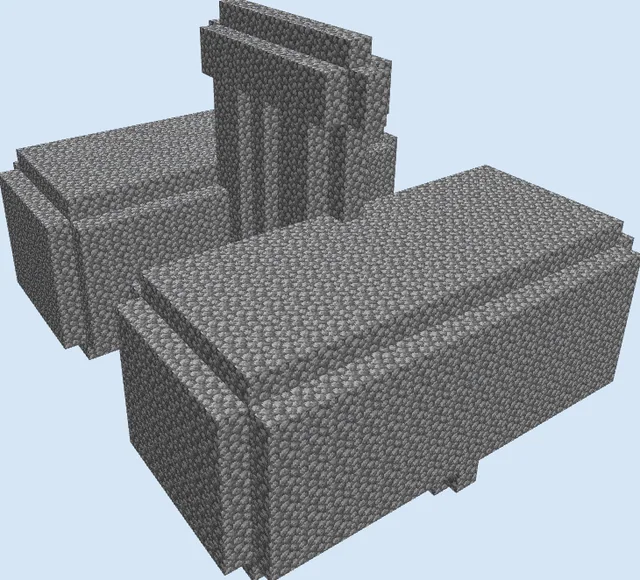
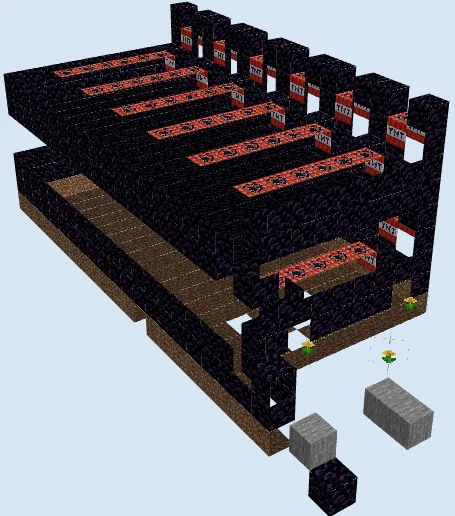
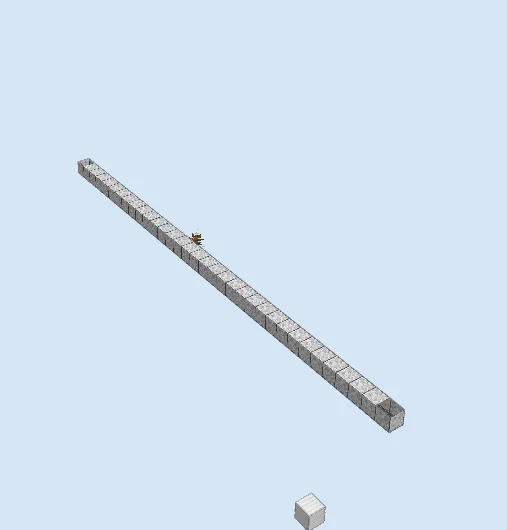
Layers 1–3 of 22Lay the bottom center row using polished andesite blocks to define the length of the 36-block collection corridor. Position your marker block and dead bush along the line to designate alignment points for the lower drop chute.
Assemble the Terraced Funnel Walls
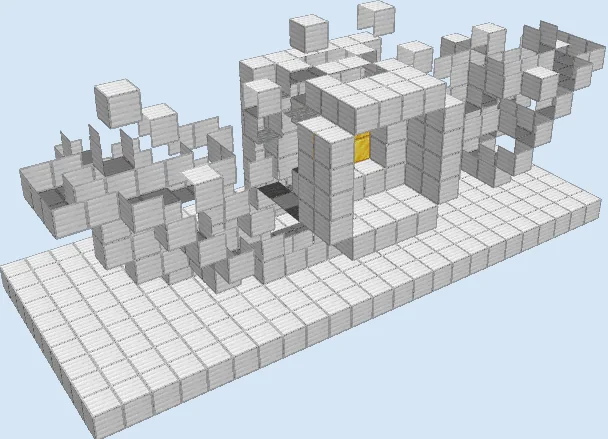
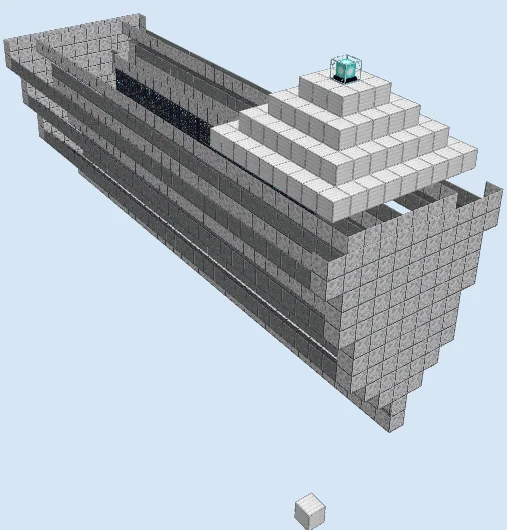
Layers 4–9 of 22Expand outward and upward with polished andesite, polished diorite, and stone slabs to form a stepped V-shaped trough. Install the internal rows of sticky pistons, repeaters, and stone pressure plates along each step so incoming mobs trigger their own descent.
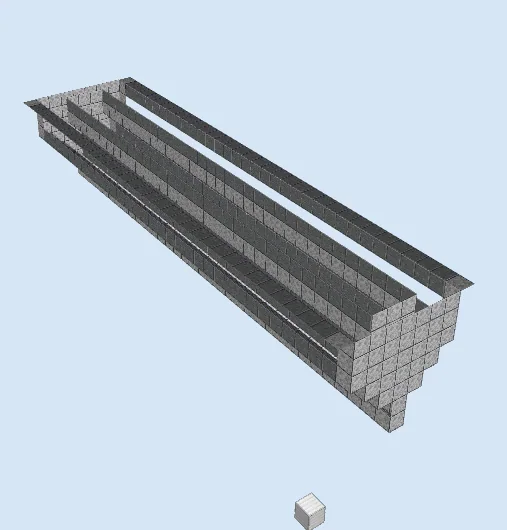
Install Spawners and Lower Pyramid Base
Layers 10–16 of 22Mount the long horizontal line of spawners high along the center axis of the chamber. Along the upper deck at one end, begin placing iron blocks in a hollow square outline to establish the base layer of the beacon pyramid.
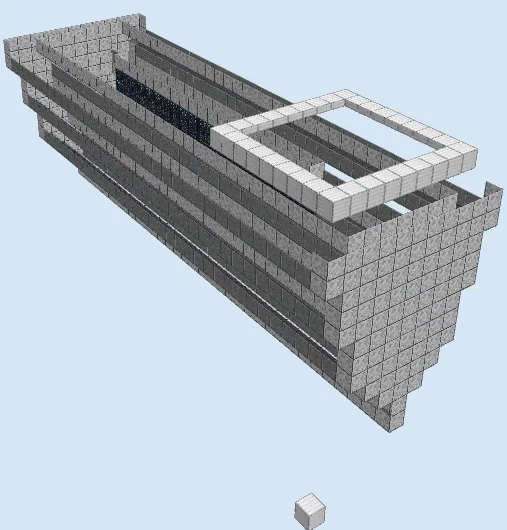
Finish the Pyramid and Place the Beacon
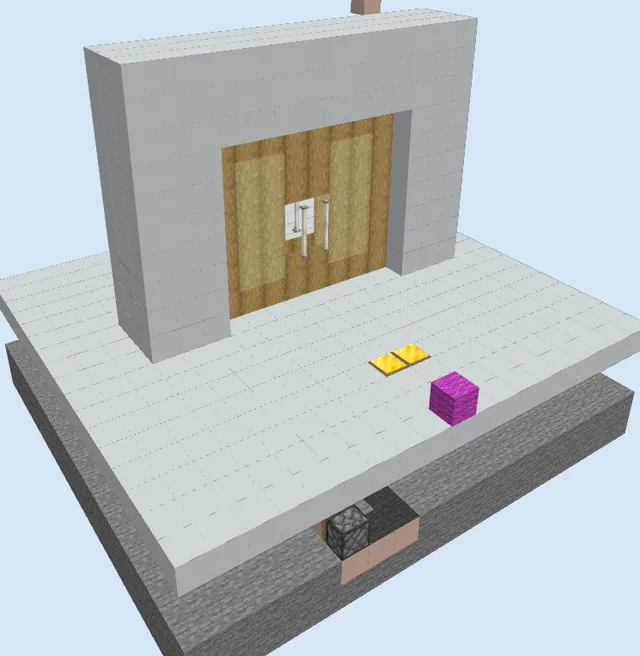
Layers 17–22 of 22Complete the stepped tiers of iron blocks upward until you form the summit platform. Place the beacon in the center, ensure an unobstructed sky view to activate the beam, and select Strength II as your primary power.
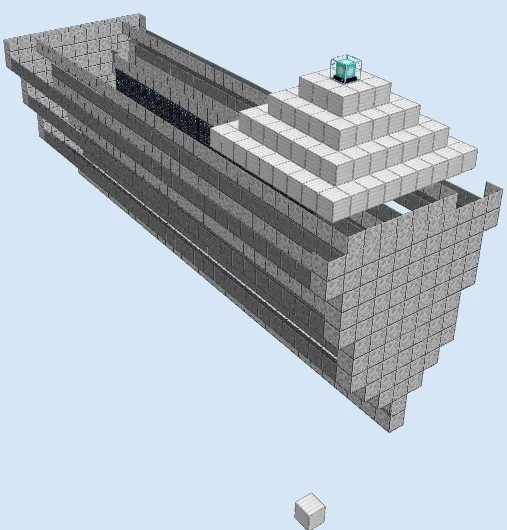
Finishing touches
Before turning this farm live, thoroughly test the piston pusher lines in a creative world to confirm your repeaters fire properly without jamming. Ensure any nearby fortress corridors are well lit or covered in stone slabs to prevent wither skeletons and other Nether mobs from interfering with your grinding position.
Frequently Asked Questions
Why does the farm use piston pushers instead of water streams?
Water cannot be placed in the Nether under normal game mechanics, and water damages blazes directly. Piston walls are required to mechanically sweep them toward the killing floor.
What version does this farm work in?
This design comes from an older game format, but core blaze and piston mechanics remain unchanged. Always test the setup in a creative world first before committing materials in your survival playthrough.