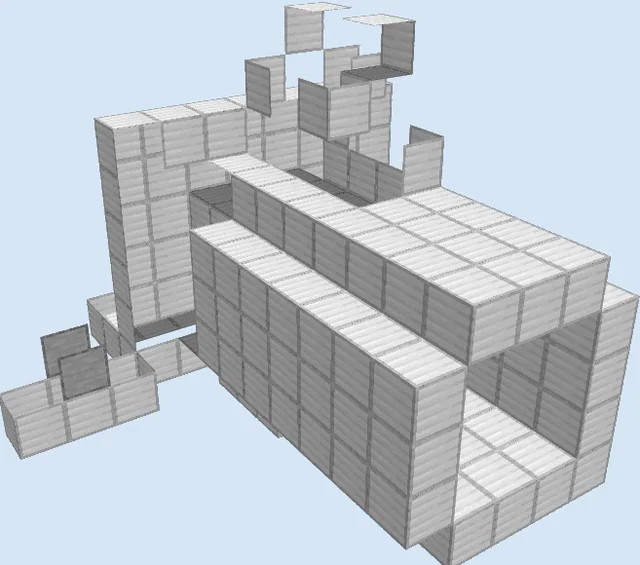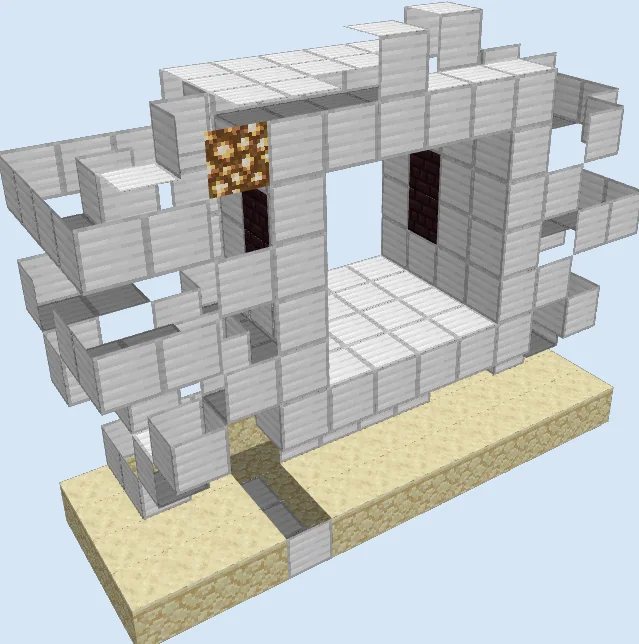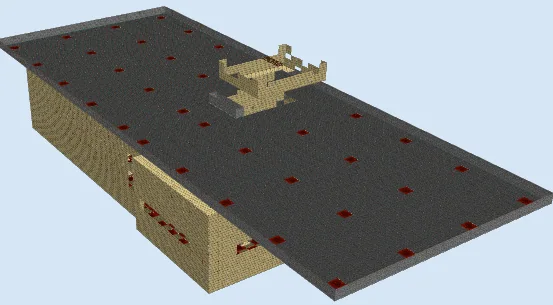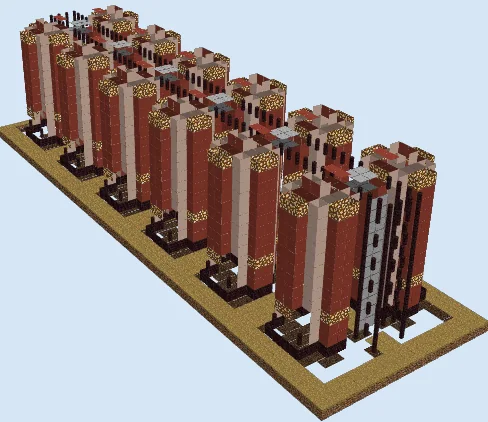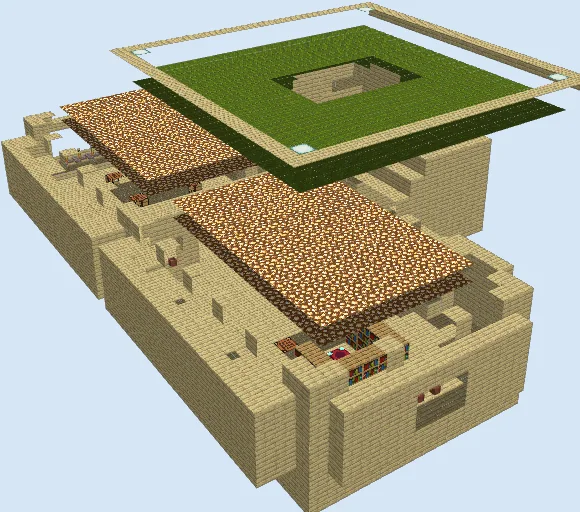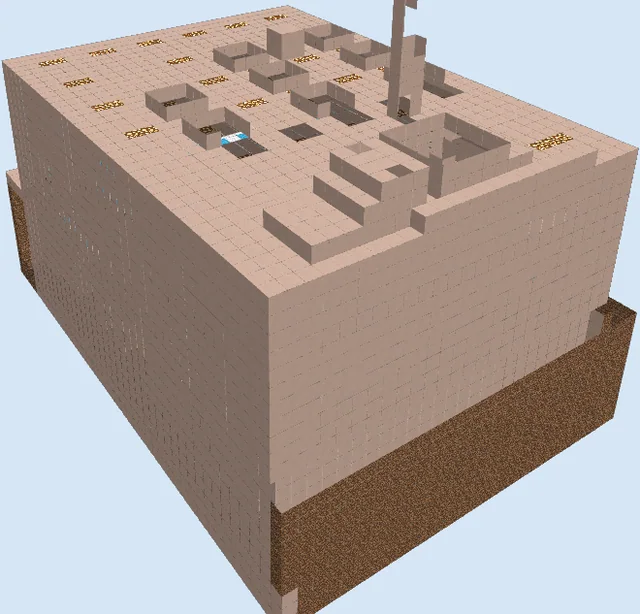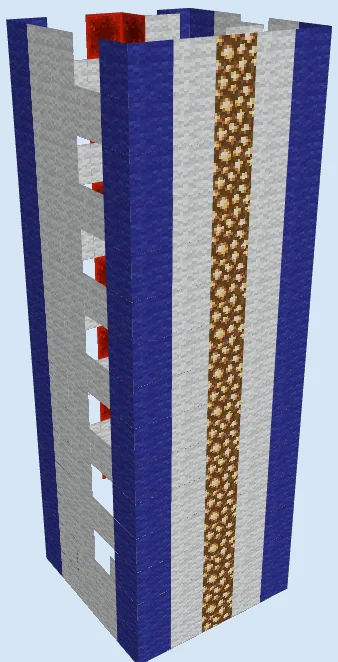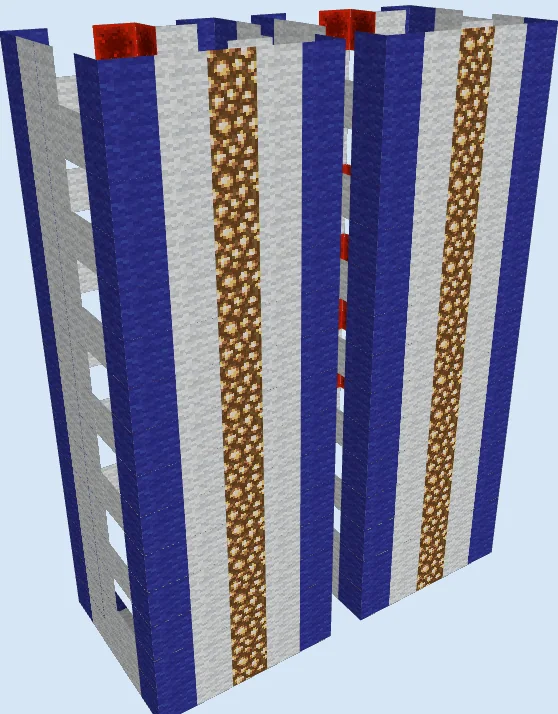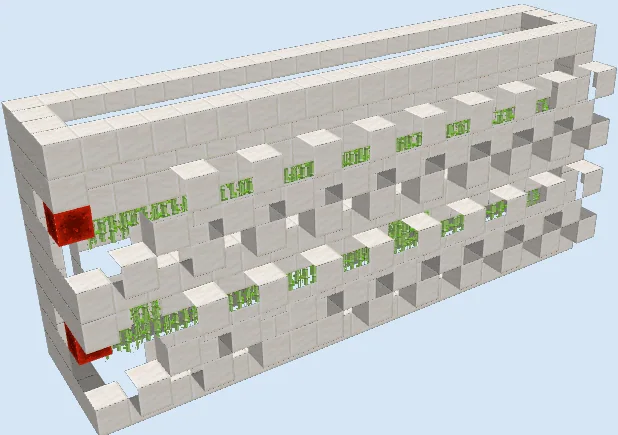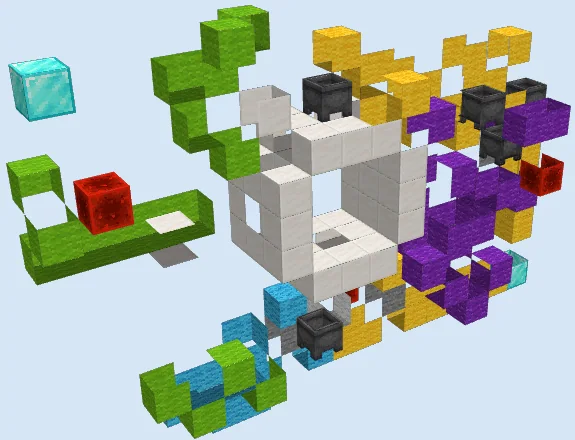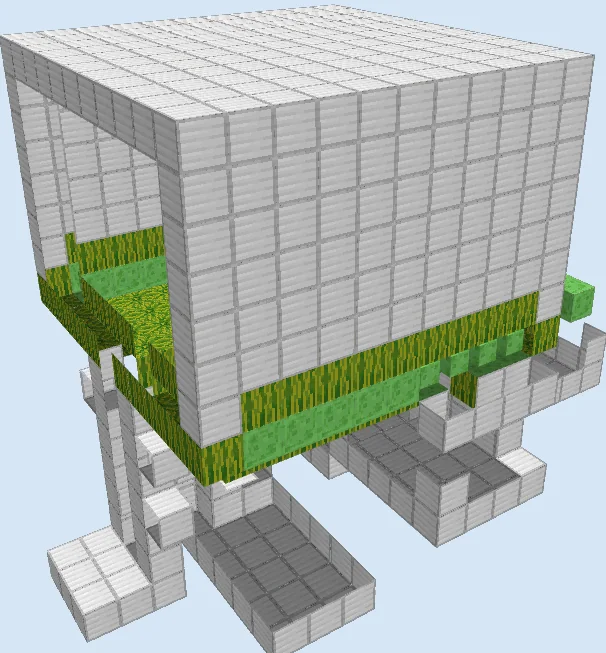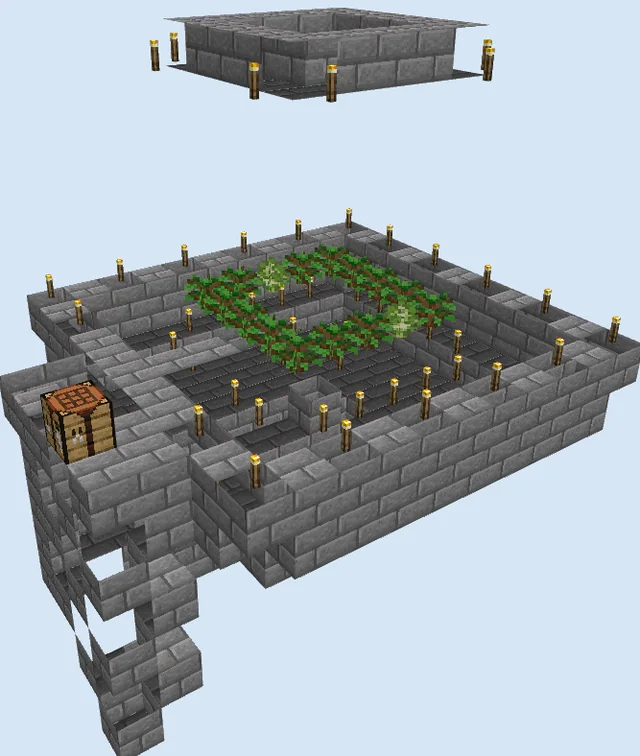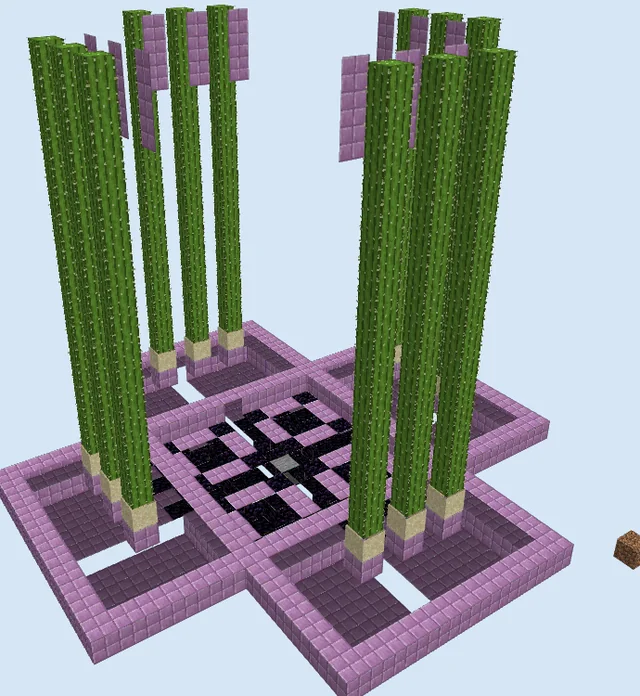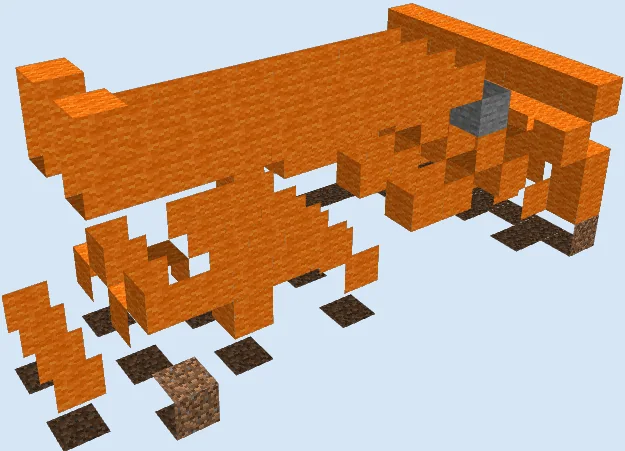
What you are building
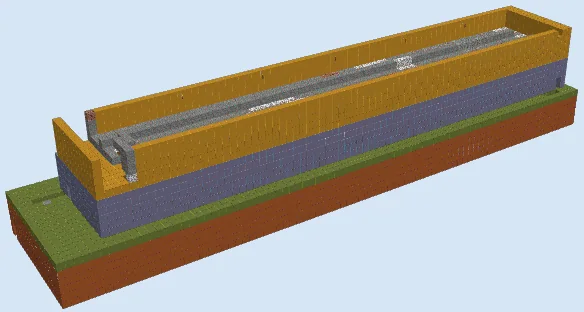
This build serves as a compact redstone control interface designed to manage signal logic for expandable storage systems. It provides a clean, organized way to toggle or pulse redstone circuits that govern how items move through your storage network.
You can build this in any dedicated machine room or storage hub where you need centralized control over your automated systems. It is designed to be easily accessible and integrated into larger storage wall projects.
Materials 356 blocks · 12 types
- Grass Block1151 stack + 51
- Orange Wool951 stack + 31
- Redstone Wire681 stack + 4
- Dirt28
- Redstone Torch18
- Repeater11
- Stone Slab8
- Oak Wall Sign4
- Sticky Piston3
- Oak Button3
- Stone2
- Lever1
How it works
The mechanism uses a network of redstone wire, repeaters, and redstone torches to distribute signals from the input controls. By using levers and buttons, you can trigger specific logic paths built into the orange wool structure, which allows for the manual control of pistons or other connected components in your storage line.
How to use it
Use the lever and buttons on the control panel to activate or reset the signal flow for your storage system. Ensure that your external storage components are properly connected to the output points of this circuit. Always test the wiring in a creative world first to ensure your specific storage expansion reacts as intended.
Establish the Control Base
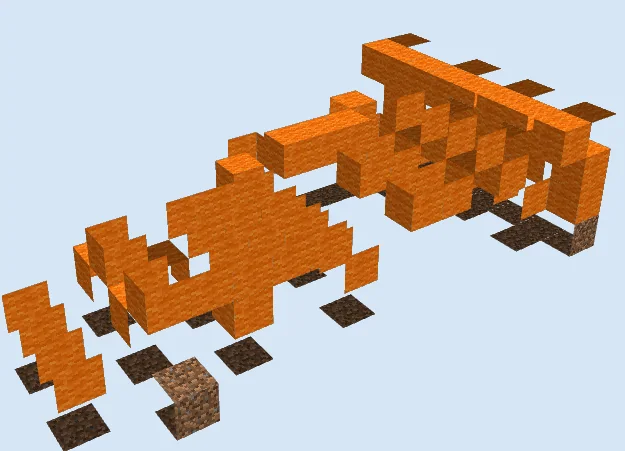
Layers 1–4 of 7Begin by laying out the grass blocks to define the footprint and start constructing the orange wool frame. Install the initial sticky pistons and redstone torches at the base, as these form the foundational logic gates for your storage controls.
Finalize Circuitry and Wiring
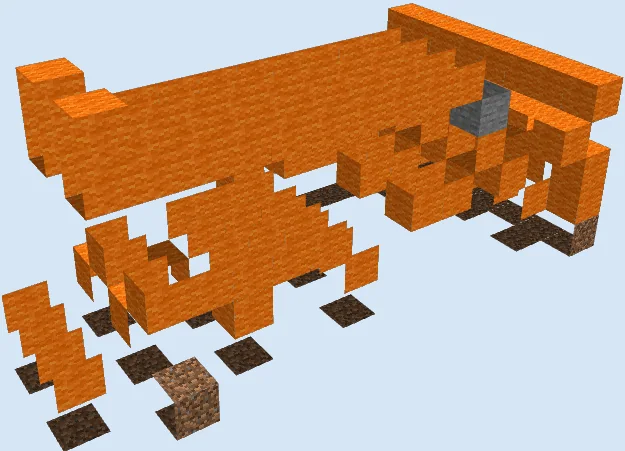
Layers 5–7 of 7Complete the upper orange wool sections and finish installing the remaining redstone wire and repeaters to finalize the signal paths. Attach the oak buttons and lever to the designated spots on the wool structure to provide the user interface for your control panel.
Finishing touches
After assembly, test every button and lever to ensure the signal reaches the intended endpoints. Since this uses legacy mechanics, double-check that all repeaters are set to the correct delay for your specific build. This system is non-solid and open, so ensure it is placed in a safe area to avoid accidental interaction.
Frequently Asked Questions
Can I expand this system horizontally?
Yes, the design is modular. You can extend the orange wool frame and repeat the redstone wiring pattern to add more control nodes as your storage needs grow.
Do I need to worry about the redstone signal strength?
The included repeaters are placed to maintain signal strength across the structure. If you significantly lengthen the design, you may need to add additional repeaters to maintain the connection.