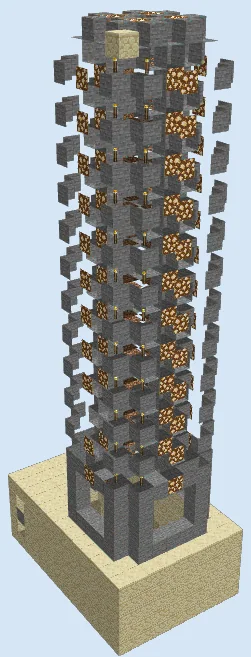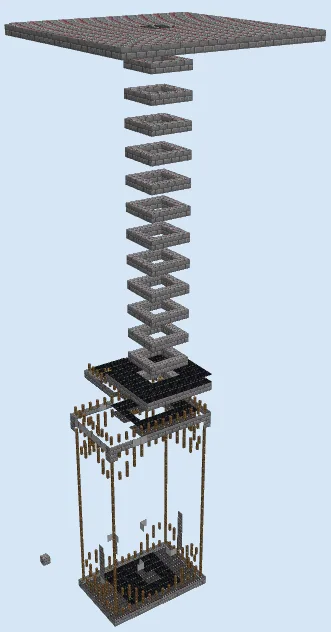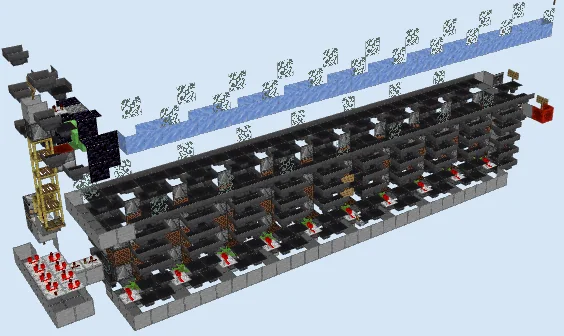
What you are building
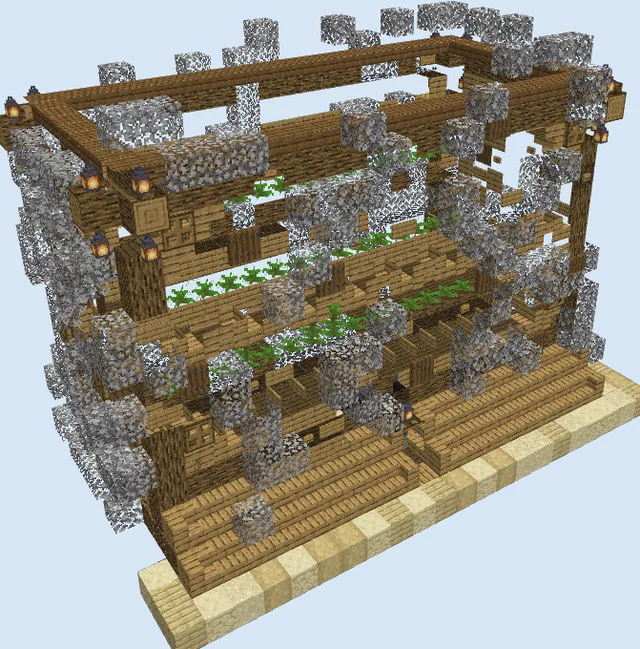
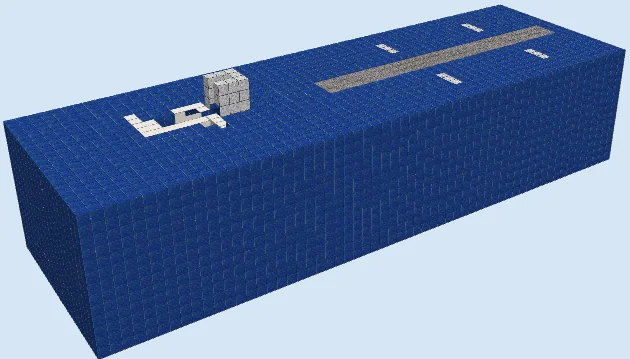
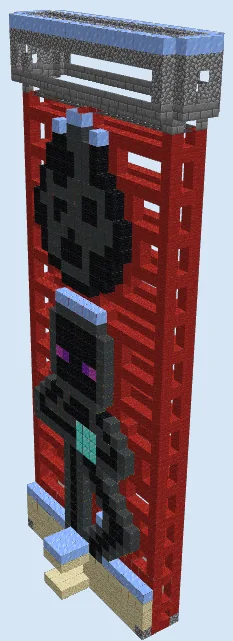
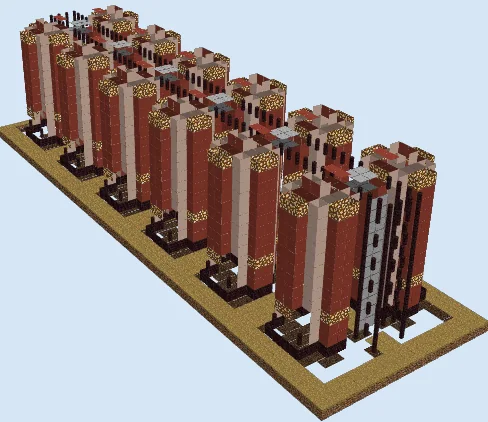
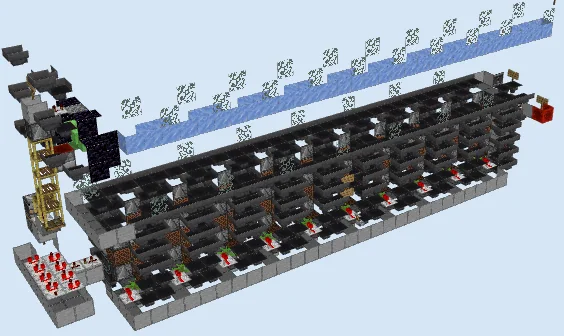
The Industrial Automatic Kelp Farm is a large-scale agricultural build designed to supply massive quantities of kelp automatically. Kelp is one of the most versatile renewable resources in the game, commonly dried and crafted into dried kelp blocks to create an infinitely renewable furnace fuel source or composted for bone meal.
This facility is built around high-capacity collection channels and layered redstone modules. Its linear footprint makes it an excellent addition along the wall of an underground base, an industrial district, or directly adjacent to a super smelter setup.
Always surround the slime block module with obsidian or other immovable blocks; standard blocks will stick to the slime and tear apart your redstone line.
Make sure every water block above the planted kelp is a water source block so the harvested stalks float properly to the collection stream.
Materials 1,858 blocks · 28 types
- Glass6089 stacks + 32
- Hopper3365 stacks + 16
- Smooth Stone2063 stacks + 14
- Water2063 stacks + 14
- Dispenser1231 stack + 59
- Observer951 stack + 31
- Note Block60
- Redstone Wire43
- Glow Lichen36
- Packed Ice31
- Chest28
- Repeater14
- Obsidian12
- Kelp10
- Piston10
- Comparator9
- Scaffolding6
- Oak Sign4
- Sticky Piston3
- Shulker Box3
- Lava3
- Slime Block3
- Redstone Wall Torch2
- Oak Wall Sign2
- Redstone Block2
- Lever1
- Dropper1
- Oak Trapdoor1
How it works
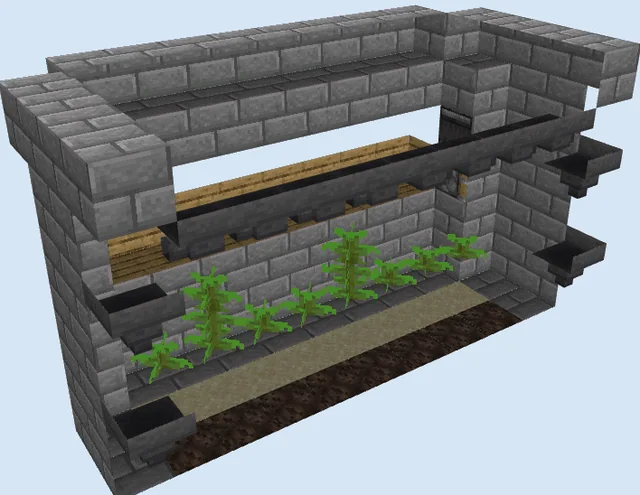
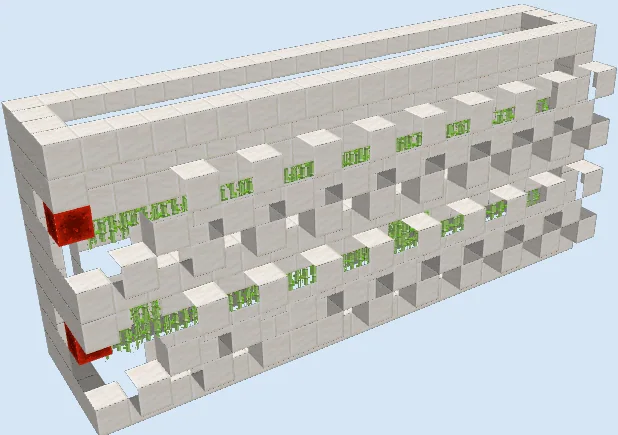
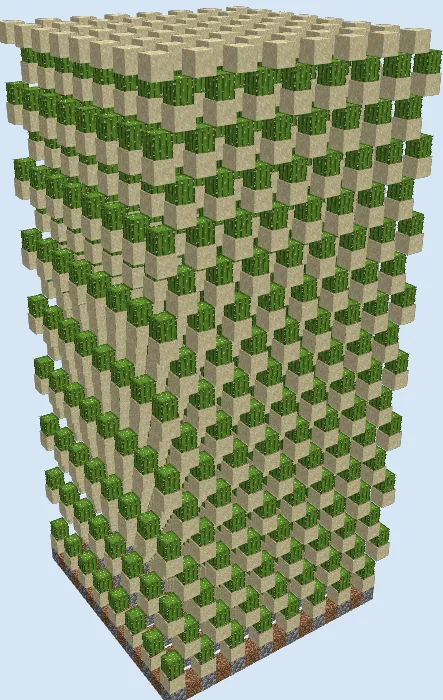
Kelp stalks grow upward through vertical water columns contained within glass enclosures. As the kelp reaches harvesting height, observers detect the block update and trigger pistons to sever the mature stalks, leaving the bottom plant intact to continue growing.
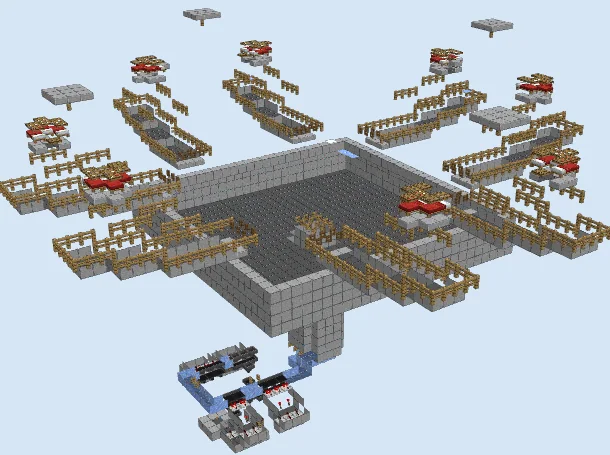
Severed kelp floats to the top or is gathered directly into an extensive network of hoppers. A high-altitude packed ice stream accelerates floating items toward an unloading and distribution station on the end, which utilizes a slime block piston assembly bordered by obsidian to guide and compact item flow without snagging adjacent circuitry.
How to use it
Once fully constructed and filled with water sources, the farm runs completely unattended without manual input. Simply ensure the collection chests or shulker boxes at the end of the hopper chain have sufficient empty storage space, and retrieve your collected kelp whenever needed.
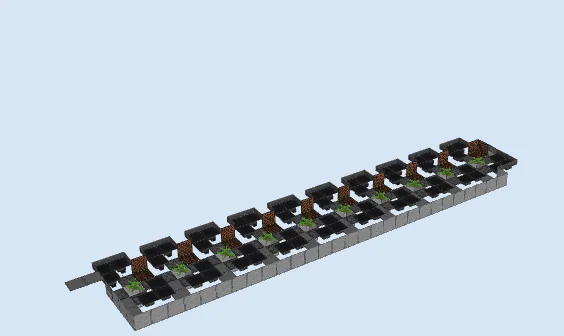
Lay the Foundation and Base Hopper Grid
Layers 1–2 of 16Start by outlining the lower perimeter with smooth stone blocks. Within this footprint, install the base rows of hoppers feeding toward your primary collection line, interleaving note blocks, comparators, and redstone repeaters to establish the lower signal logic.
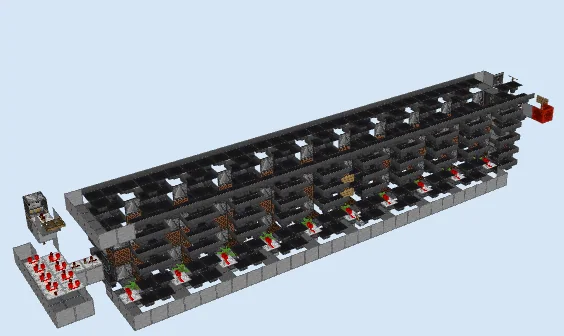
Erect Dispensers and Observer Arrays
Layers 3–7 of 16Stack the vertical rows of hoppers, dispensers, and observers upward along the main length of the machine. Run lines of redstone repeaters and redstone dust along the side ledges to synchronize the harvest pulses across every individual kelp column.
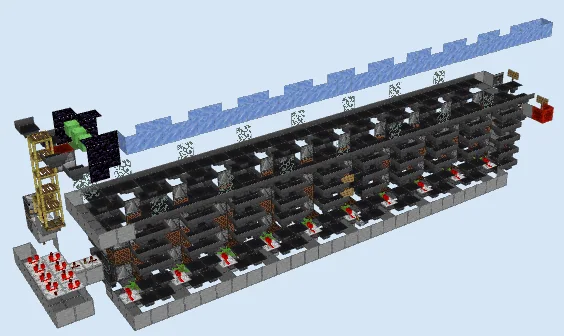
Install the Ice Slide and Piston Mechanism
Layers 8–12 of 16Construct the elevated item slide using packed ice blocks above the harvesting columns. At the left collection head, position scaffolding, a sticky piston fitted with slime blocks, and border it with obsidian blocks to prevent moving parts from sticking to adjacent hoppers.
Complete the Upper Hoppers and Enclosures
Layers 13–16 of 16Finish the top layer by installing the final hopper intake runs, placing the glass walls to contain the water streams, and verifying that every kelp stalk has a full column of source water to grow into.
Finishing touches
Before sealing the glass enclosures, verify that every hopper points in the correct direction and that all water columns are complete source blocks from base to top. Because this design originates from an older schematic format, test the build in a creative world first before committing resources in your survival playthrough.
Frequently Asked Questions
Why is obsidian used next to the slime block?
Obsidian is immovable by pistons and does not adhere to slime blocks, ensuring the piston launcher operates cleanly without dragging nearby hoppers or wiring along with it.
Can I hook this farm directly into a furnace array?
Yes, you can route the final collection hoppers directly into smoker or furnace arrays to automatically cook the kelp into dried kelp for easy fuel crafting.