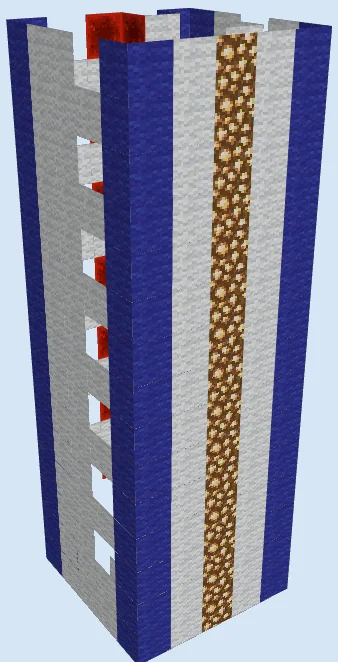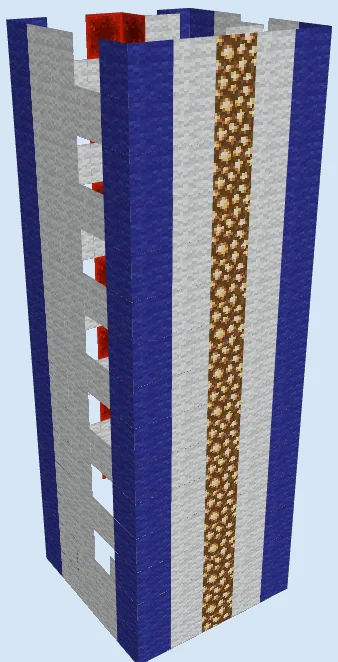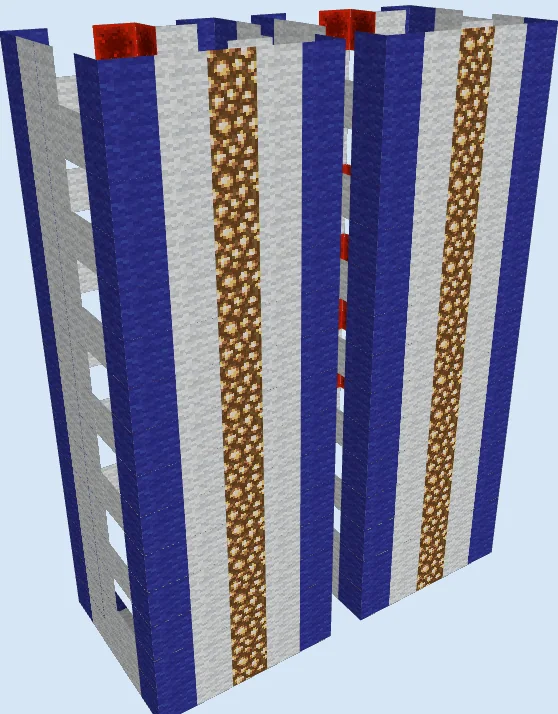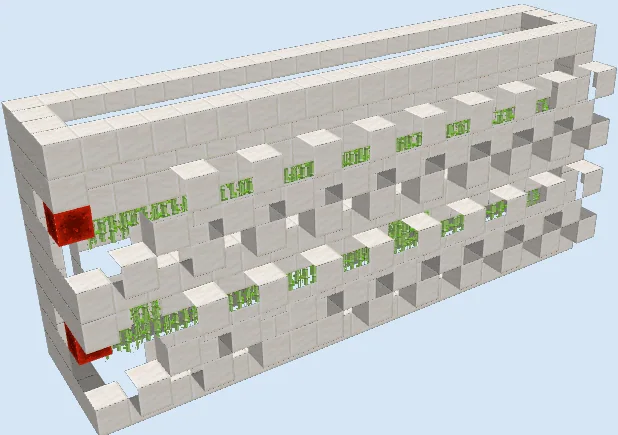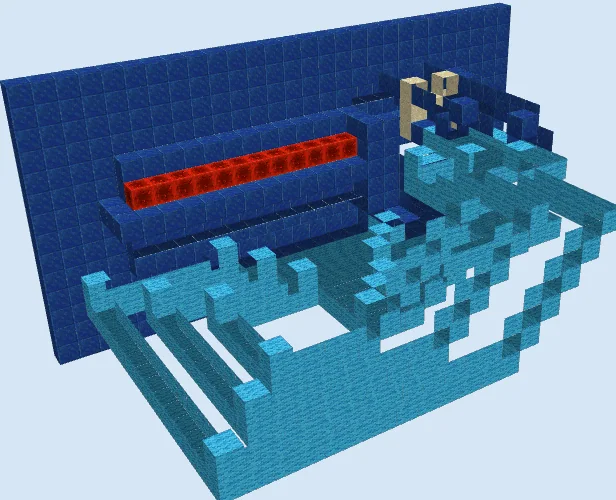
What you are building
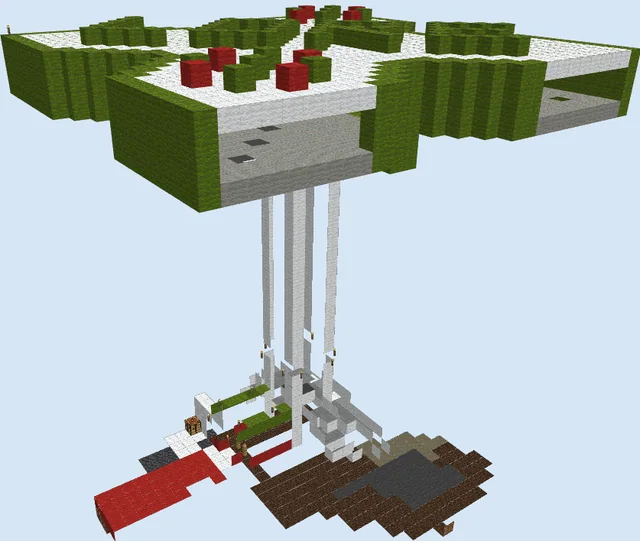
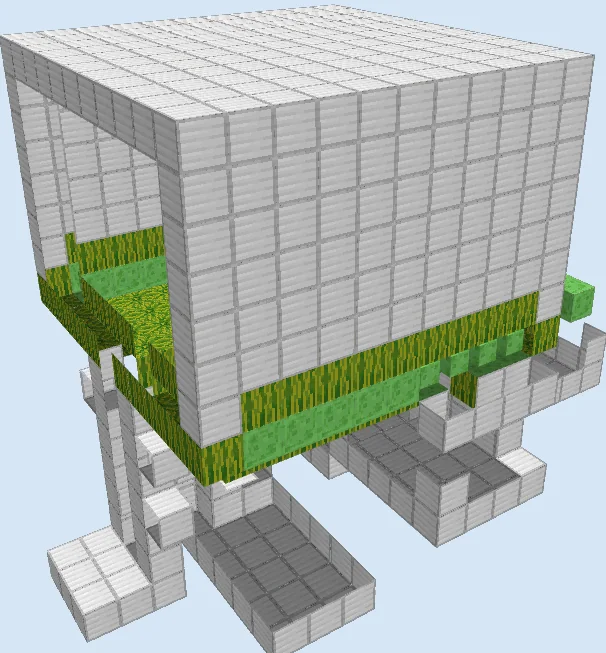
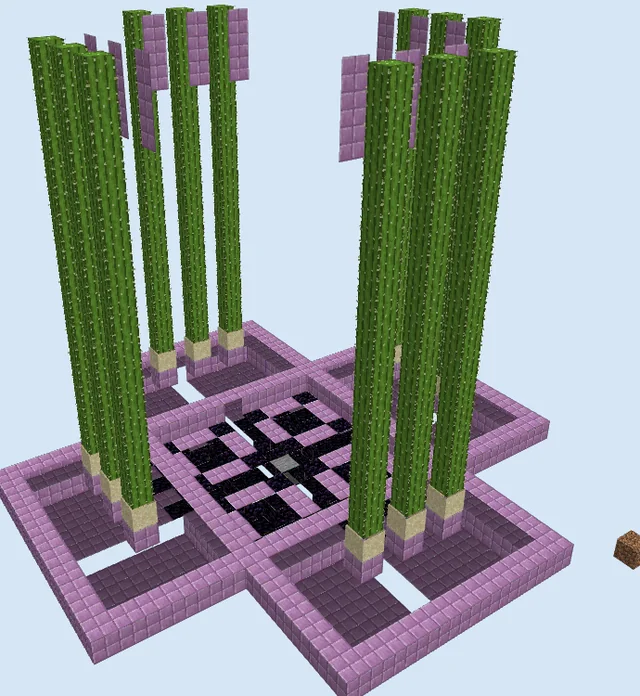
This is a classic redstone contraption designed as an illuminated button control panel. It uses a series of lamps and switches to create a visual display or interface for your larger technical projects.
You can build this in a flat area or integrated into the walls of your base. Since this is a legacy design from an older game version, please test it in a creative world first to ensure it functions as you expect with current mechanics.
Materials 1,056 blocks · 12 types
- Lapis Block5168 stacks + 4
- Light Blue Wool2363 stacks + 44
- Repeater1712 stacks + 43
- Redstone Wire52
- Redstone Lamp17
- Oak Wall Sign13
- Sticky Piston12
- Redstone Block12
- Stone Button9
- Sand8
- Redstone Torch7
- Piston3
How it works
The mechanism relies on stone buttons connected to redstone wiring and repeaters. When a button is pressed, it triggers the circuitry to toggle the state of the redstone lamps. The layout uses lapis blocks and light blue wool as a structural frame to house the signal pathways, ensuring that the lamps illuminate in response to the specific button inputs provided.
How to use it
To operate the panel, simply walk up to the wall and press any of the stone buttons. The corresponding redstone lamp will light up, indicating the signal is active. You can use this as a control interface for other machines or simply as an aesthetic lighting panel.
Build the Base Layers
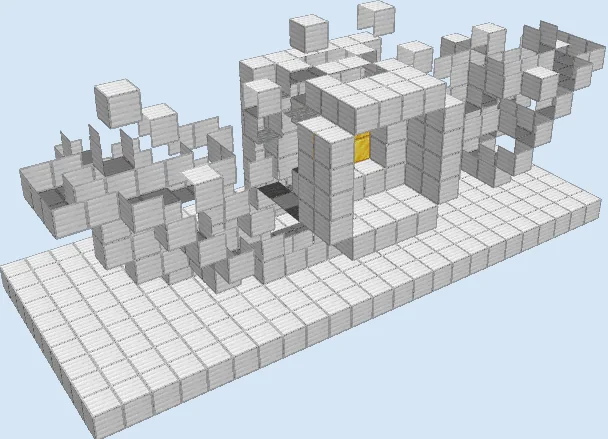
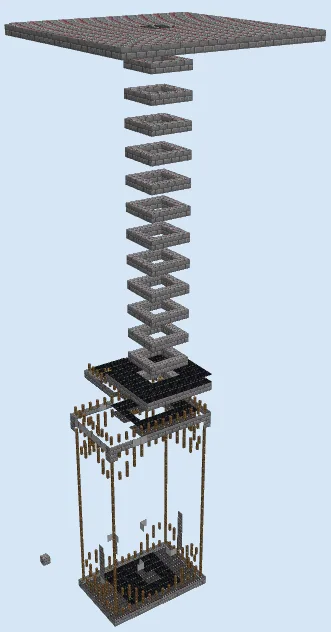
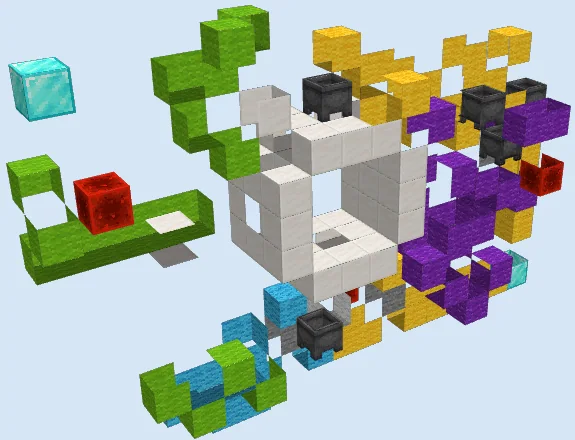
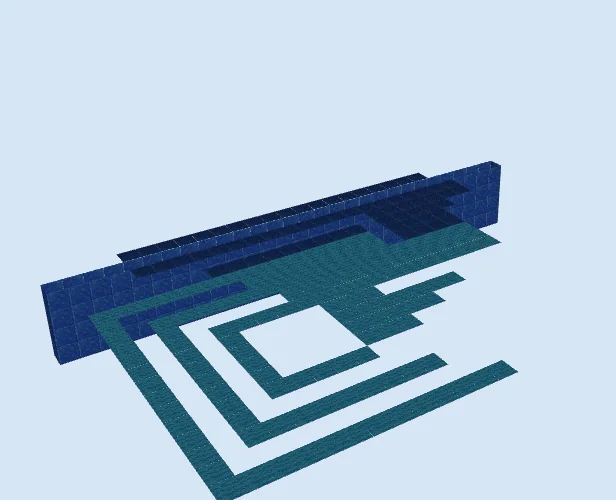
Layers 1–4 of 14Start by laying out the foundation using Lapis Blocks and Light Blue Wool. This initial phase establishes the grid for the circuitry and the primary back wall where your lamps will eventually sit.
Install Wiring and Lamps
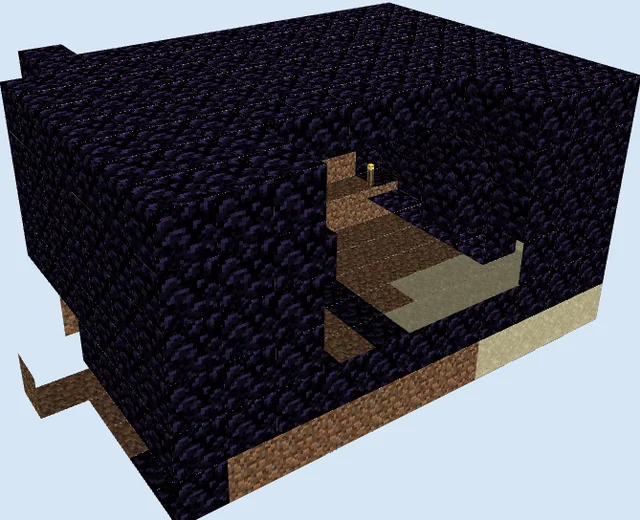
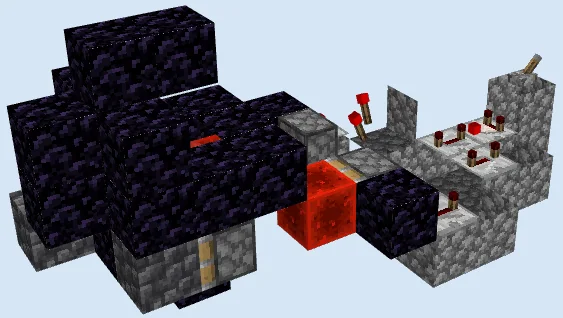
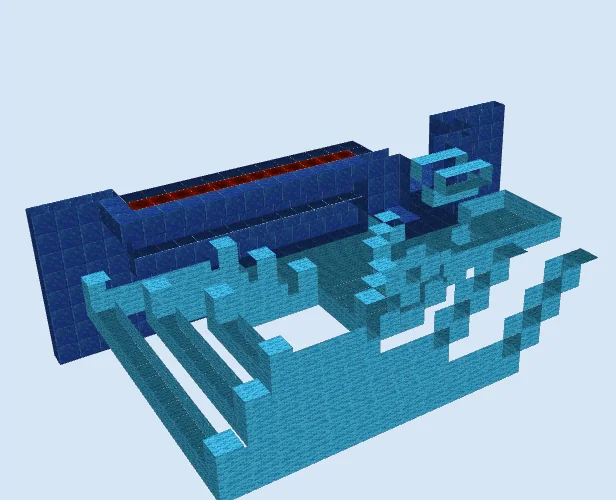
Layers 5–8 of 14Begin adding the redstone components to the internal structure. Place the Redstone Lamps across the central area, supported by Lapis Blocks. Connect them using Redstone Wire, repeaters, and redstone torches to create the base logic grid.
Finalize Control Panel
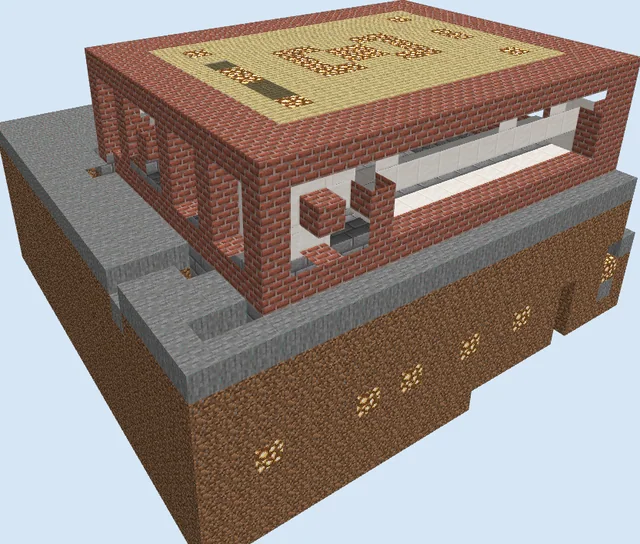
Layers 9–14 of 14Finish the front-facing interface by attaching the stone buttons to the wool and lapis structure. Complete the wiring with the remaining sticky pistons and sand to ensure the full signal flow is intact for your button inputs.
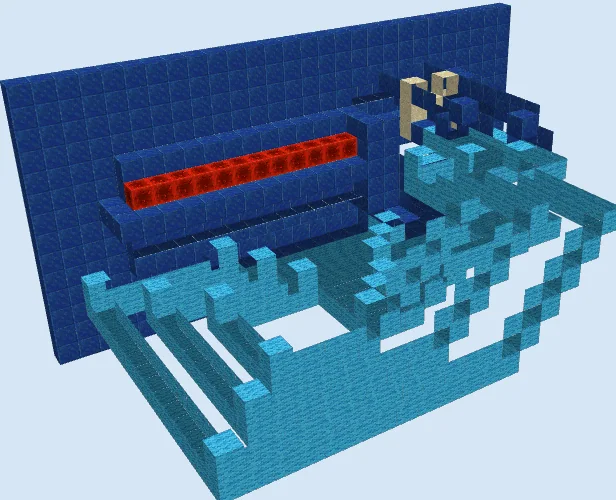
Finishing touches
Before putting this to use, verify that all redstone signals are reaching the lamps by pressing each button individually. If a lamp fails to turn on, check your repeater orientation and redstone wire continuity. Ensure the area behind the panel is spawn-proofed with light sources if you are building this in a survival world.
Frequently Asked Questions
Can I change the Lapis Blocks to another material?
Yes, you can use any solid, opaque block for the frame, as the material choice is purely cosmetic and does not affect the redstone functionality.
Will this work in the latest version?
This is a legacy design. While the core logic remains similar, mechanics may have shifted over time, so please test the circuit in a creative save first.