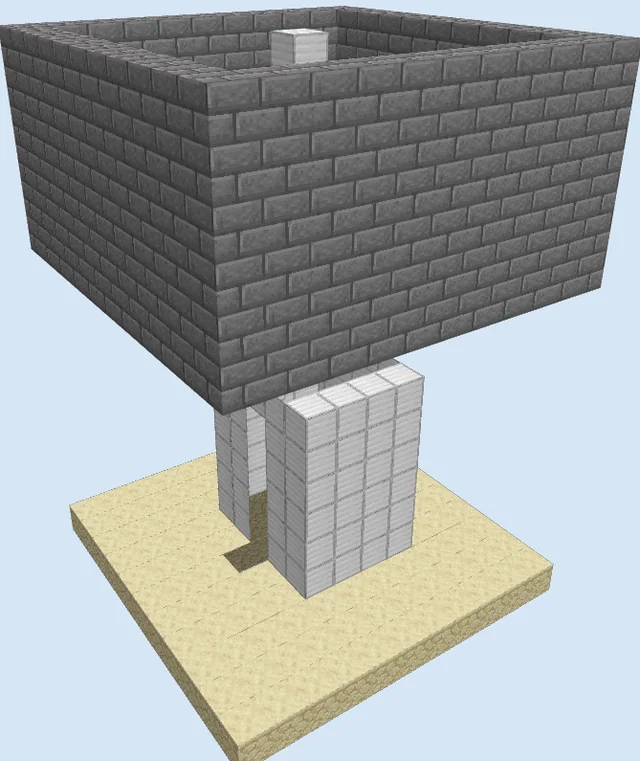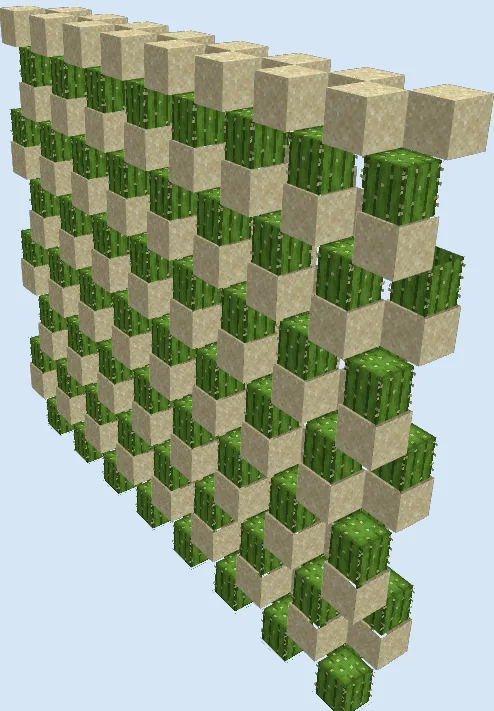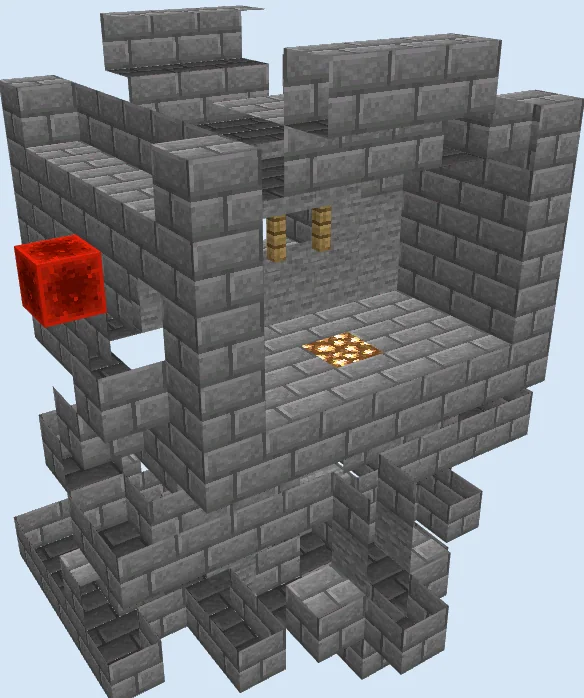
What you are building
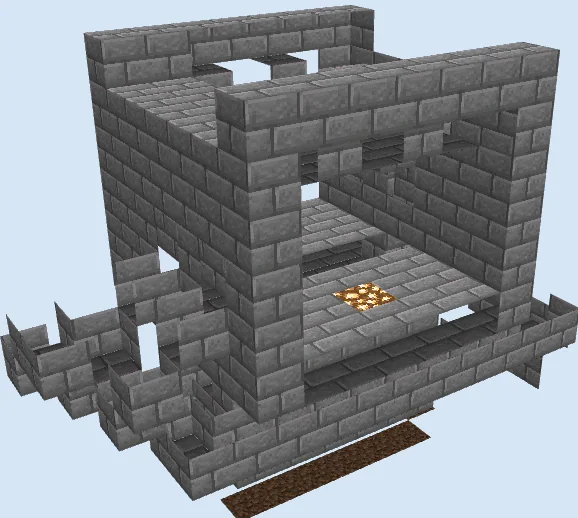
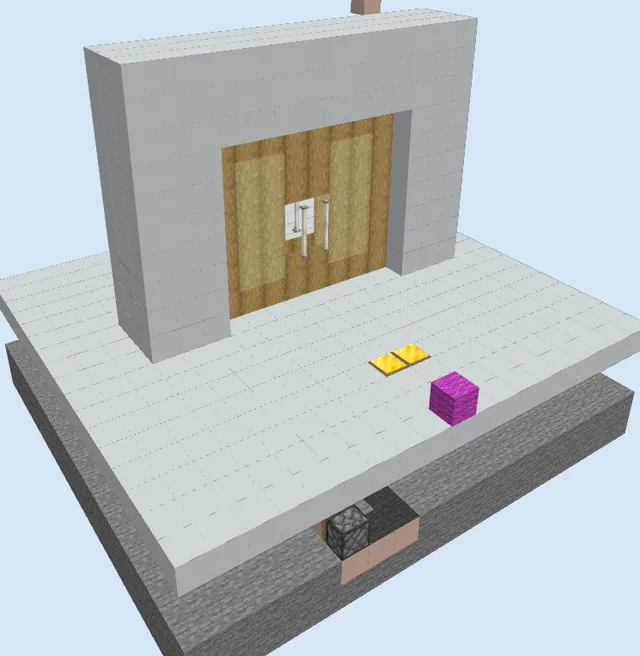
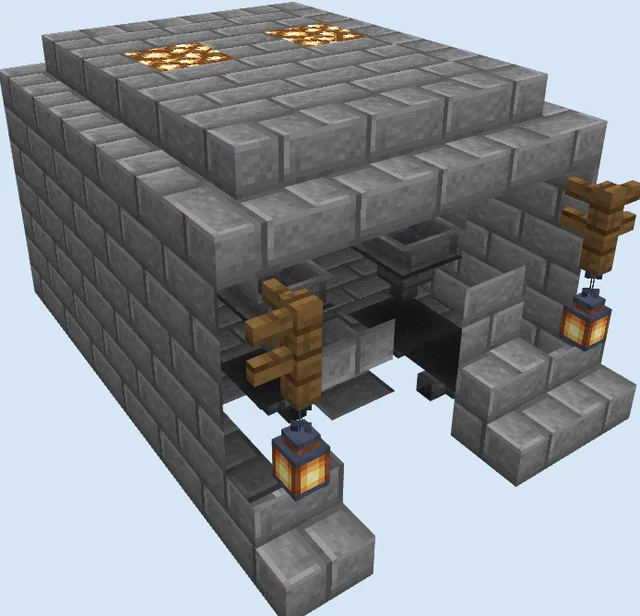
The Compact Command Block Piston Door provides a heavily fortified, stone brick entryway that merges mechanical piston movement with command block functions. It delivers a seamless, automated gateway ideal for custom adventure maps, server hubs, or private bases where standard iron doors are simply too basic.
Constructed within a compact 9x13x8 footprint, this build fits neatly into underground bunkers, castle gatehouses, or fortress walls. Although the design originated in an earlier game version, redstone and piston mechanics have stayed consistent over the years, making it a reliable fixture once tested in creative mode.
Command blocks require creative mode and operator permissions (cheats enabled) to obtain and configure, so set them up before locking your world into survival.
Because this design comes from an older file format, test the build in a creative test world first to ensure your command syntax matches current game standards.
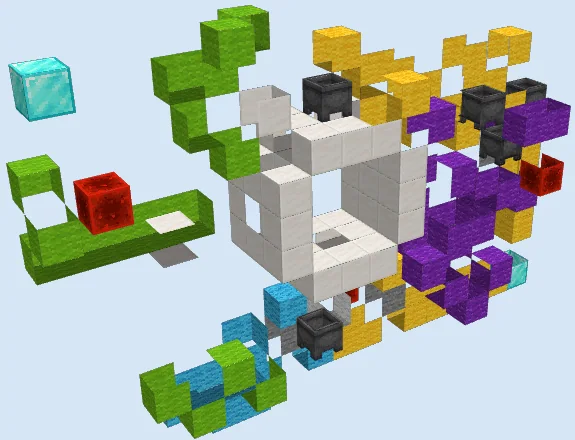
Materials 333 blocks · 15 types
- Stone Bricks1953 stacks + 3
- Redstone Wire32
- Stone Brick Stairs18
- Stone17
- Stone Brick Slab15
- Repeater14
- Command Block8
- Redstone Torch8
- Piston7
- Sticky Piston5
- Redstone Block4
- Oak Wall Sign3
- Oak Fence3
- Glowstone2
- Oak Button2
How it works
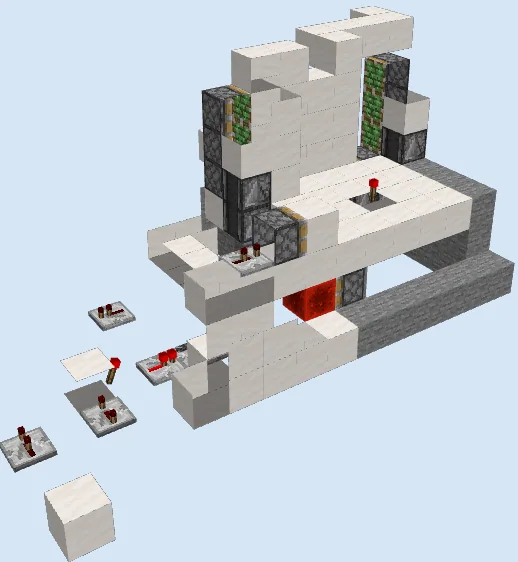
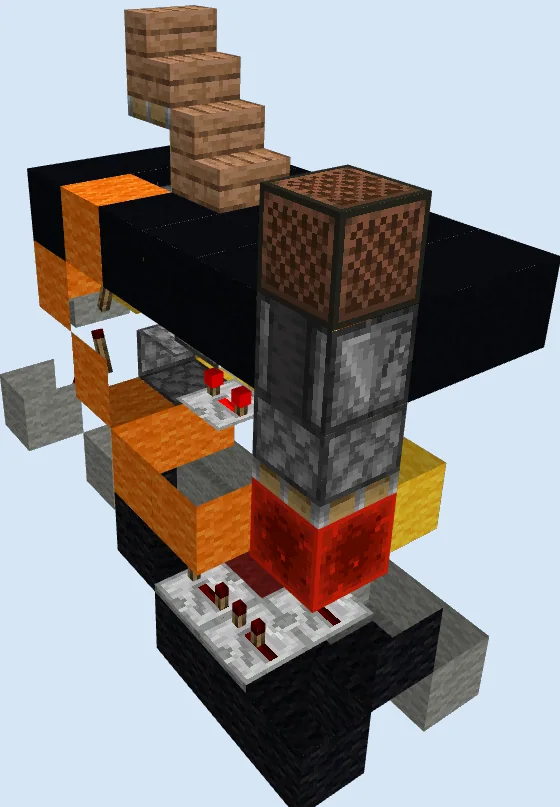
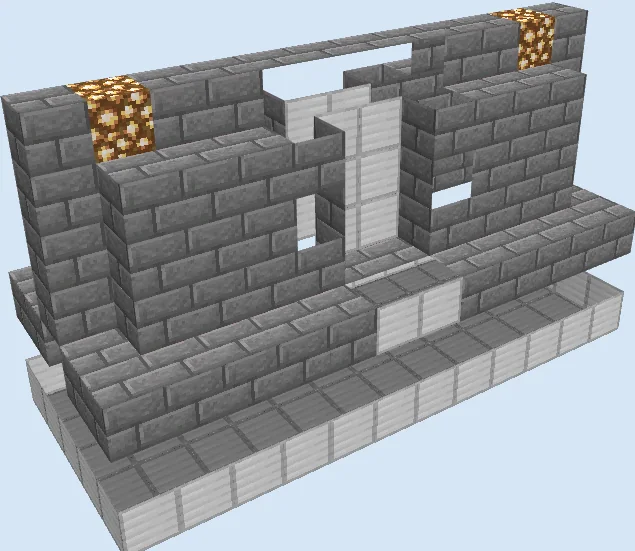
When an oak button is pressed, the redstone signal routes through stone brick channels lined with redstone wire, repeaters, and redstone torches. This pulse activates command blocks set into the frame to trigger custom door logic alongside the physical piston cycle.
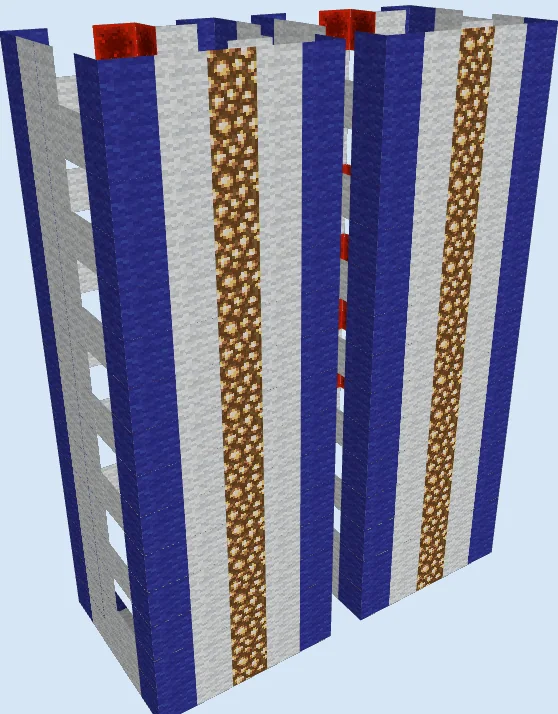
The sticky pistons and standard pistons retract and push the stone door blocks back and forth in sync. Redstone blocks and torch towers update the state cleanly, while overhead oak fences help establish the gate boundary above the illuminated glowstone floor.
How to use it
To operate the door, step onto the stone brick walkway and press the mounted oak button. Wait for the pistons and command blocks to cycle the entryway open, walk through the passageway over the centered glowstone block, and allow the timed repeater circuits to seal the doorway firmly behind you.
Lay the subfloor and wiring trenches
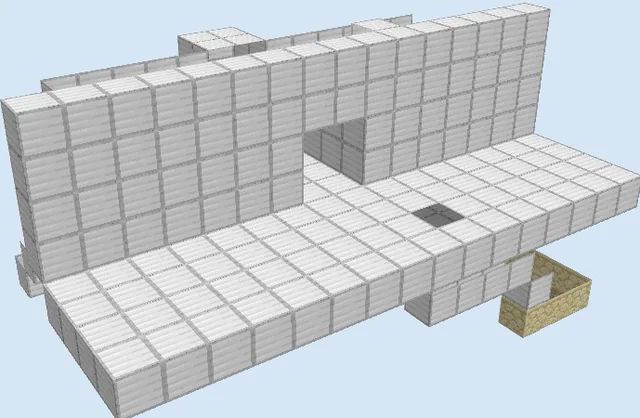
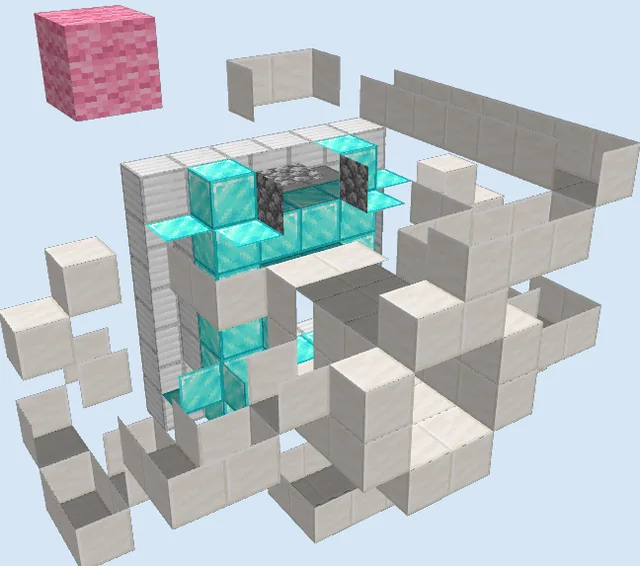
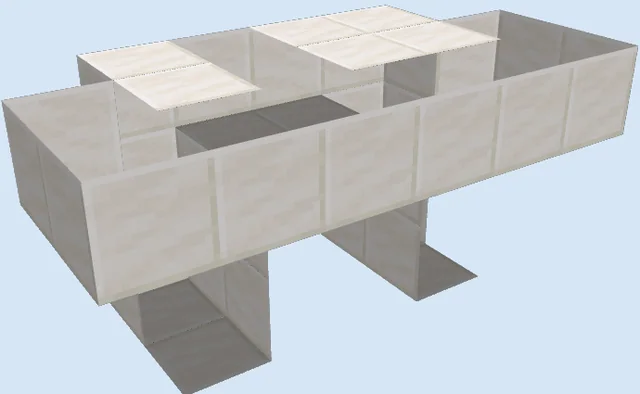
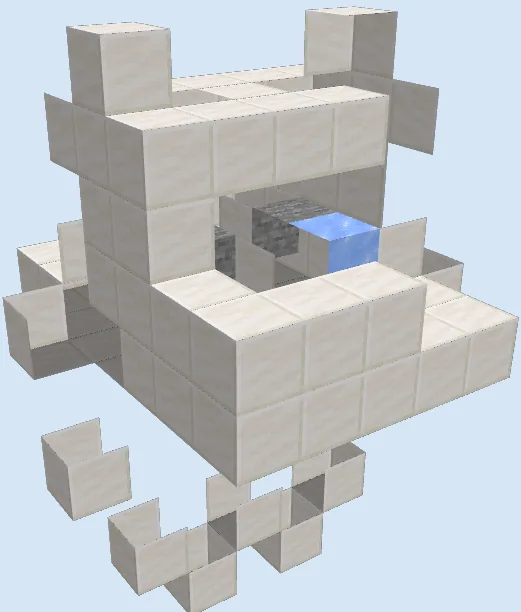
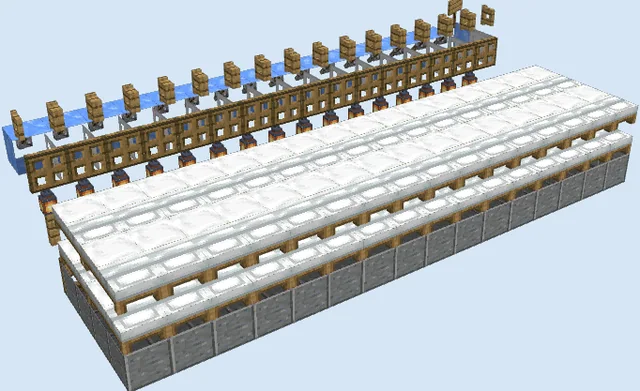
Layers 1–3 of 11Lay out the foundation footprint using stone bricks, stone, and stone brick slabs to create the lower mechanical channels. Form the tiered stepped recesses with stone brick stairs to guide incoming redstone circuits underneath where the main walkway will sit.
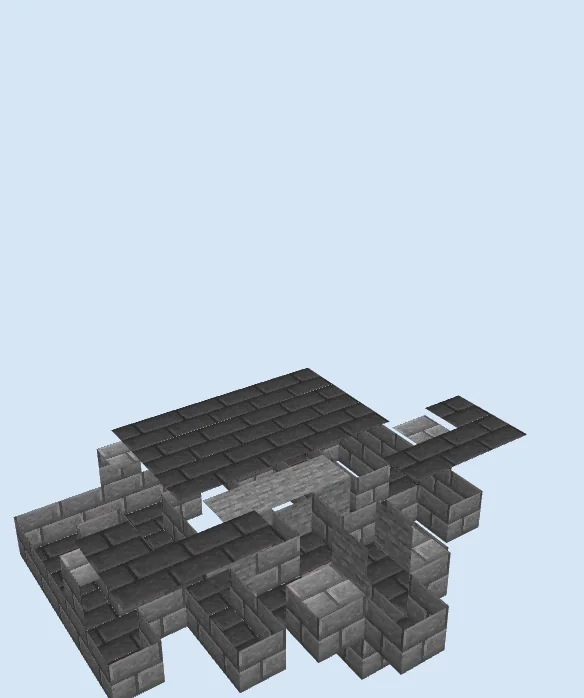
Construct the floor and lower walls
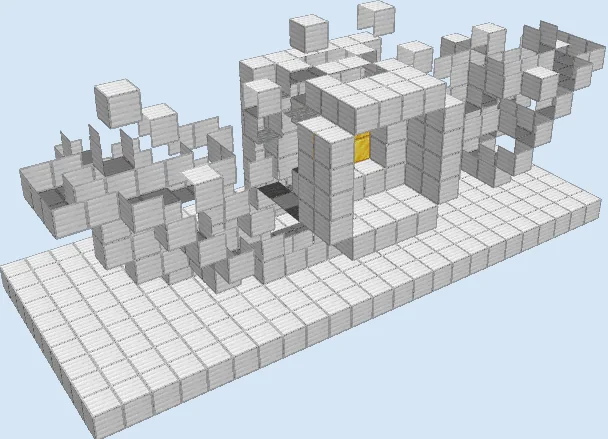
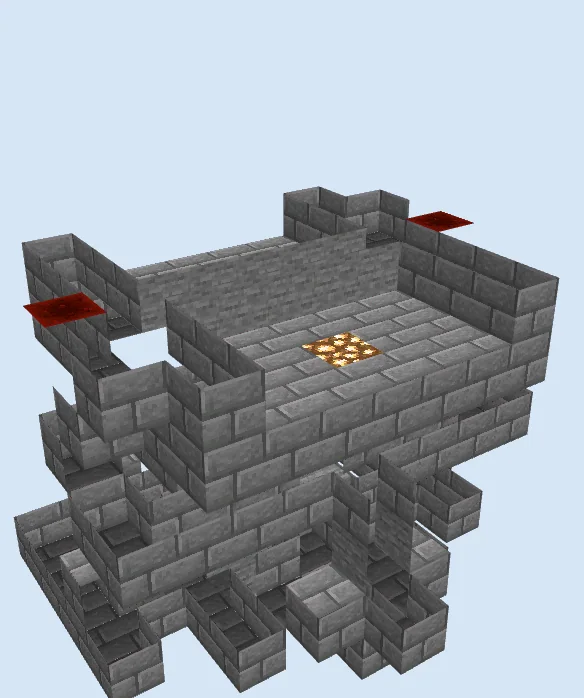
Layers 4–7 of 11Fill in the central stone brick walkway and embed a glowstone block right in the center to keep the corridor lit. Raise the side stone brick perimeter walls and position redstone dust along the designated upper ledges to prepare the lateral signal lines.
Assemble the upper gate and drive mechanism
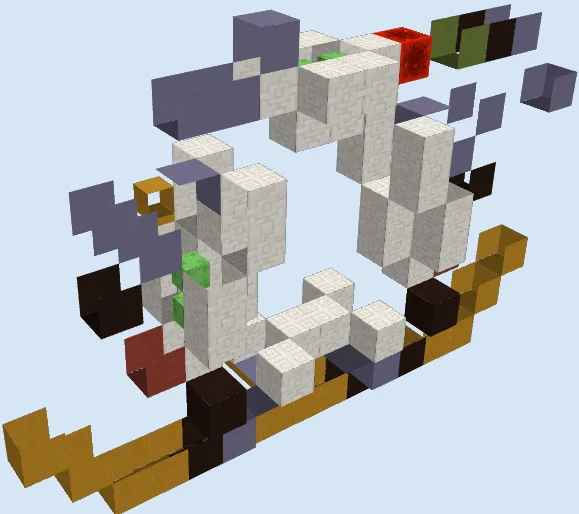
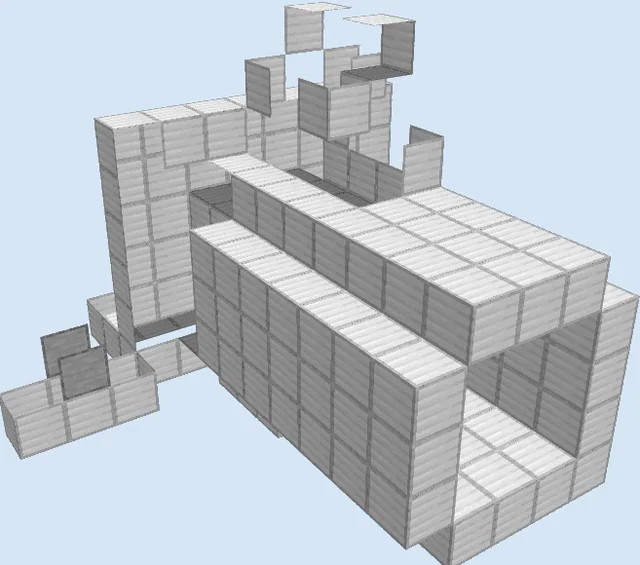
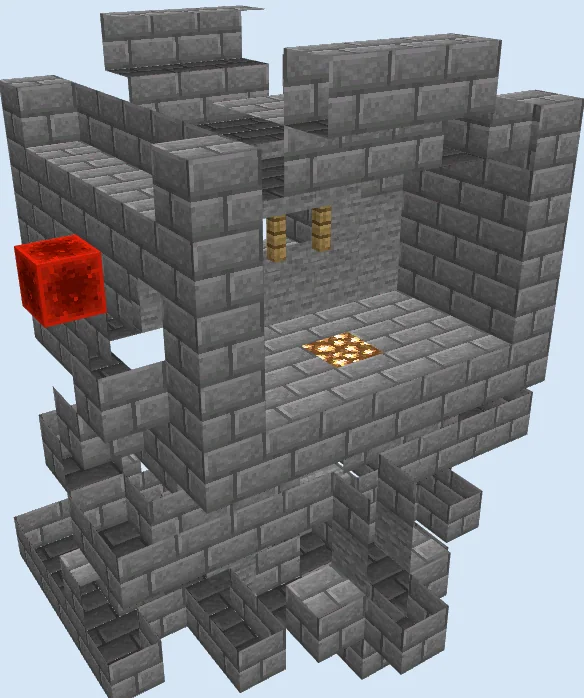
Layers 8–11 of 11Mount the sticky pistons, pistons, and command blocks into the upper archway alongside the oak fences. Connect the remaining repeaters, torches, and redstone block to power the top drive and complete the upper stone brick casing.
Finishing touches
Test the door by pressing the button from both sides to ensure the pistons extend and retract in the correct sequence without sticking. Verify that all command blocks have appropriate commands entered and that the repeater delays match your desired walk speed.
Frequently Asked Questions
Can I build this door in pure survival mode?
While the pistons and redstone components function in survival, the command blocks cannot be obtained or edited without creative mode and cheats enabled.
What happens if a piston doesn't retract?
Check the repeater timings along the side wiring channels, as pistons require distinct tick delays to pull and push blocks without jamming.