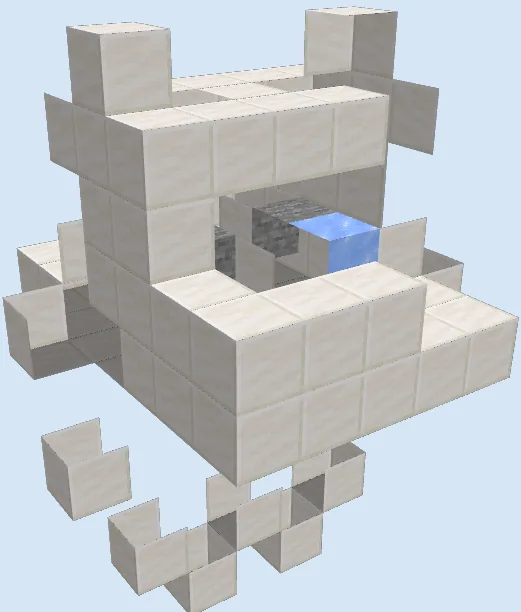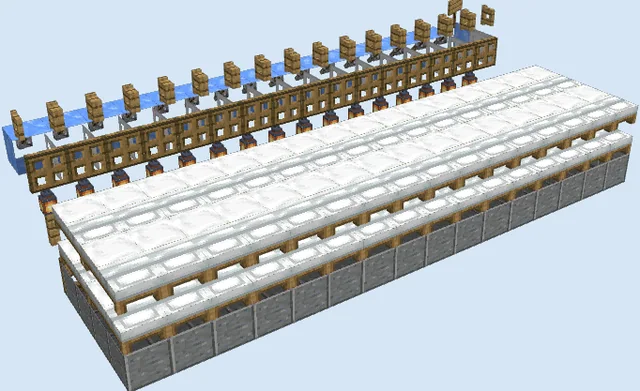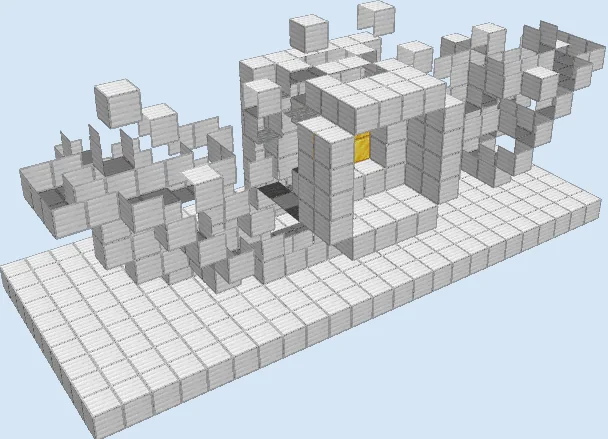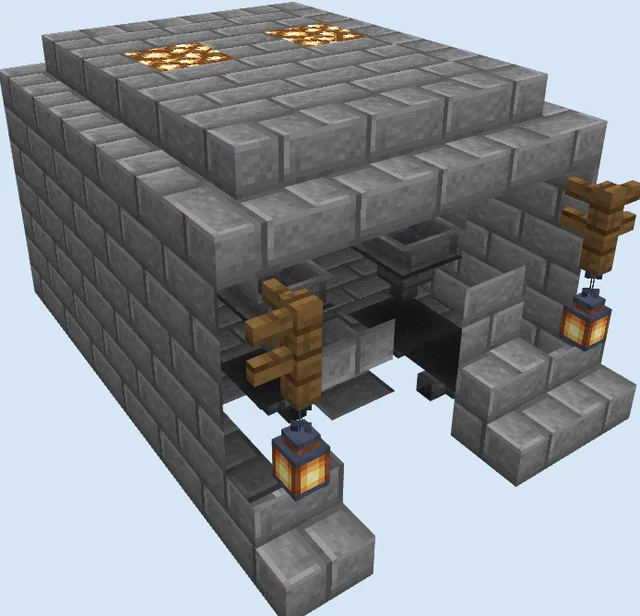
What you are building
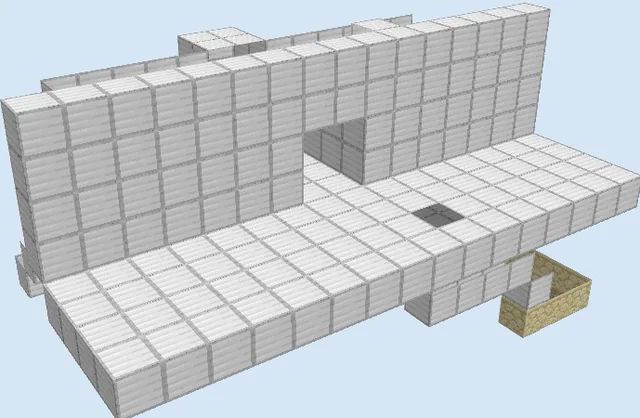
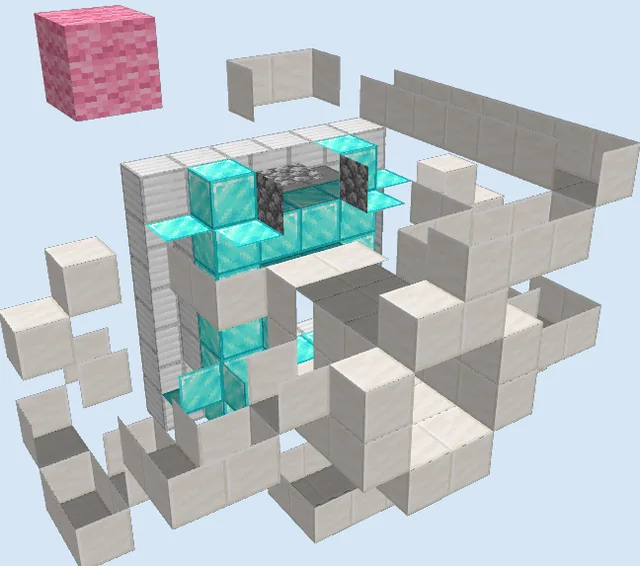
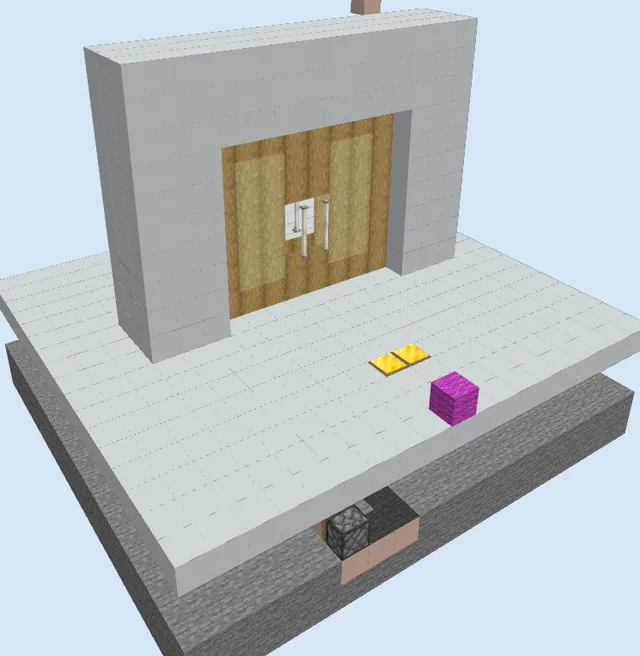
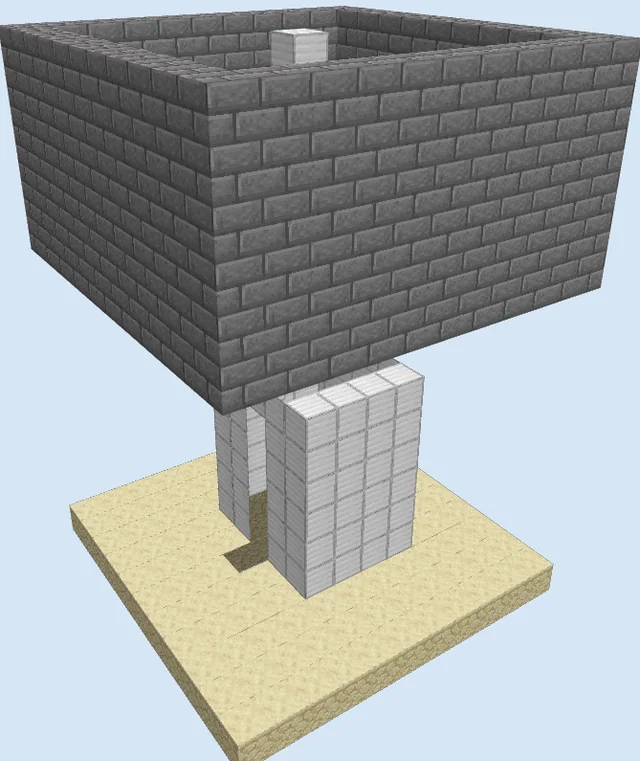
The Compact Four by Five Piston Door provides a grand, automated entrance for large bases, underground bunkers, and castle gates. Rather than settling for a standard two-by-two doorway, this build seamlessly pulls away a massive 4x5 wall of chiseled quartz blocks to reveal a wide passage.
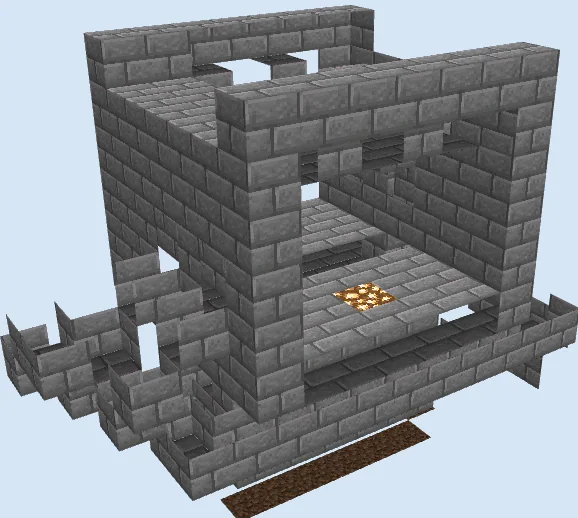
Because the wiring wraps neatly around the perimeter of the frame, you can easily integrate this doorway into mountain facades, perimeter walls, or subterranean vaults. The structure relies on coordinated piston extensions and slime blocks to retract the doorway smoothly when activated.
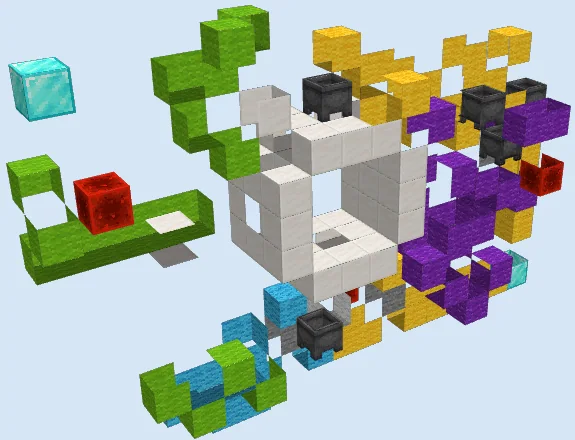
Materials 187 blocks · 14 types
- Redstone Wire46
- Chiseled Quartz Block38
- Yellow Terracotta24
- Sticky Piston23
- Light Blue Terracotta15
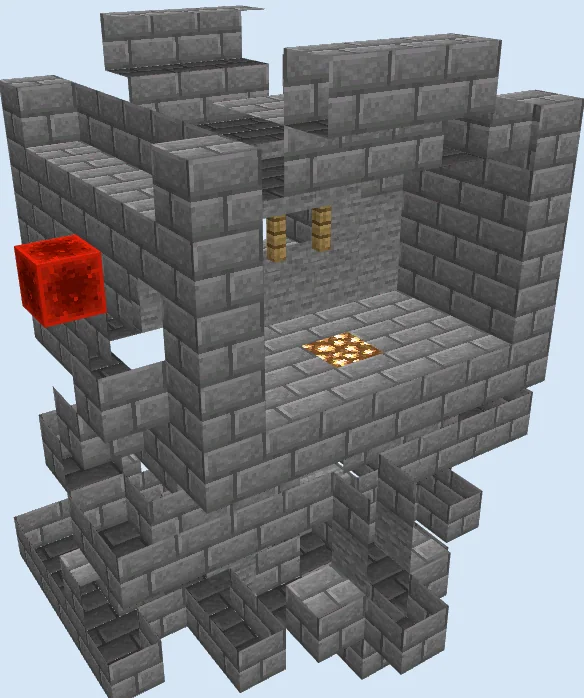
- Stone Slab12
- Black Terracotta9
- Repeater7
- Slime Block6
- Redstone Torch2
- Red Terracotta2
- Lever1
- Redstone Block1
- Lime Terracotta1
How it works
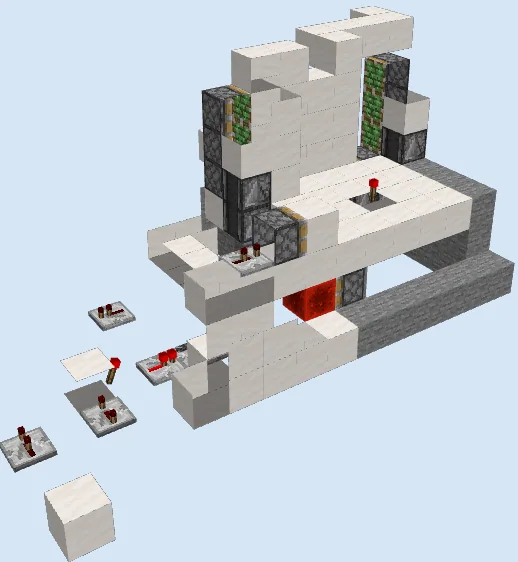
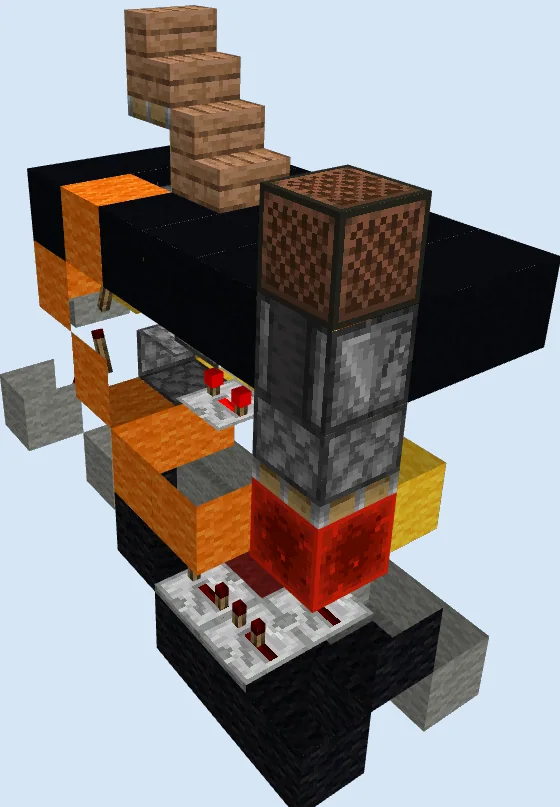
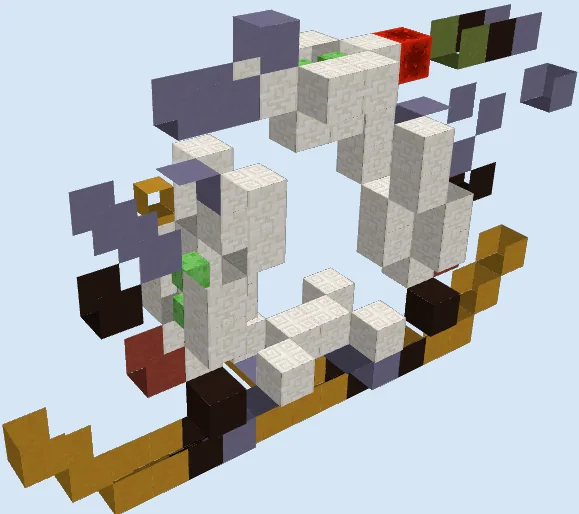
A single lever serves as the input toggle, distributing redstone signals across colored terracotta channels. Signal lines running along yellow, light blue, and black terracotta feed repeaters and redstone dust into several clusters of sticky pistons arranged around the frame.
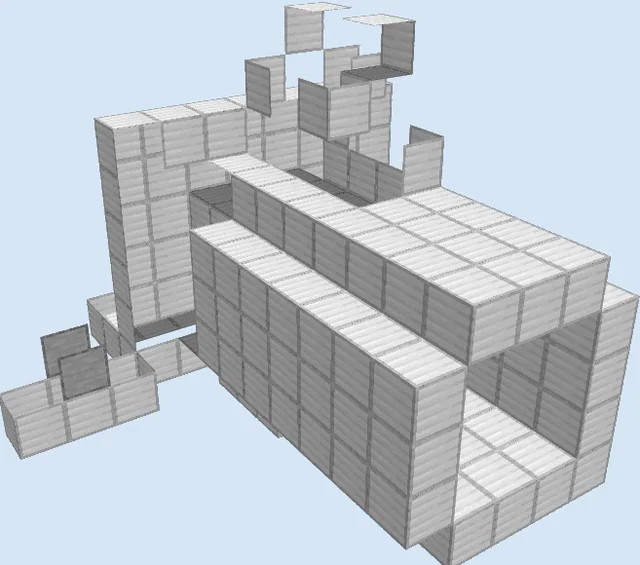
When toggled, the sticky pistons use attached slime blocks to grab sections of the chiseled quartz doorway and pull them backward and outward into the surrounding wall cavity. A redstone block and stepped stone slabs maintain correct timing and power distribution so the door opens and seals without jamming.
How to use it
Mount the lever to your preferred input position at the entrance. Flip the lever once to retract the sticky pistons and open the 4x5 walkway, walk through the corridor, and flip an interconnected switch on the other side to extend the quartz blocks and seal the passage shut.
Lay the Base Wiring Trenches
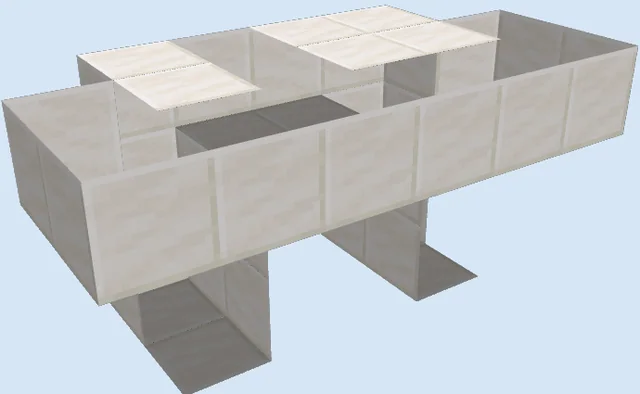
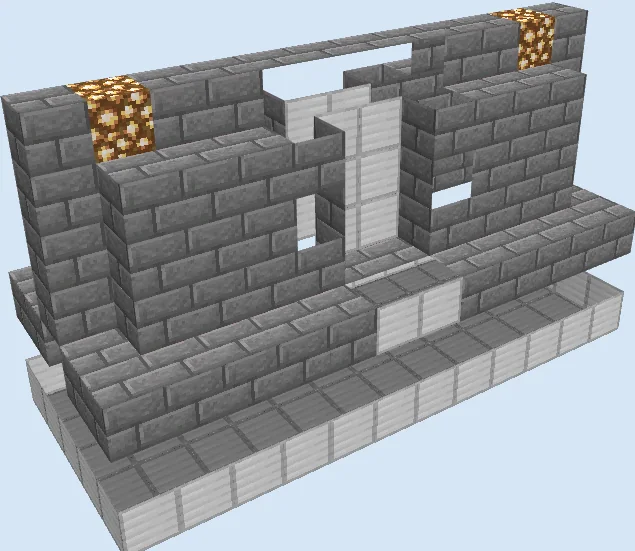
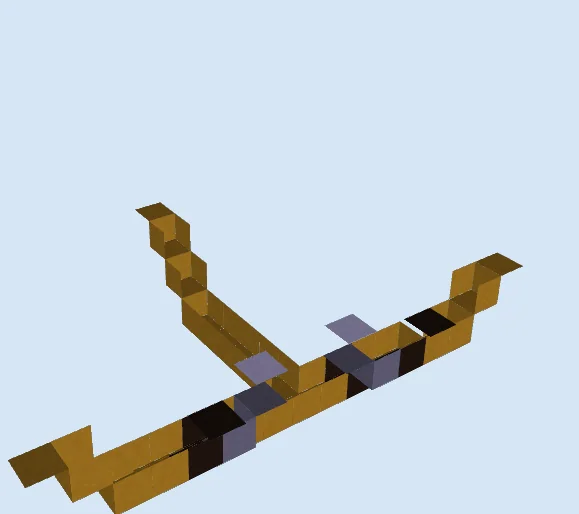
Layers 1–3 of 12Dig out the lower foundation and lay down the yellow terracotta runners that form the bottom circuit branches. Position the black terracotta and light blue terracotta blocks along the center line, and place stone slabs along the stepped inclines to carry redstone wire beneath the future floorway.
Install Lower Pistons and Door Leaf
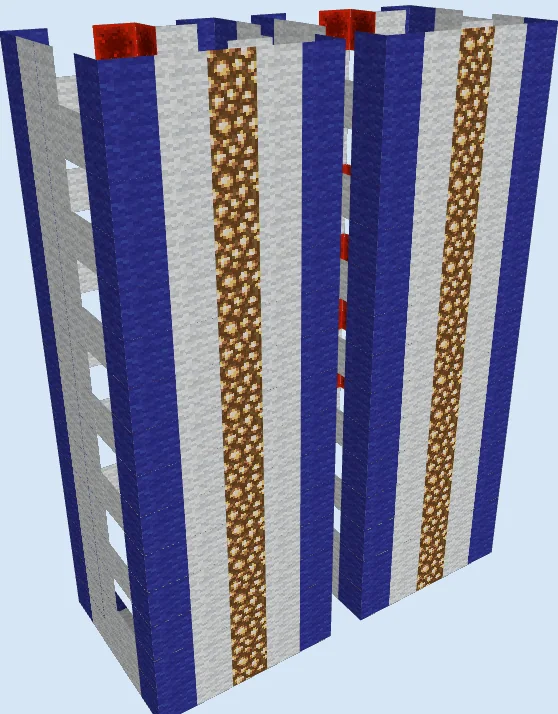
Layers 4–7 of 12Place the lower sticky pistons facing upward and inward along both sides of the doorway. Attach slime blocks to the piston heads, then mount the lower section of chiseled quartz blocks that make up the bottom half of the door panel. Extend the red and yellow terracotta side supports upward to frame the lower half.
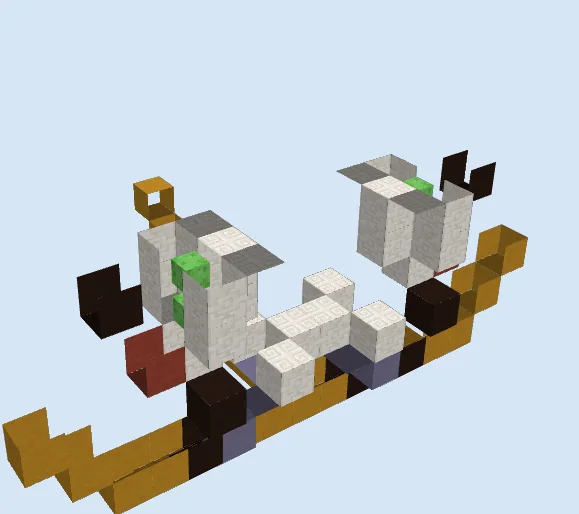
Mount Upper Pistons and Top Mechanism
Layers 8–12 of 12Build the upper arch using light blue, lime, and black terracotta to route redstone across the top. Install the remaining downward-facing sticky pistons, slime blocks, and upper chiseled quartz blocks, then place the redstone block into the top timing circuit to complete the door mechanism.
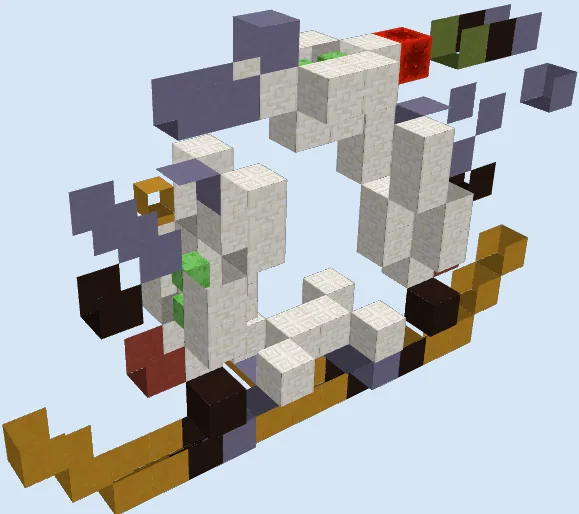
Finishing touches
Test the door by toggling the input lever several times to verify all piston extensions fire in proper sequence. Ensure the blocks surrounding the slime blocks are non-stick or air, as regular solid blocks will catch and break the mechanism. Because this design originates from an older file format, test it thoroughly in a creative world before building it in survival.
Frequently Asked Questions
Can I replace the chiseled quartz with a different block?
Yes, you can swap the chiseled quartz for any movable full block such as smooth stone, concrete, or planks, provided it is not an immovable block like obsidian.
Why does the door jam when closing?
Door jams are almost always caused by an adjacent block sticking to the slime blocks during movement, or a repeater tick delay being altered during placement.
Can this door be hooked up to pressure plates instead of a lever?
Yes, you can wire pressure plates or stone buttons into a T-flip-flop circuit to send a toggled signal directly into the main input line.