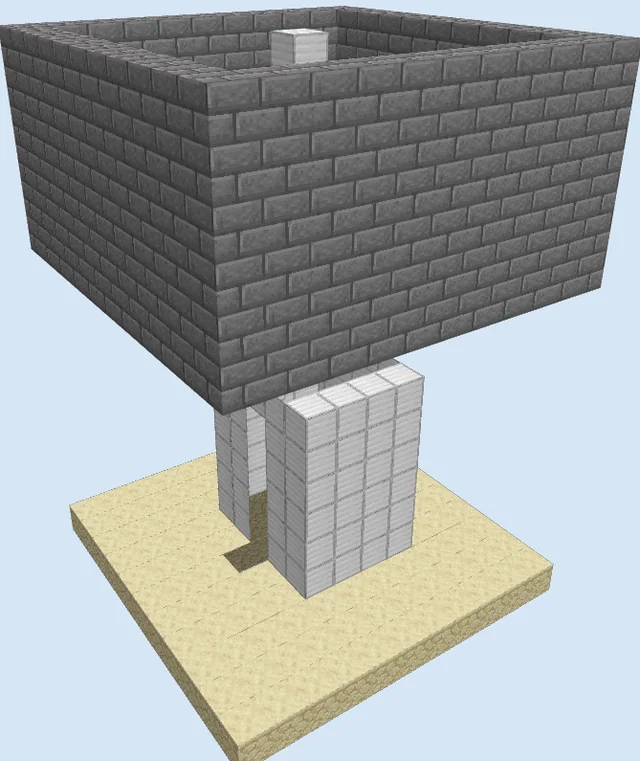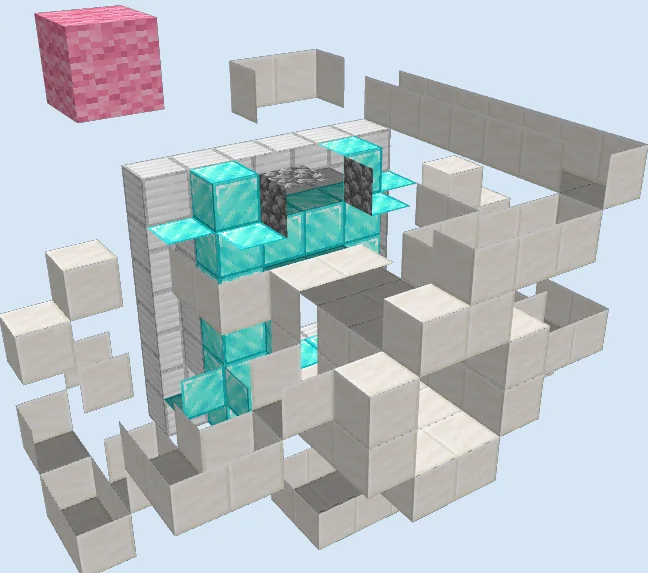
What you are building
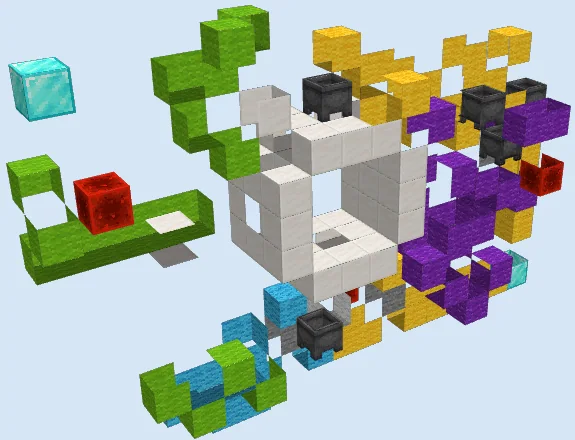
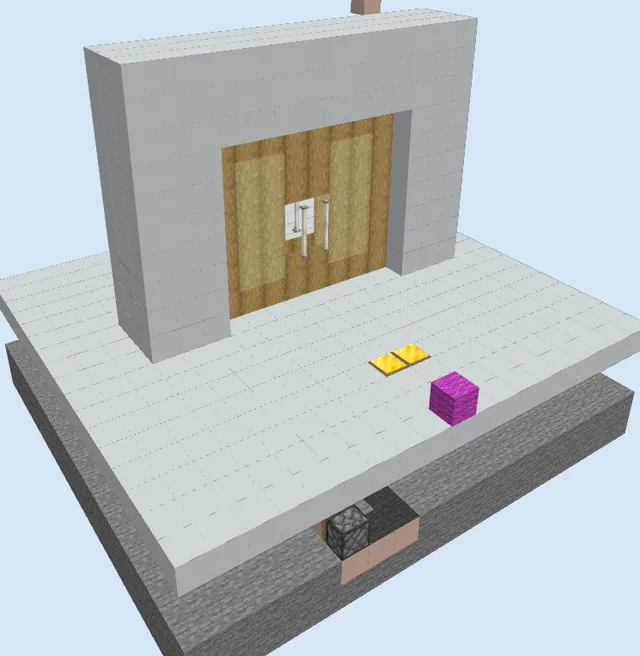
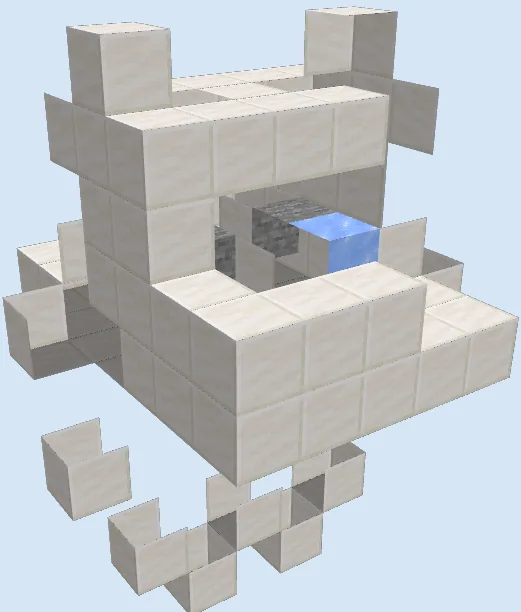
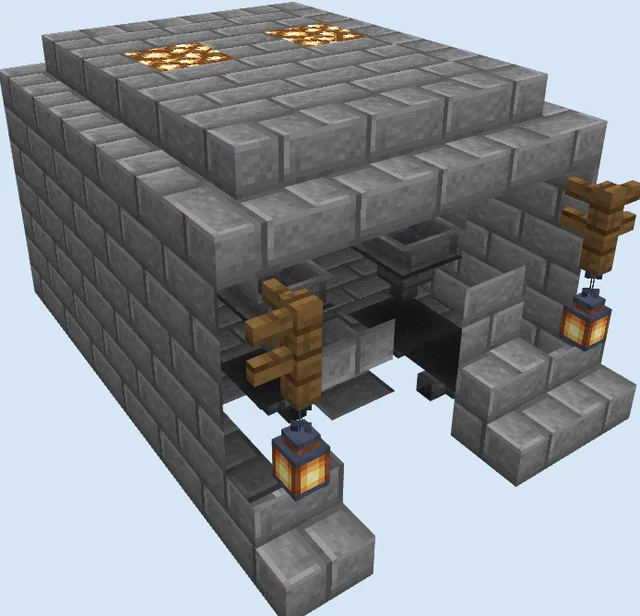
The Compact Heavy Redstone Piston Door is a sturdy, concealed entryway designed to secure vault rooms, mountain bases, and bunker facilities. By relying on a coordinated array of sticky pistons and wire pathways, it moves a solid wall of diamond blocks cleanly into position to create an impenetrable barrier.
This design originates from an older file format, but its core redstone and piston mechanics have remained unchanged for years. Before gathering all your resources in survival, be sure to test the wiring layout in a creative world first to confirm timing and behavior.
The diamond and iron blocks are purely decorative choices; you can swap them for stone, deepslate, or any other pushable block that matches your base theme.
Do not substitute full blocks for the cobblestone slabs along the upper wiring track, as full solid blocks will inadvertently cut or redirect adjacent redstone dust signals.
Materials 214 blocks · 11 types
- Quartz Block761 stack + 12
- Redstone Wire39
- Diamond Block28
- Sticky Piston24
- Iron Block22
- Redstone Torch9
- Repeater8
- Cobblestone Slab3
- Pink Wool2
- Cobblestone2
- Lever1
How it works
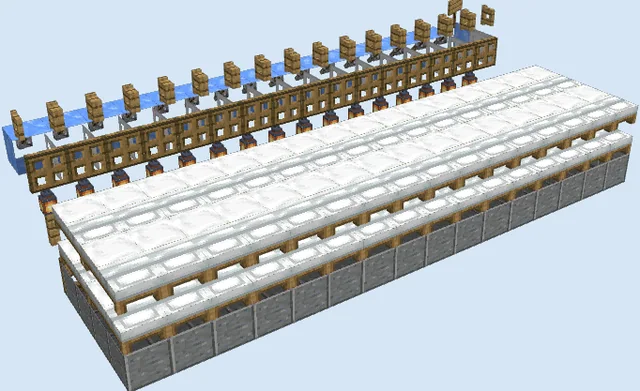
Activating the lever sends a current through redstone wire laid out along stepped quartz blocks. Redstone repeaters delay signal pulses to ensure pistons extend and retract in the correct order, while redstone torches invert signals to keep the door firmly held shut in its default state.
A total of twenty-four sticky pistons work in tandem around the perimeter. When toggled, the pistons grab the diamond blocks and pull them flush into the surrounding iron block frame, clearing an unobstructed path through the corridor.
How to use it
To operate the door, stand in front of the access point near the pink wool marker and flip the lever. Allow the piston cycle to complete fully before walking through the doorway, and toggle the switch again to reseal the vault behind you.
Lay the Base and Lower Wiring
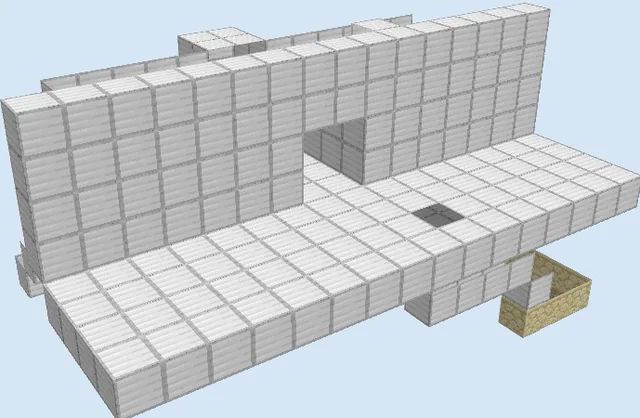
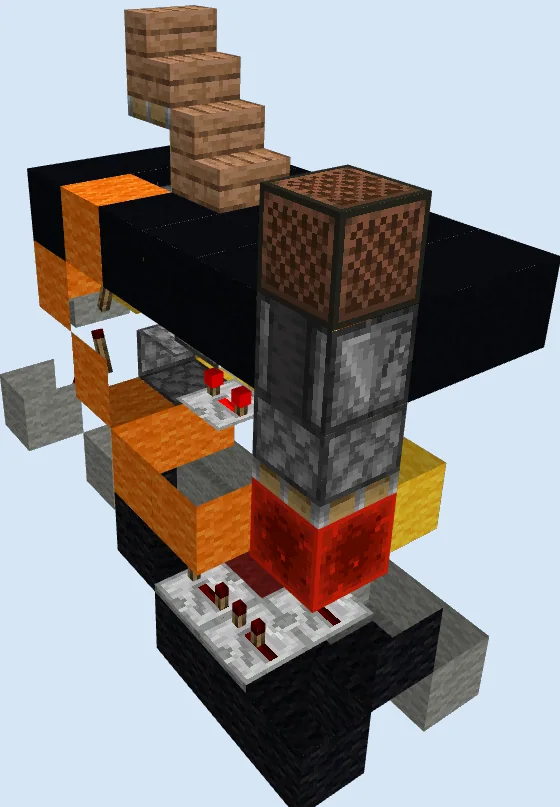
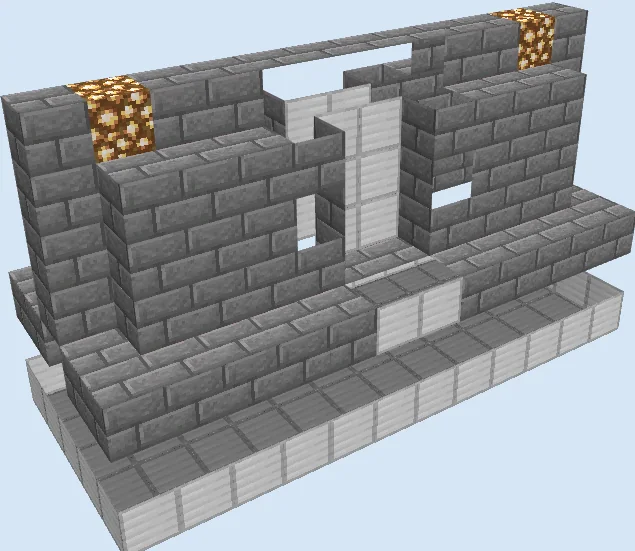
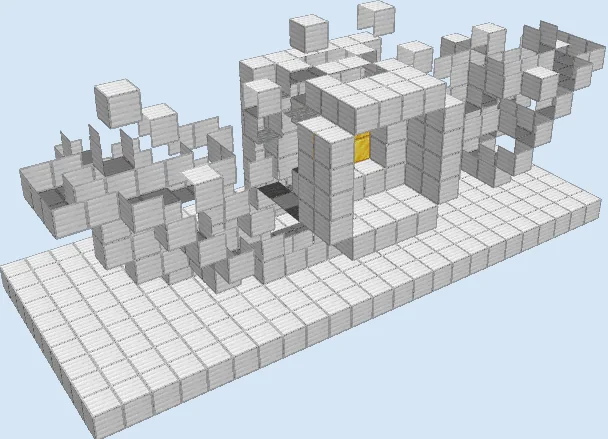
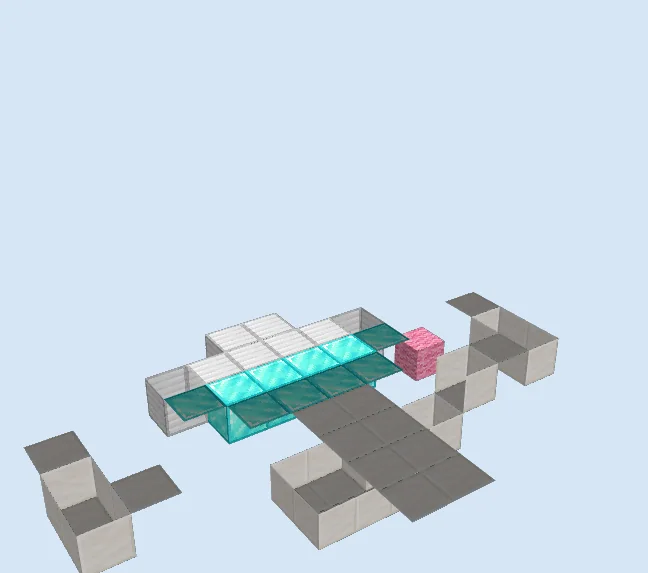
Layers 1–3 of 12Place the bottom foundation using quartz blocks to establish the lower redstone troughs. Set down the initial row of diamond blocks for the door base alongside the lower iron blocks and a pink wool marker block.
Lay down redstone wire across the quartz shelves to power the lower sticky pistons that will elevate the bottom portion of the door.
Assemble the Midsection and Piston Columns
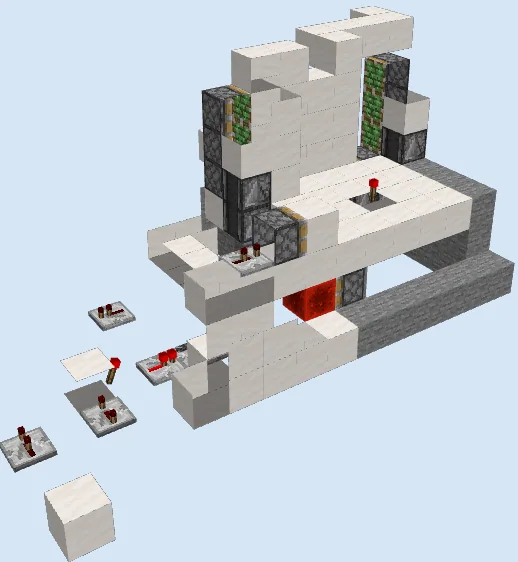
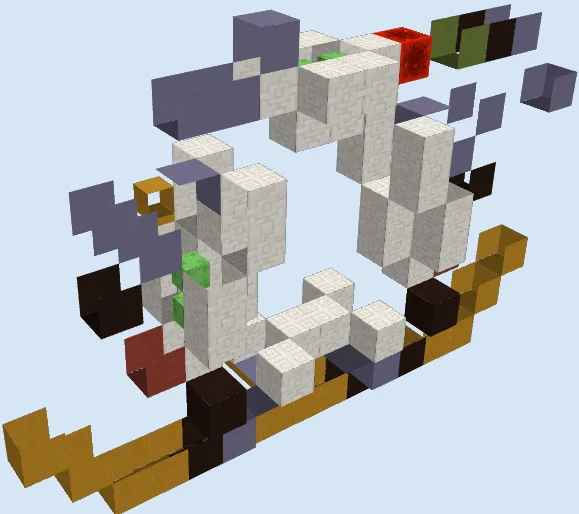
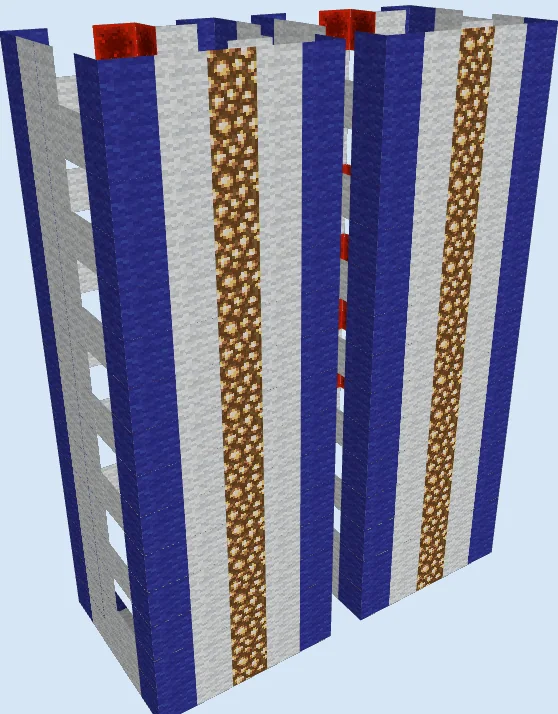
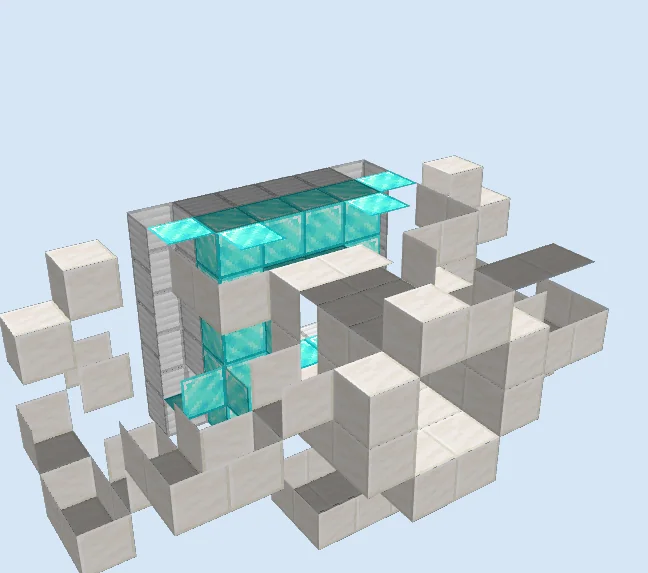
Layers 4–7 of 12Stack the vertical columns of diamond blocks to form the main sliding door panels, supported by a rear wall of iron blocks. Position sticky pistons along both sides facing inward toward the door frame.
Extend the stepped quartz block staircases outward on both flanks, placing redstone wire, repeaters, and redstone torches to drive the side pistons with proper signal delays.
Complete the Overhead Piston Drive
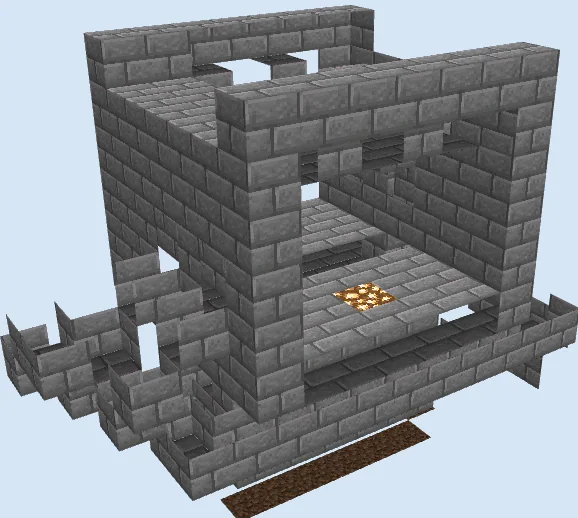
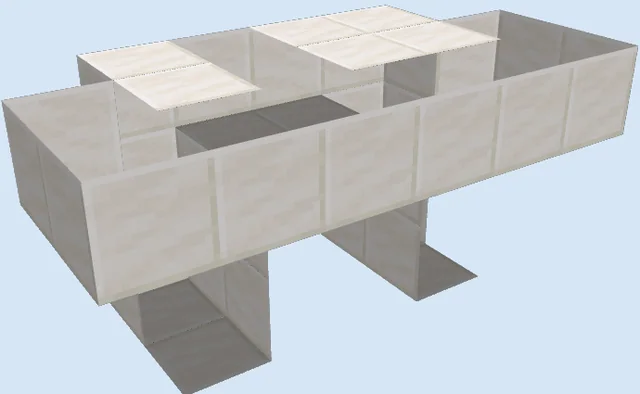
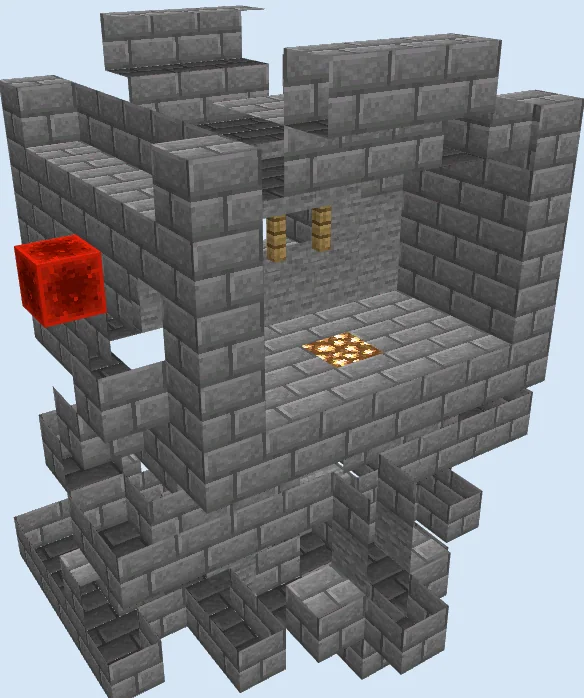
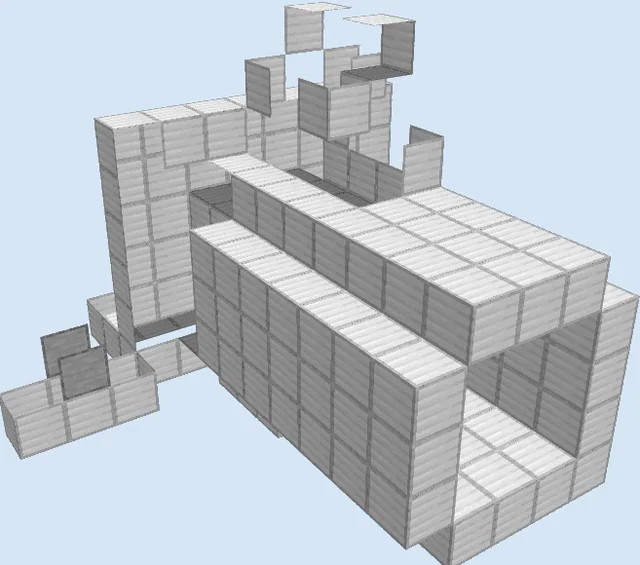
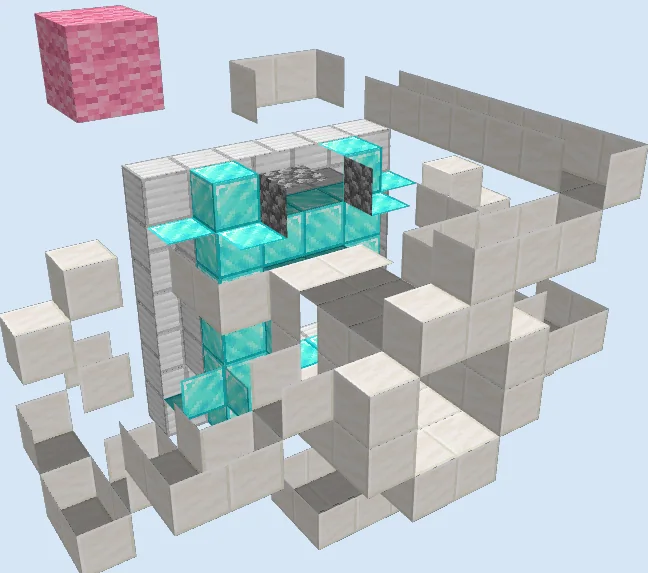
Layers 8–12 of 12Cap the upper doorway with the remaining diamond blocks, placing cobblestone and cobblestone slabs across the top lintel to isolate redstone lines and prevent signal cross-bleeding.
Finish routing the overhead redstone wire across the top quartz bridge down to the upper pink wool block, where the final operating lever is mounted.
Finishing touches
Test the door by flipping the lever multiple times to verify that all sticky pistons extend and retract smoothly without leaving any stray diamond blocks behind. Ensure all repeater delay ticks match the layout exactly, and illuminate the interior circuitry cavities with torches to keep hostile mobs from spawning within the mechanism.
Frequently Asked Questions
Can I replace the lever with pressure plates or buttons?
Yes, you can run a wire from a stone button or floor pressure plates into an input flip-flop circuit to trigger the door automatically as you approach.
Why are some blocks being left behind when opening?
If door blocks get detached, a repeater tick delay is likely misconfigured, causing the retraction sequence to fire before the pistons have finished grabbing the blocks.
Will this door work in modern editions?
The underlying piston and redstone repeater mechanics have remained stable across versions, but testing the schematic in a creative world beforehand is strongly recommended.