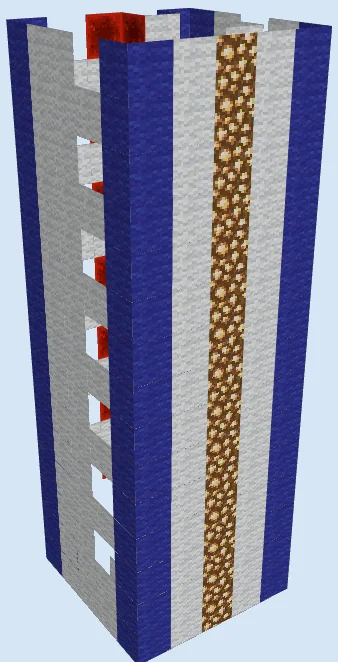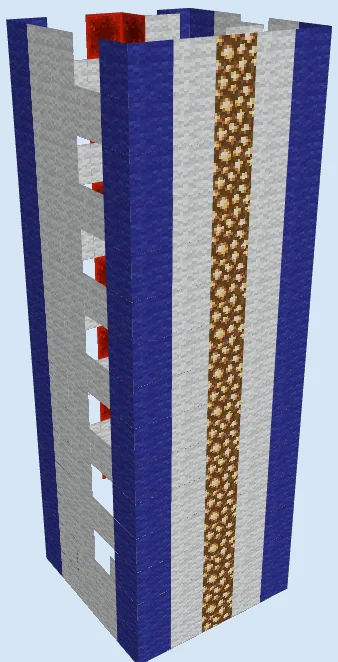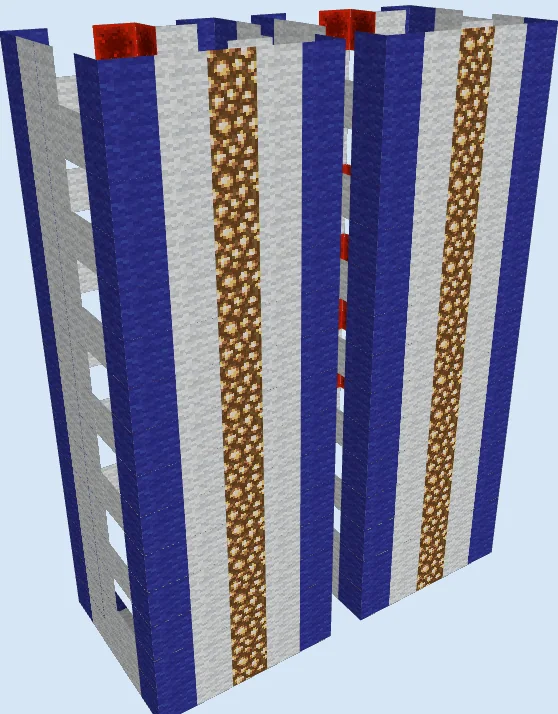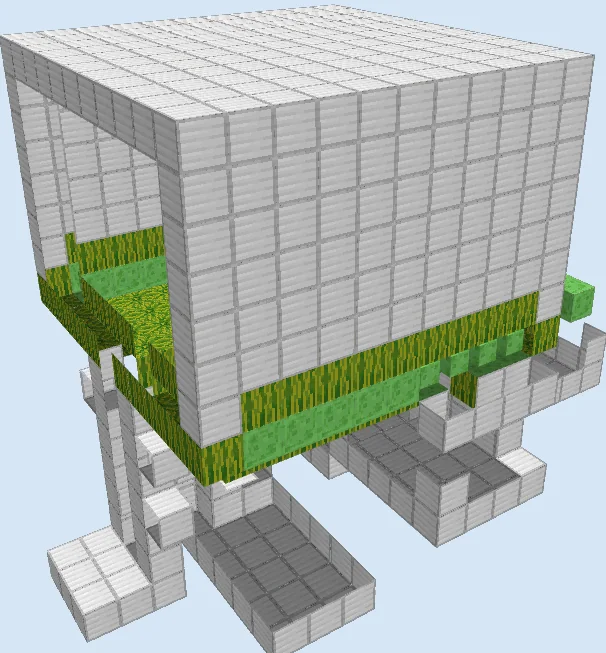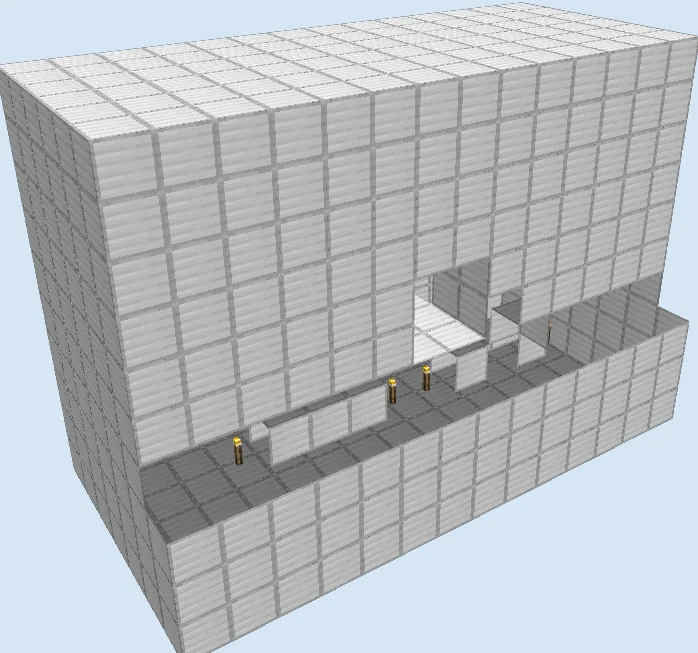
What you are building
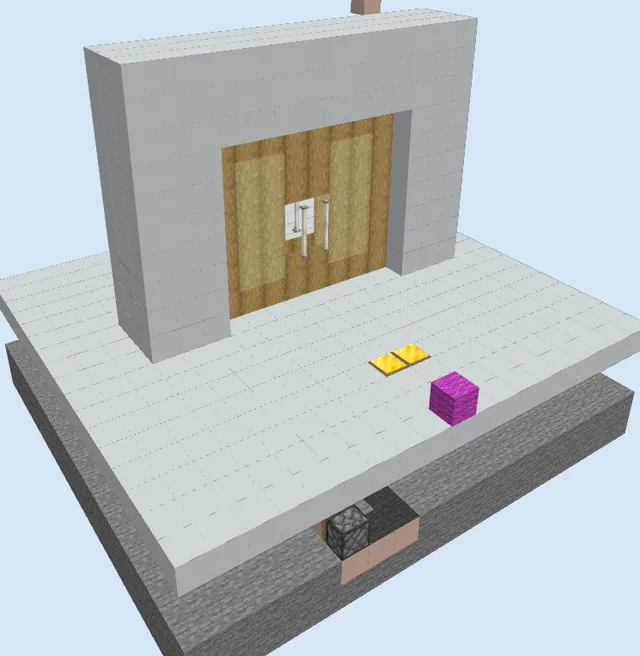
A flush piston door is the classic solution for securing bases, treasure vaults, or private corridors without leaving any telltale seams on the surface. When closed, the door faces seamlessly blend into the surrounding wall, keeping entryways completely hidden from visitors or hostile players.
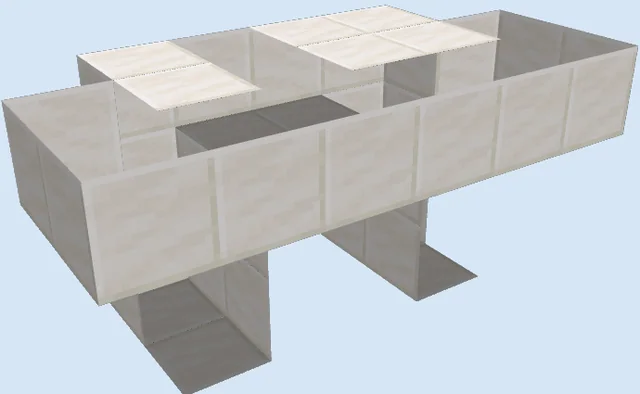
This design fits into an enclosed footprint measuring fourteen blocks wide and ten blocks high. It is ideal for mountain hideouts, underground bunkers, or fortress interior walls where you want a clean, concealed entrance operated by a single lever.
Because the mechanics rely on traditional piston timings, test it in a creative world before you commit resources in survival.
You can replace the front-facing iron blocks with stone, cobblestone, or wood to seamlessly camouflage the entrance into your surrounding wall theme.
Materials 781 blocks · 8 types
- Iron Block66110 stacks + 21
- Redstone Wire44
- Sticky Piston24
- Repeater19
- Grass Block14
- Torch12
- Ladder6
- Lever1
How it works
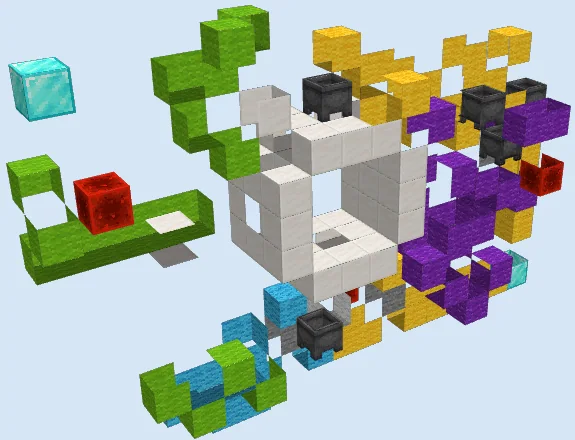
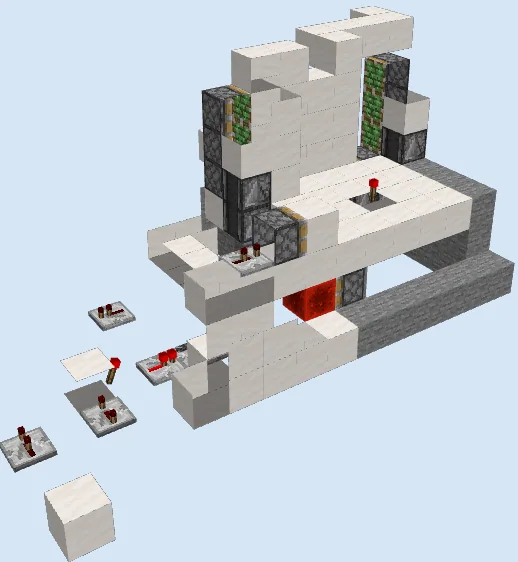
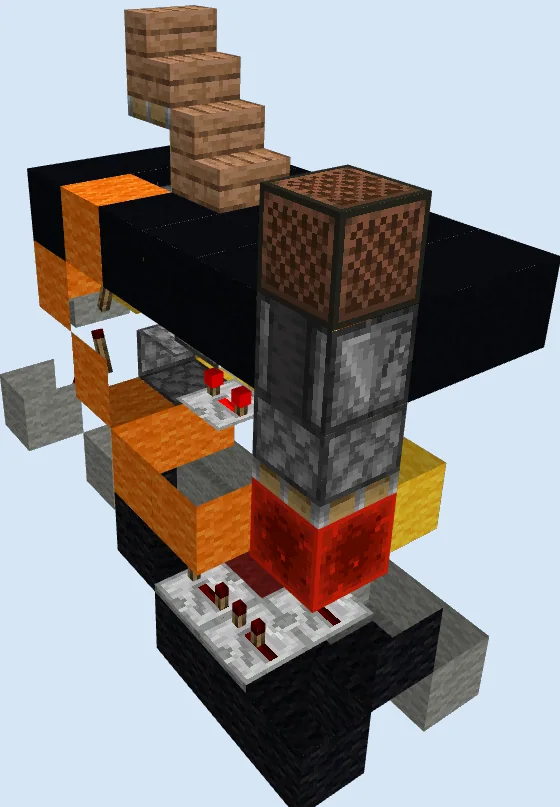
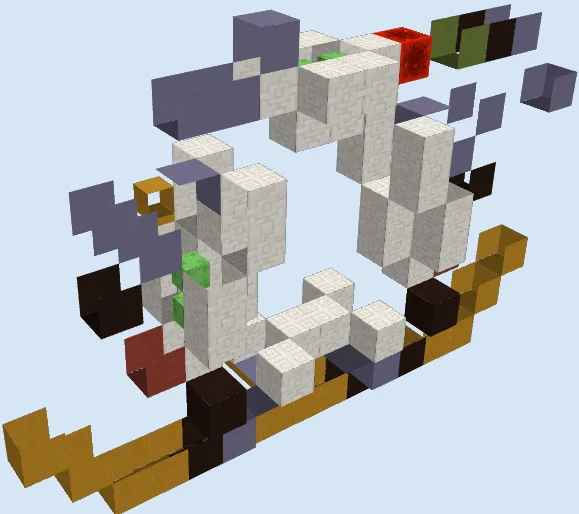
The mechanism relies on 24 sticky pistons arranged to execute a two-stage movement cycle. When the lever is switched off to open the door, repeaters manage the timing delays, allowing the front pistons to retract the door blocks one block into the wall before lateral sticky pistons pull the entire assembly sideways out of the walkway.
Closing the door reverses this sequence. Redstone wire and torches route power through the iron block framework to first push the door blocks into alignment and then extend them forward so they sit flush with the exterior wall surface.
How to use it
Mount the lever near the entrance corridor or route redstone wire to a discreet hidden trigger. Flip the lever to cycle the door open, walk through the unobstructed two-by-two corridor, and flip an interior switch or toggle the line to reseal the wall completely.
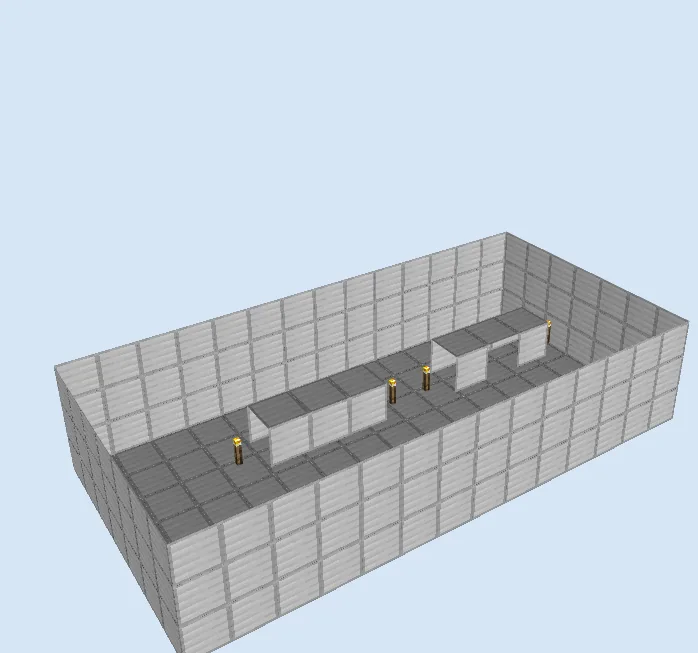
Establish the Foundation and Lower Redstone Floor
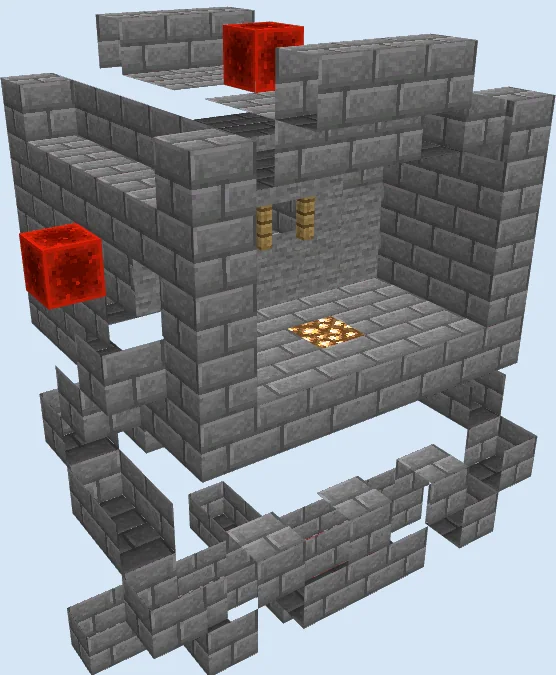
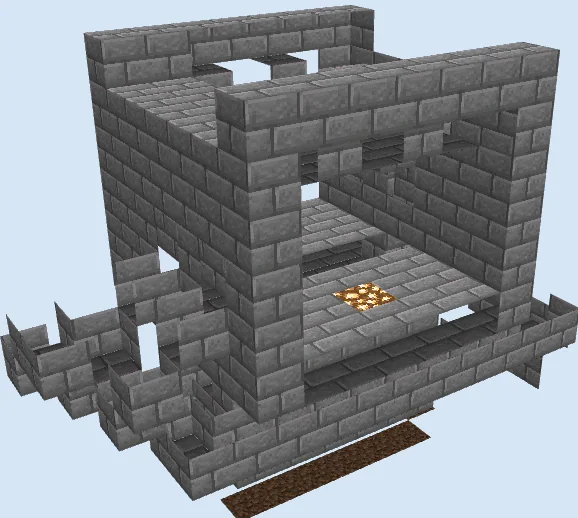
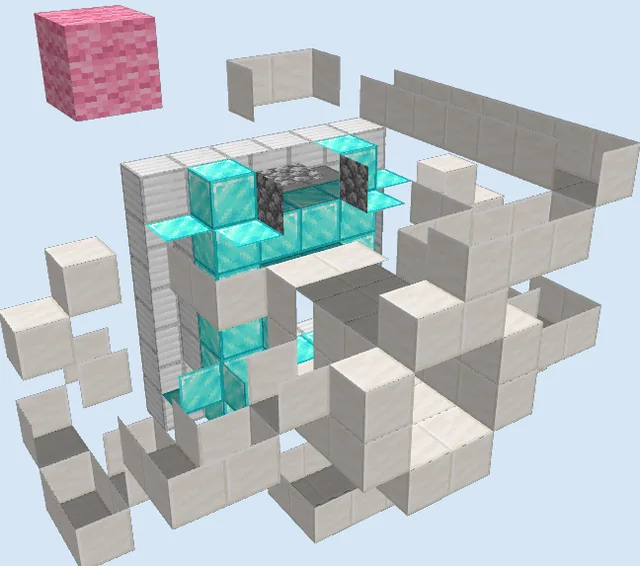
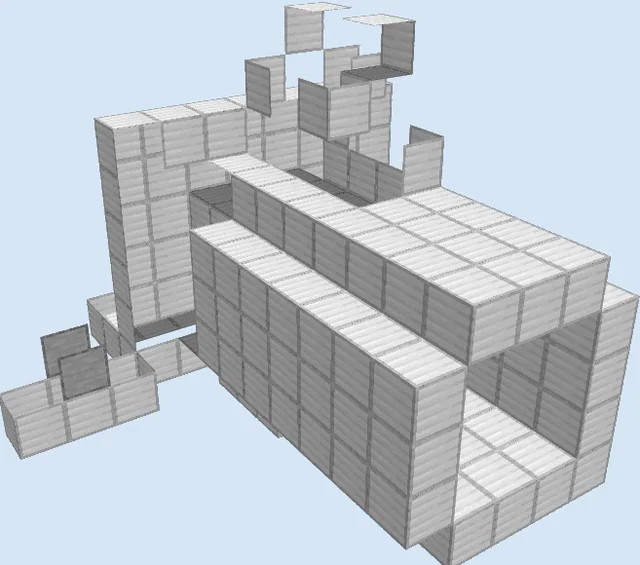
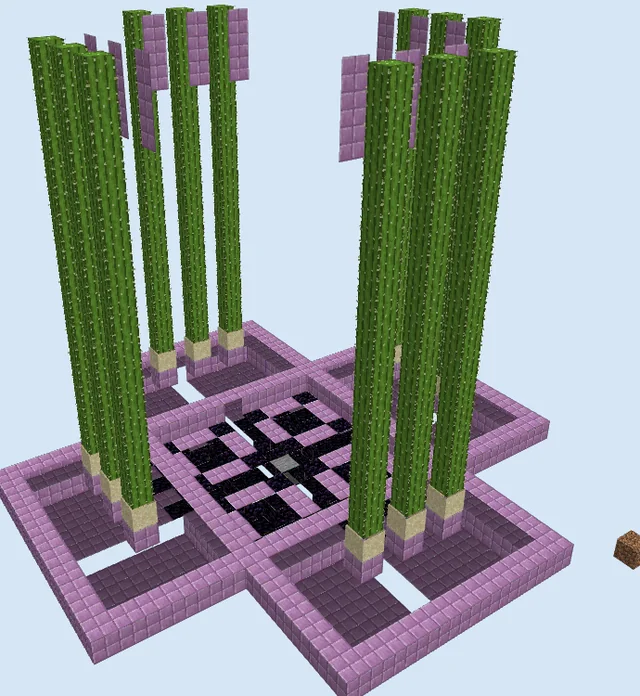
Layers 1–3 of 10Lay out the 14x7 rectangular base using iron blocks, raising the exterior perimeter walls to three blocks tall. Inside, place supporting blocks, initial floor sections, and torches to provide lighting and signal support across the lower wiring cavity.
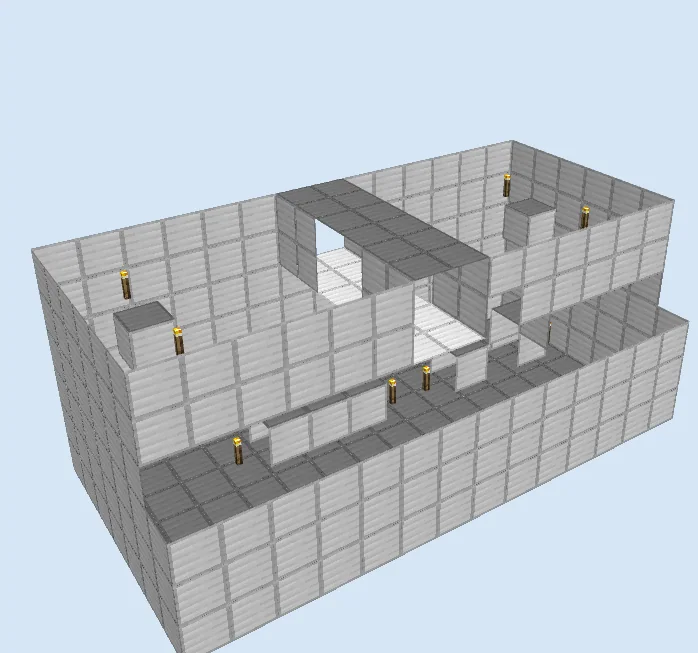
Assemble the Passage Frame and Piston Housing
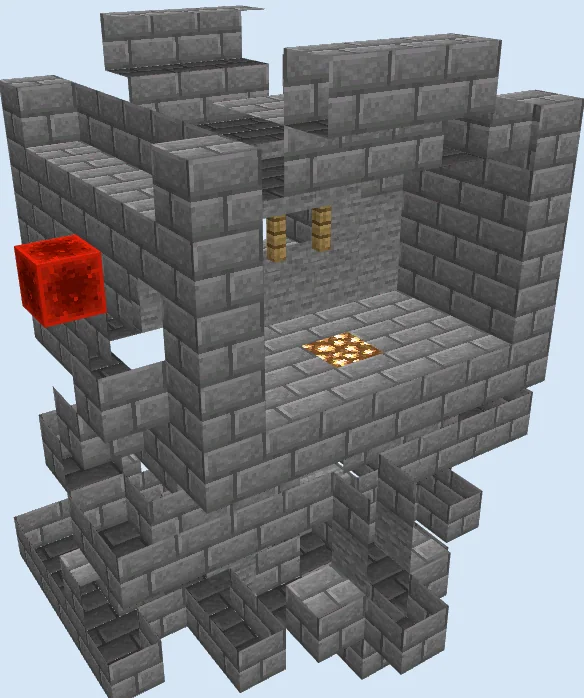
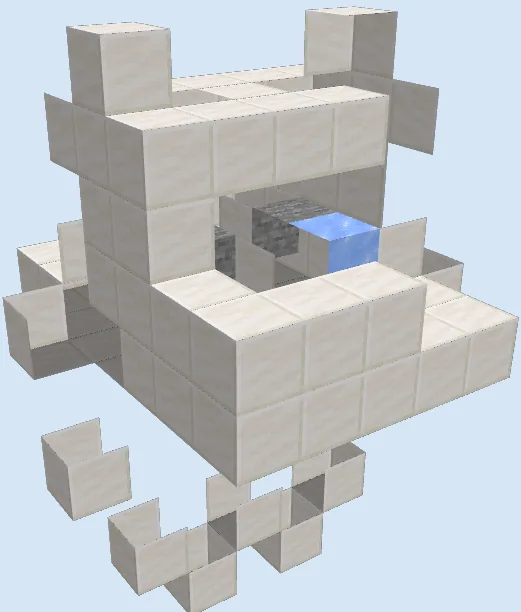
Layers 4–6 of 10Continue building the outer iron shell up to layer 6 while framing the central two-by-two walkway. Install internal mounting points for the sticky pistons, repeaters, and redstone wire lines along the sides and top of the passageway.
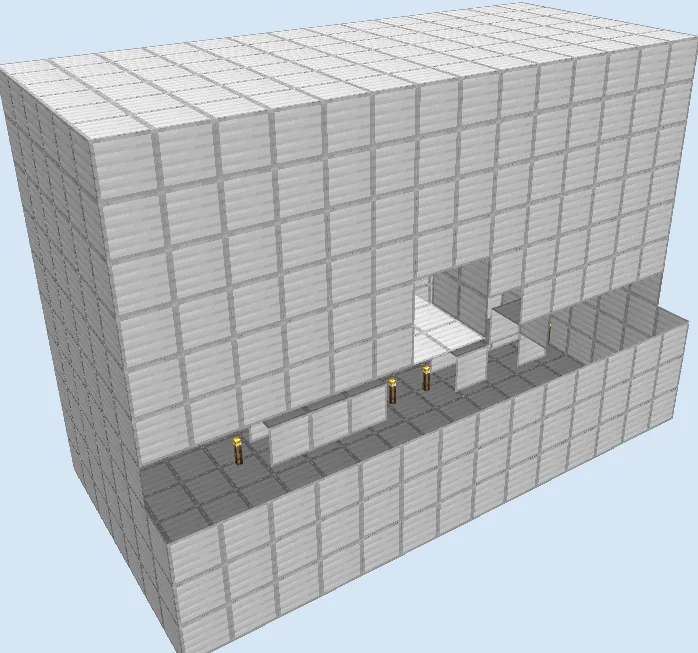
Enclose the Upper Frame and Seal the Roof
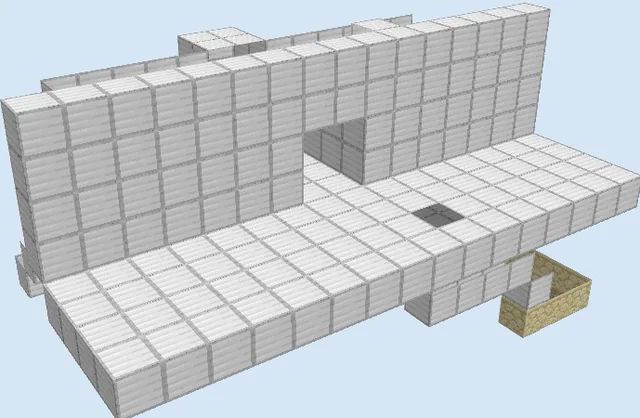
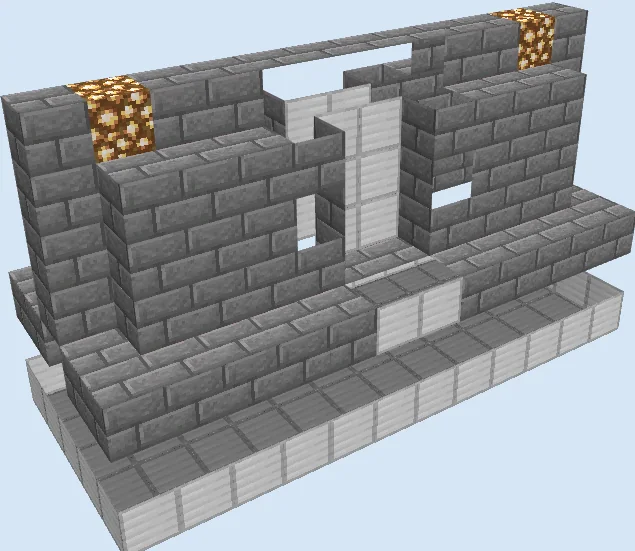
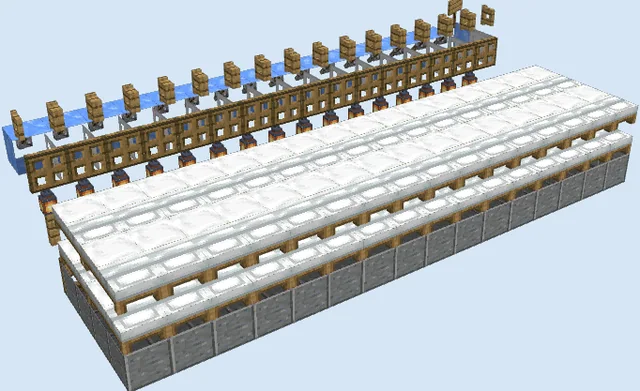
Layers 7–10 of 10Complete the remaining iron block enclosure up to layer 10, covering the upper redstone channels and roofing over the machinery. Verify that the front wall opening cleanly aligns with the moving door blocks and exterior surface.
Finishing touches
Before sealing the exterior entirely, flip the lever back and forth to inspect all 24 sticky pistons and ensure no blocks get stuck out of sequence. Because this design originates from an older format, test the wiring timing in a creative world first to confirm repeater tick delays function smoothly in your setup.
Frequently Asked Questions
Why does the door jam during the opening sequence?
Piston doors rely on precise repeater delays; check that all repeaters face the correct direction and have their tick delays set properly so the retraction stages do not collide.
Can I operate this door from both sides?
Yes, you can wire the redstone input into a simple T-flip-flop or link two levers using an XOR gate to allow opening and closing from both inside and outside.