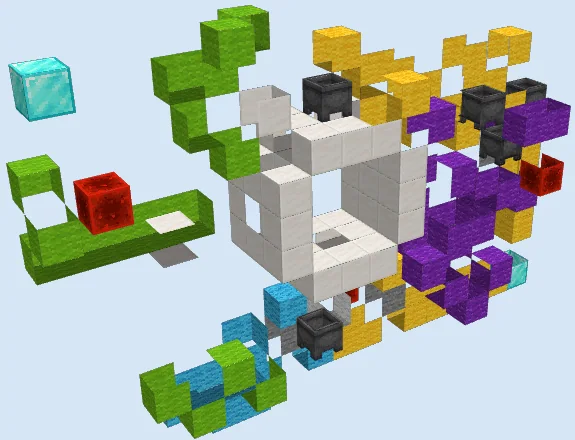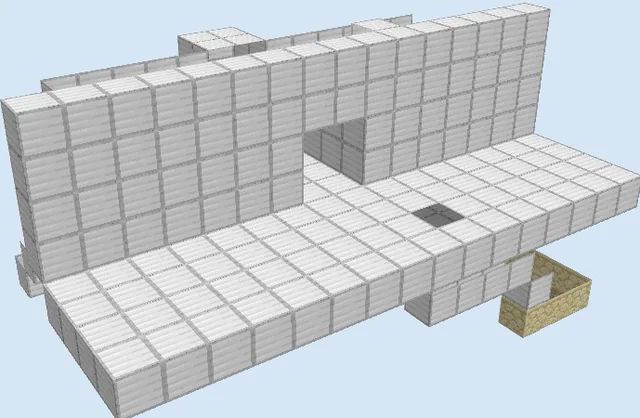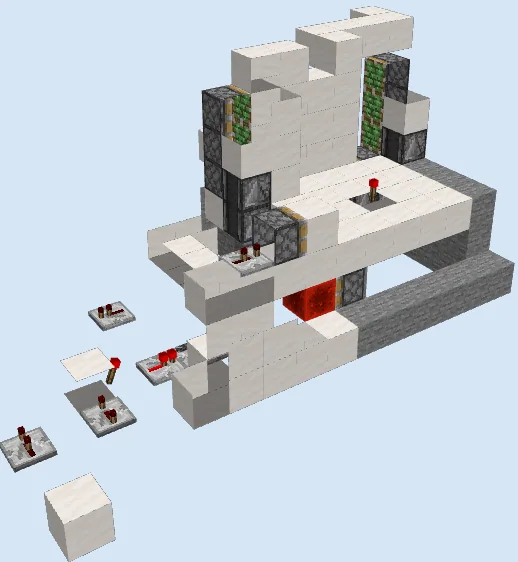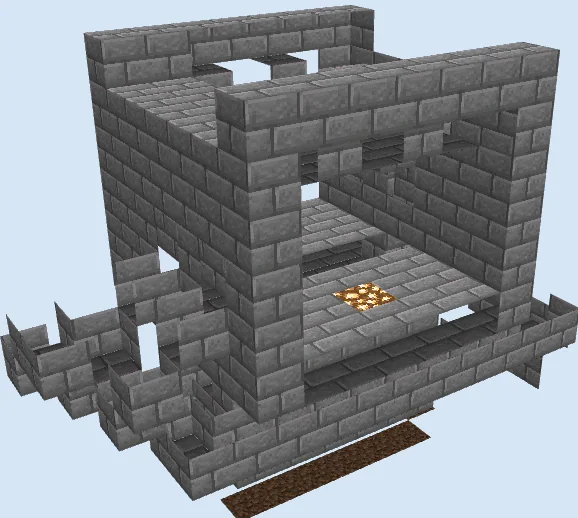
What you are building
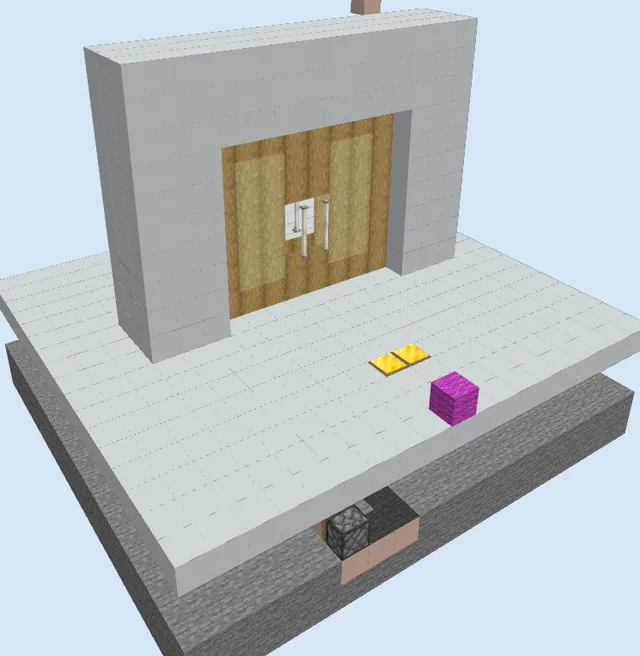
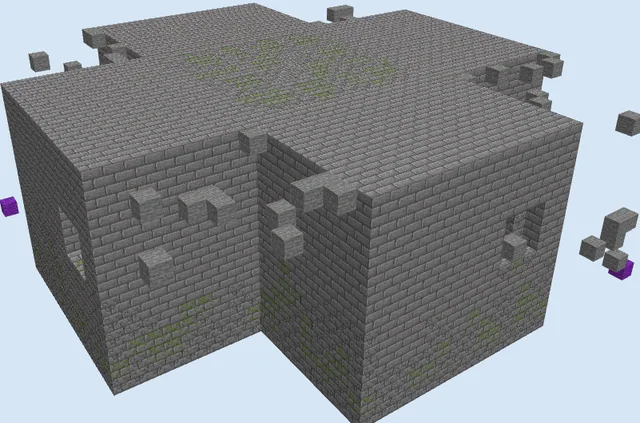
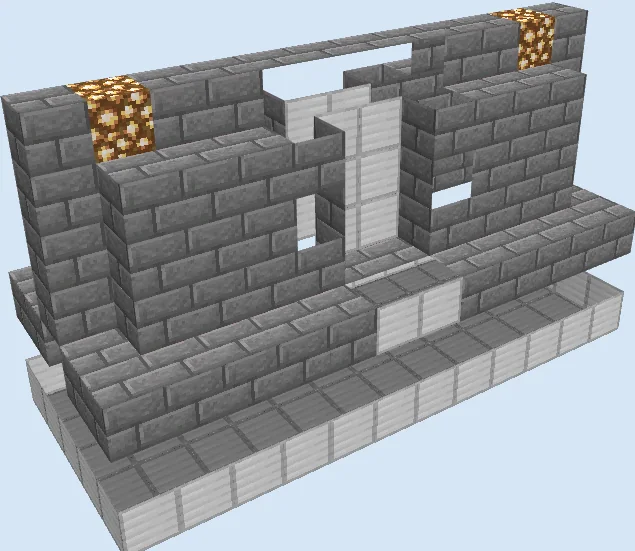
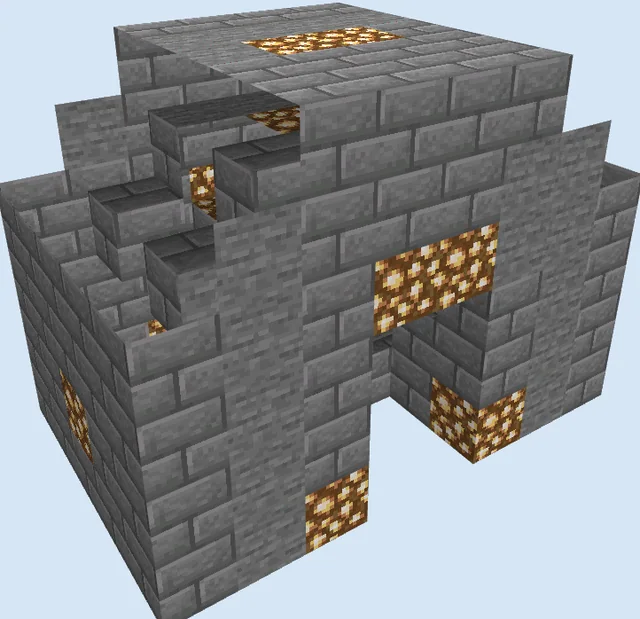
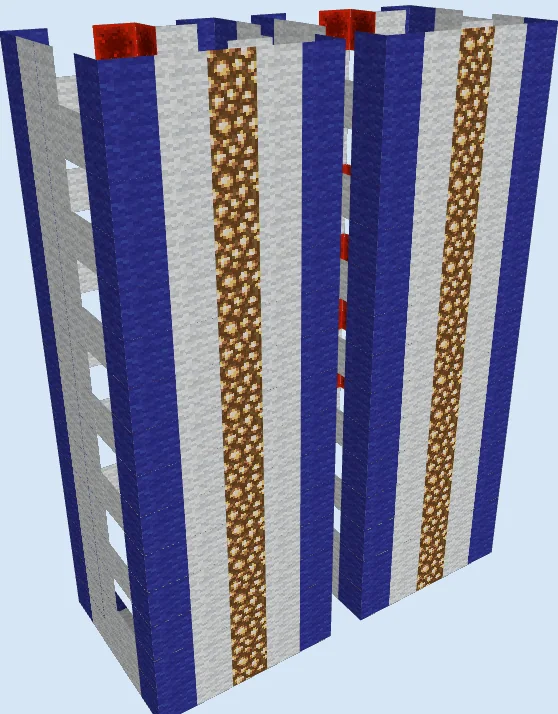
The Compact Universal Redstone Piston Door is a robust mechanical entrance designed to seal off passageways in bases, vaults, or underground bunkers. It integrates moving stone brick blocks and oak fence elements into a cohesive wall, providing a secure and visually striking entryway.
Because the design utilizes a compact vertical profile, it fits cleanly beneath hallway floors and behind interior walls. While the core mechanics have stayed the same for years, players should test the setup in a creative world before committing resources in survival.
This design includes command blocks in its component list, which require Creative mode and operator privileges to obtain and configure.
Ensure all repeaters match their intended delay settings precisely so the piston extension and retraction timings do not desynchronize.
Materials 264 blocks · 14 types
- Stone Bricks1632 stacks + 35
- Redstone Wire21
- Stone Brick Stairs18
- Repeater12
- Stone10
- Command Block8
- Piston7
- Sticky Piston6
- Redstone Block5
- Redstone Torch4
- Oak Fence3
- Oak Wall Sign3
- Glowstone2
- Oak Button2
How it works
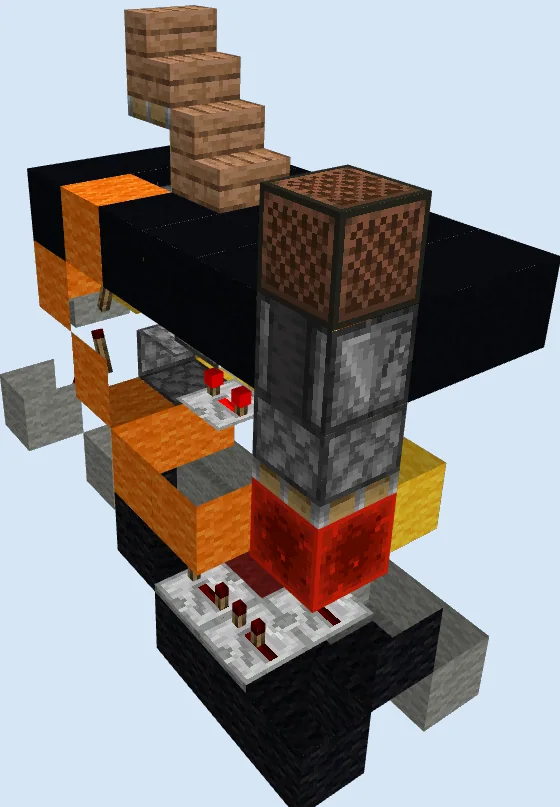
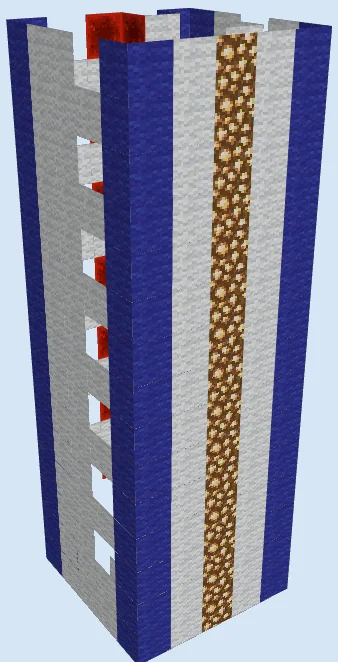
When an oak button is pressed, the redstone signal travels through a network of redstone wire, repeaters, and redstone torches laid out in the lower trenches. This pulse routes power to both regular pistons and sticky pistons, shifting redstone blocks to activate extension and retraction sequences along the doorway.
Sticky pistons pull the central barrier blocks and oak fences out of the hallway to open the path, while timed repeaters ensure the blocks retract and extend smoothly without jamming. The assembly also incorporates command blocks to support customized activation or lock logic.
How to use it
To operate the door, step up to the entrance corridor and press the oak button mounted near the doorway. Walk across the glowstone-lit floor while the pistons hold the entryway open, and allow the repeater delay cycle to automatically close and seal the barrier behind you.
Lay the sub-floor redstone channels
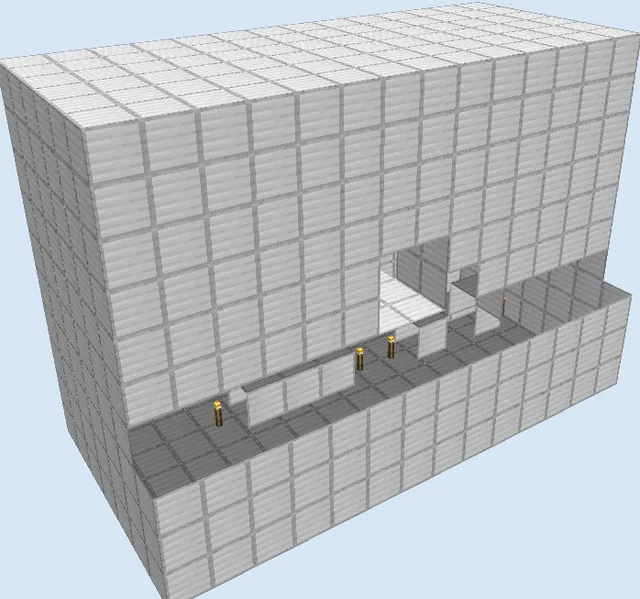
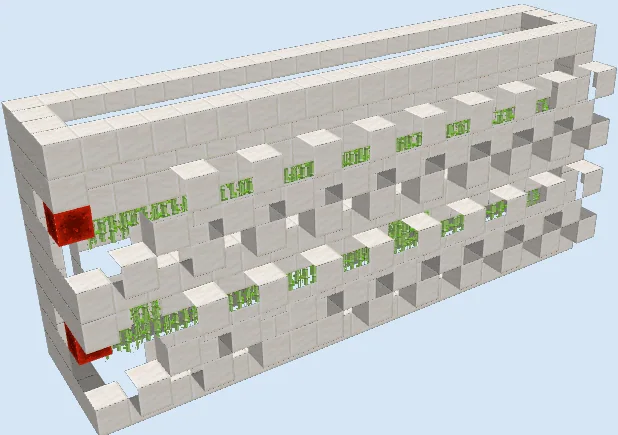
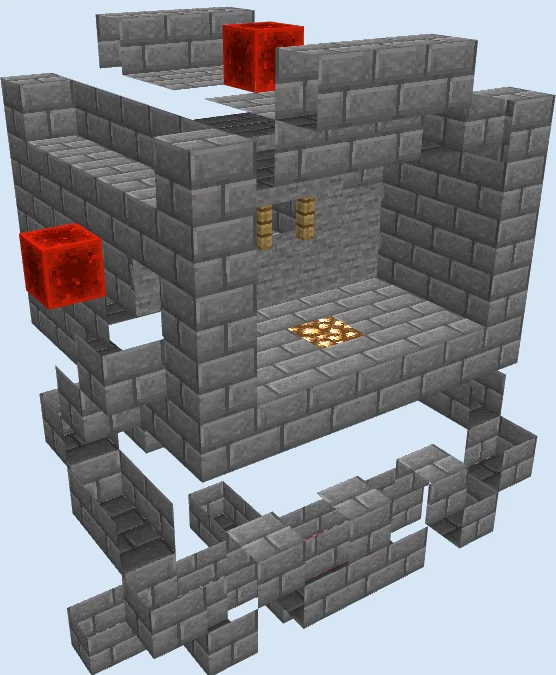
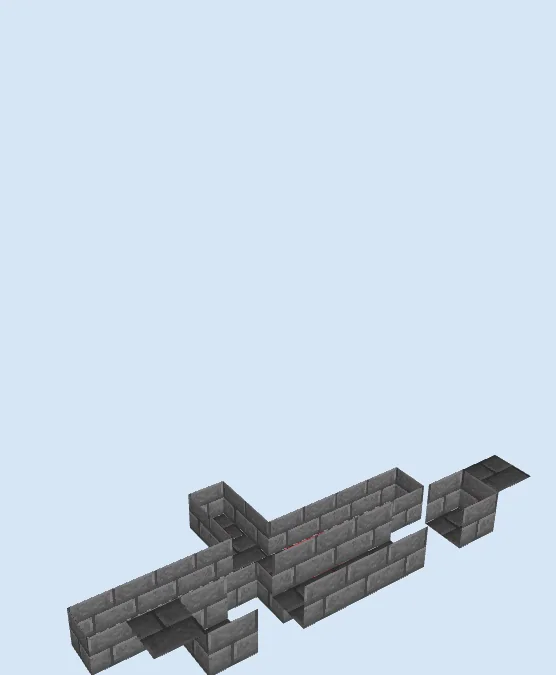
Layers 1–3 of 12Begin by laying out the lower foundation using stone bricks and inverted stone brick stairs to form the bottom wiring trenches. Run redstone wire through the channels and position repeaters to establish the lower signal routing beneath where the main walkway will sit.
Build the walkway and intermediate wiring
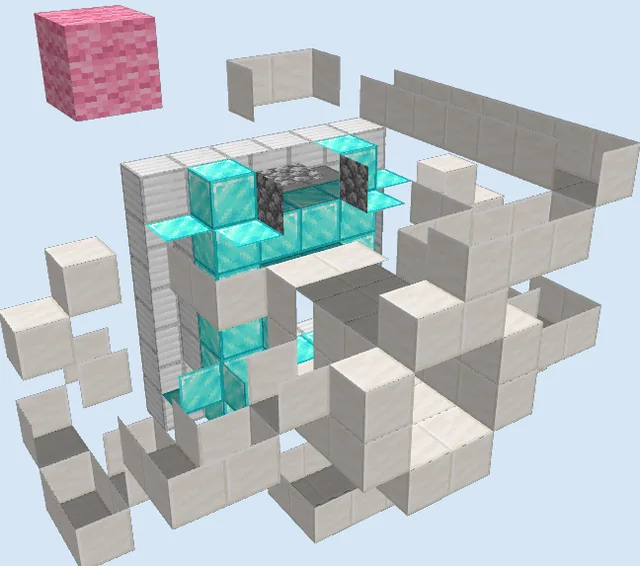
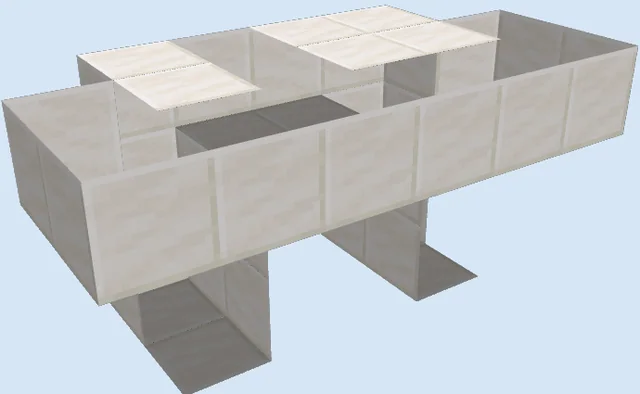
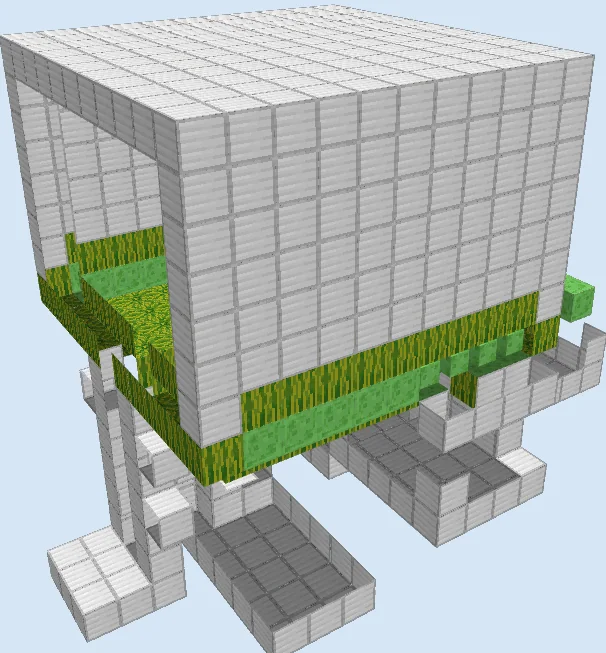
Layers 4–7 of 12Construct the middle platform across the trench using stone bricks, leaving an open channel for piston movement. Embed glowstone blocks into the floor for integrated lighting, and place the lower sticky pistons alongside a redstone block to establish the initial moving drive mechanism.
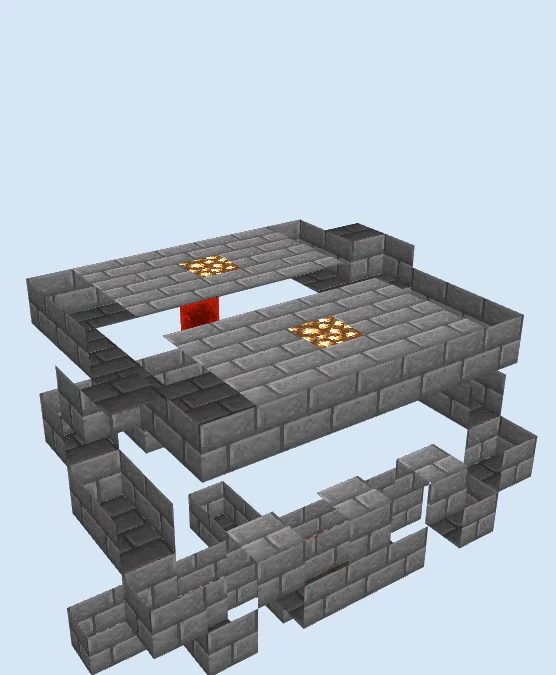
Frame the doorway and mount the upper pistons
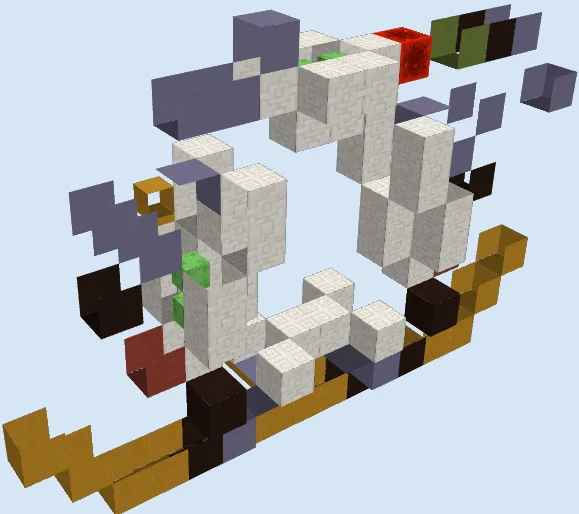
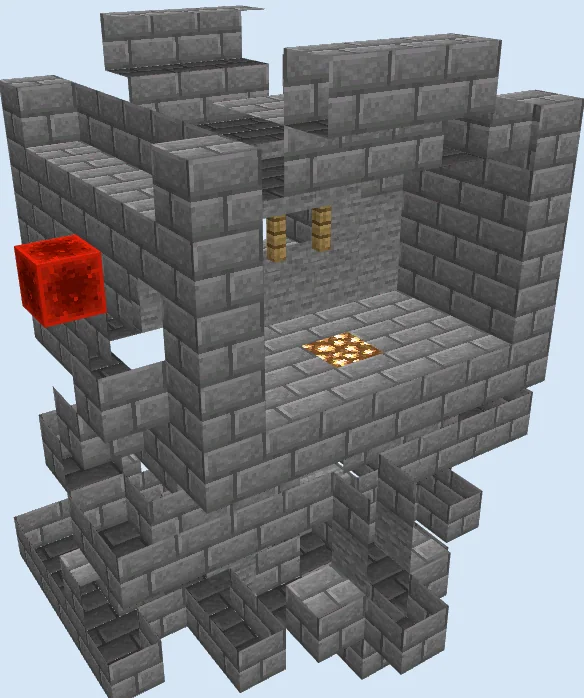
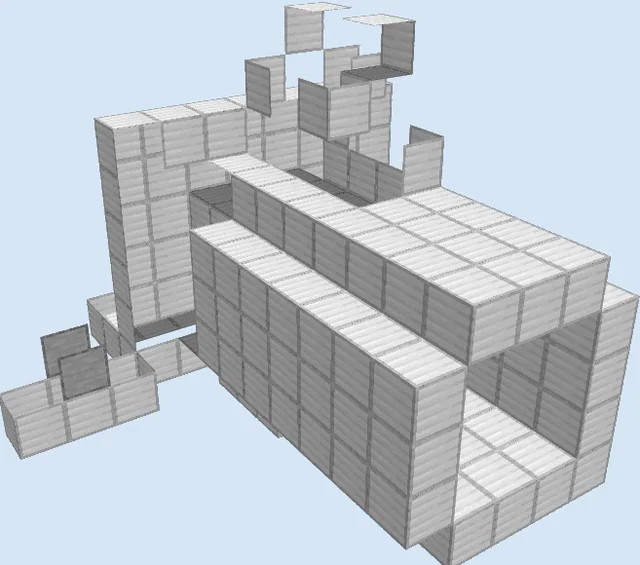
Layers 8–12 of 12Erect the upper side walls and doorway frame using stone bricks and stone brick stairs. Install the central oak fences into the door gap, position the upper pistons with an additional redstone block above the frame, and mount the oak buttons to complete the control circuit.
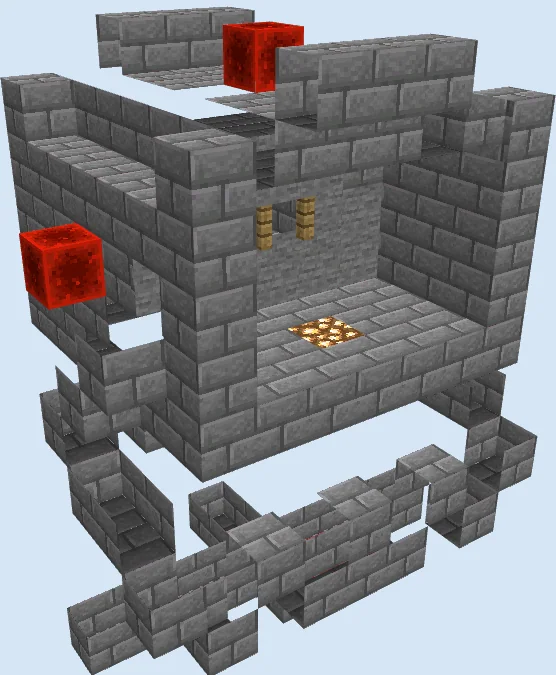
Finishing touches
Test the door by pressing the oak button on both sides to verify that all pistons extend and retract in the correct order. If the blocks catch or fail to pull back, check repeater tick delays and ensure no stray solid blocks are interfering with the piston push limits.
Frequently Asked Questions
Can I replace the stone bricks with other blocks?
Yes, you can substitute the stone bricks with most solid, movable blocks such as smooth stone, deepslate, or wooden planks without breaking the redstone circuit.
Why is the door not closing properly?
Double-check the direction and tick settings on all 12 repeaters, as incorrect timing can cause sticky pistons to leave blocks behind during retraction.