What you are building
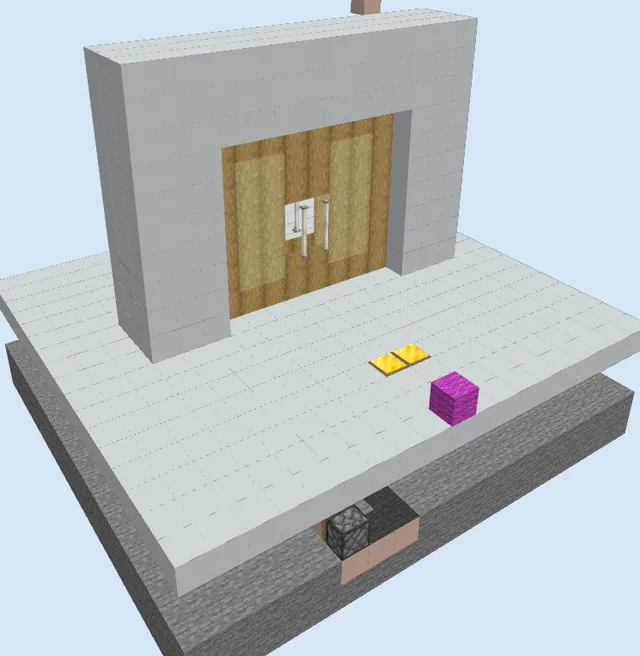
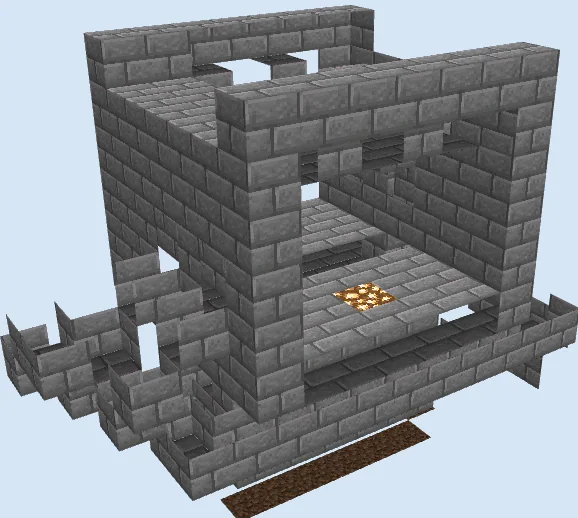
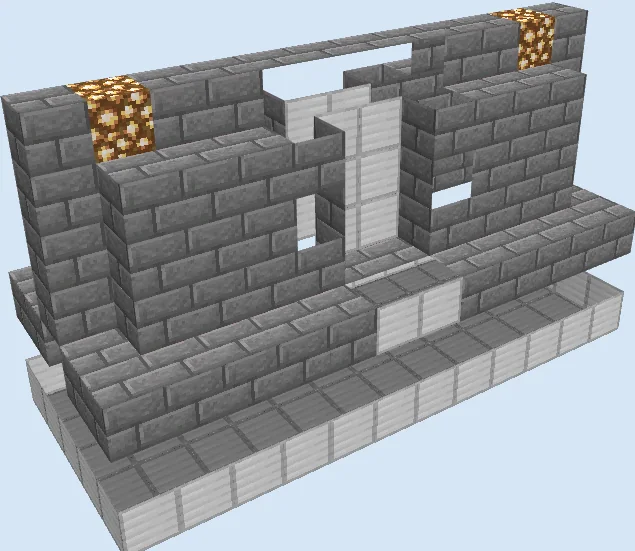
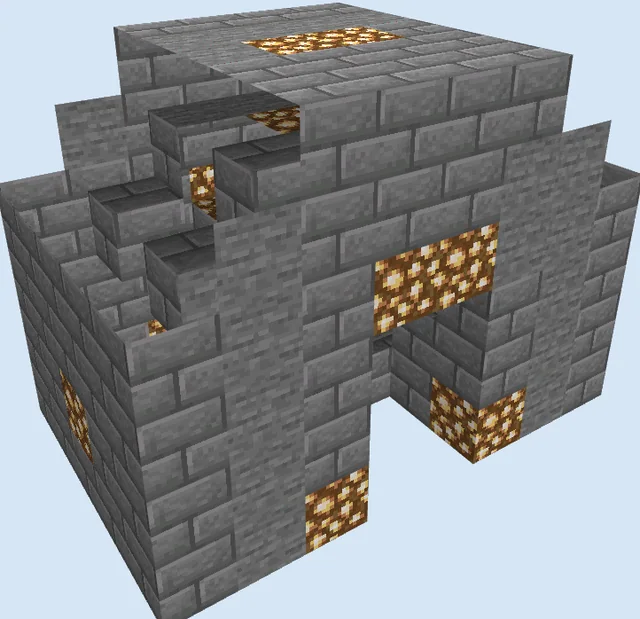
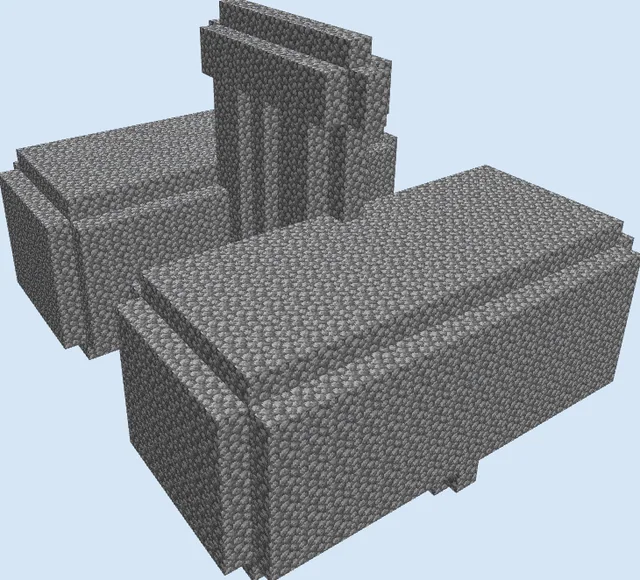
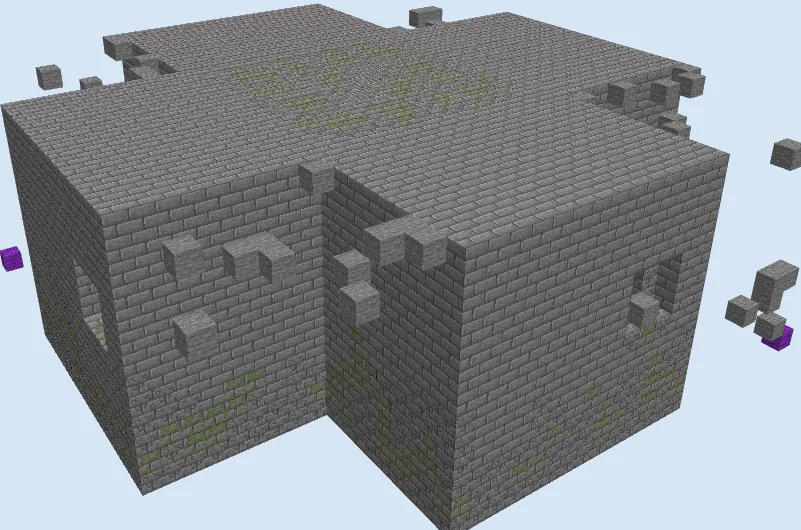
The Hidden Dungeon Piston Door Vault is an elaborate underground security entrance styled after classic dungeon architecture. Built primarily from stone bricks, cracked stone bricks, and mossy stone bricks, the structure completely encloses its complex piston wiring to maintain total immersion for adventure maps or survival bases.
This design is ideal for securing a treasure vault, an underground stronghold, or a secret base entrance. Because the mechanics rely on fundamental redstone that has remained unchanged for years, it remains reliable, though you should test it in a creative world before committing survival resources.
Materials 4,783 blocks · 19 types
- Stone Bricks1,68326 stacks + 19
- Iron Block6239 stacks + 47
- Cracked Stone Bricks6139 stacks + 37
- Glass5769 stacks
- Mossy Stone Bricks4817 stacks + 33
- Redstone Wire4256 stacks + 41
- Stone1312 stacks + 3
- Vine62
- Repeater59
- Sticky Piston32
- Redstone Torch24
- Chiseled Stone Bricks20
- Oak Fence16
- Torch12
- Piston8
- Cobweb8
- Stone Pressure Plate4
- Oak Wall Sign4
- Purple Wool2
How it works
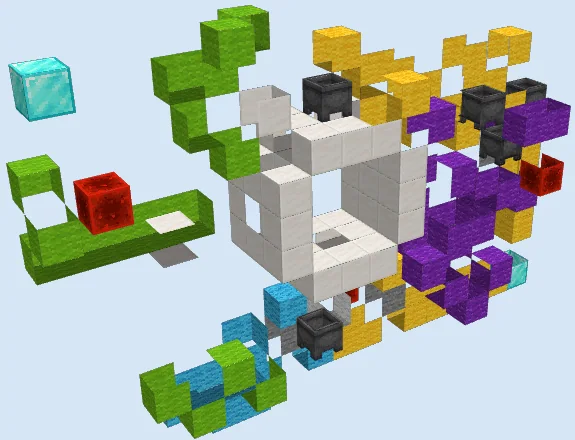
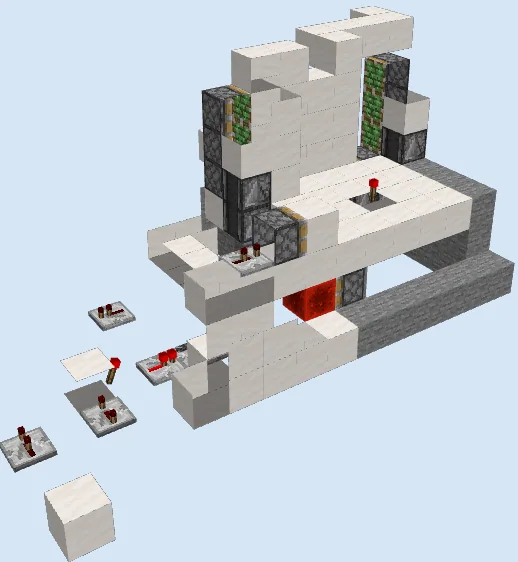
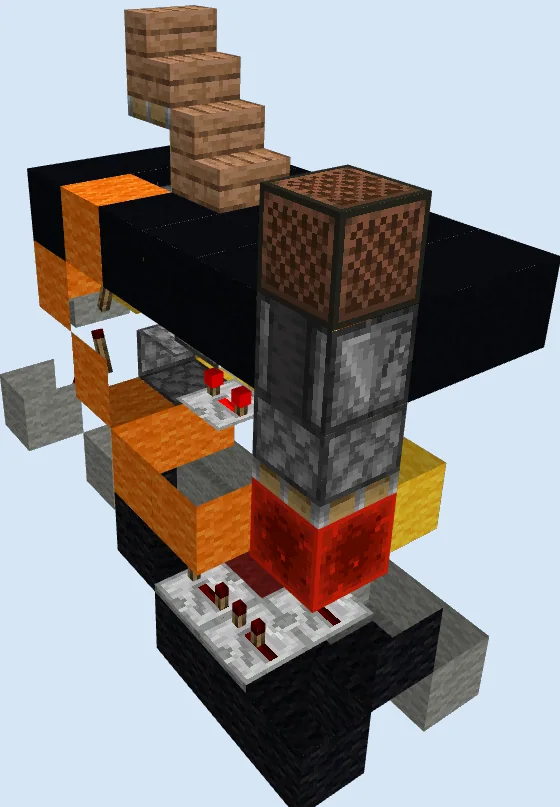
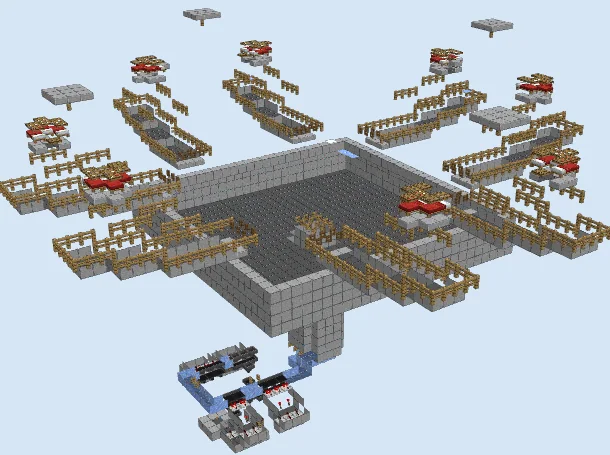
The system operates using stone pressure plates linked to subterranean redstone lines routed along iron blocks. When stepped on, the signal activates redstone repeaters that manage delay timings across multiple sticky pistons. These pistons seamlessly retract wall and floor blocks into concealed recesses, opening a wide passageway through the stone brick partition.
Once the pressure plates reset, redstone torches un-invert the signal to power the sticky pistons forward, pushing the decorative stone blocks back flush with the surrounding dungeon walls. The entire mechanism is housed within thick outer walls to prevent any visible redstone leakage from the exterior.
How to use it
Approach the central hallway and step firmly onto the stone pressure plates embedded into the floor. The concealed piston doors will retract into the walls, allowing you to walk through the vaulted corridor before the doors automatically cycle shut behind you.
Lay the Foundation and Underfloor Channels
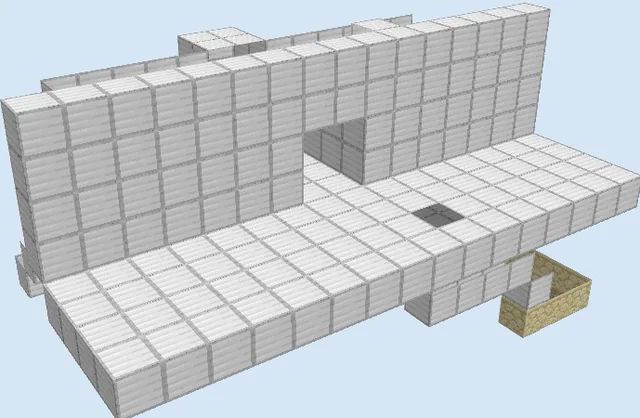
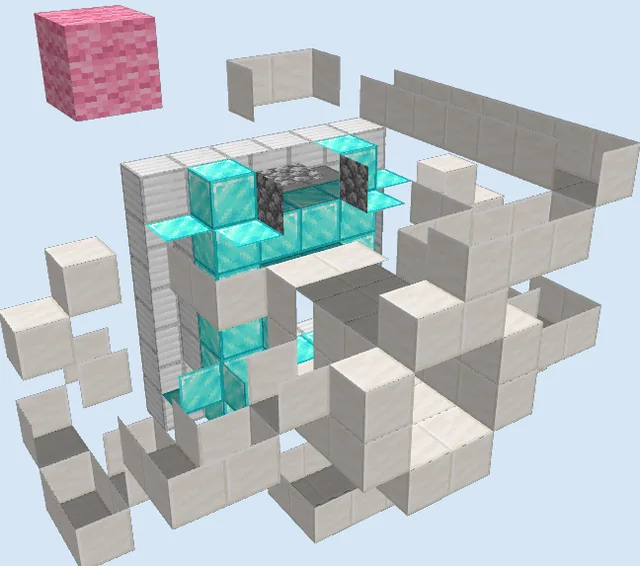
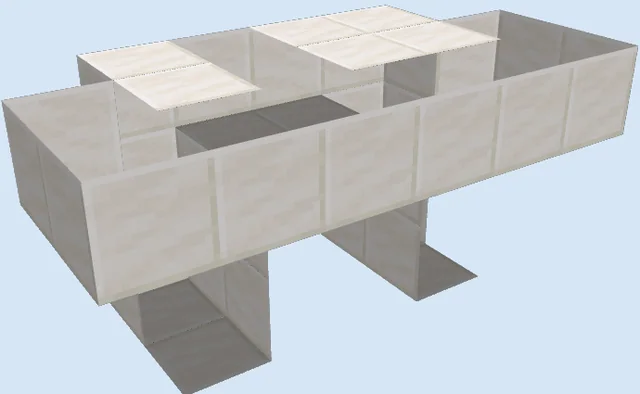
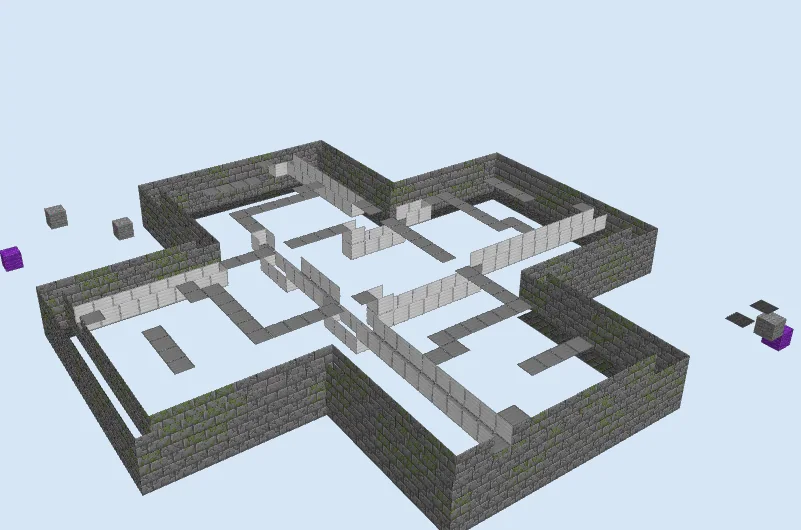
Layers 1–3 of 13Clear a 32 by 32 area and outline the cruciform footprint using stone bricks and mossy stone bricks up to layer 3. Lay down white iron block runs inside the floor trenches to act as clean, solid conductive paths for your lower redstone wire networks.
Install Pistons and Core Redstone Wiring
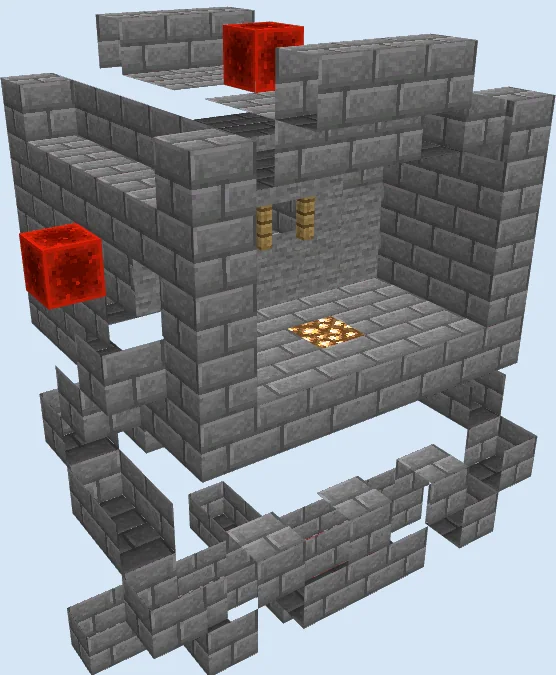
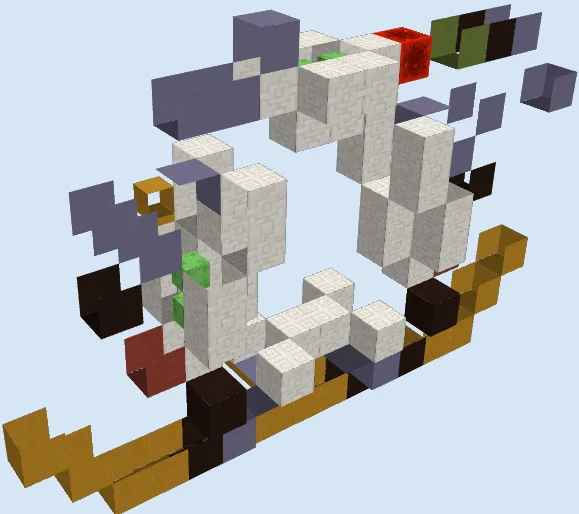
Layers 4–8 of 13Build the interior chamber walls up to layer 8 using stone bricks, cracked stone bricks, and chiseled stone accents. Mount your sticky pistons facing into the door frames, run redstone wire across the elevated iron block shelves, and position redstone repeaters to establish the proper opening delays.
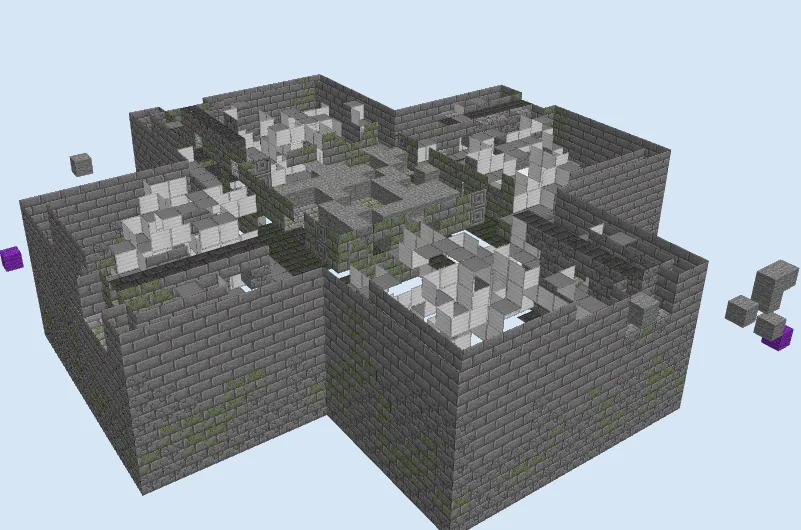
Seal the Vault and Enclose the Roof
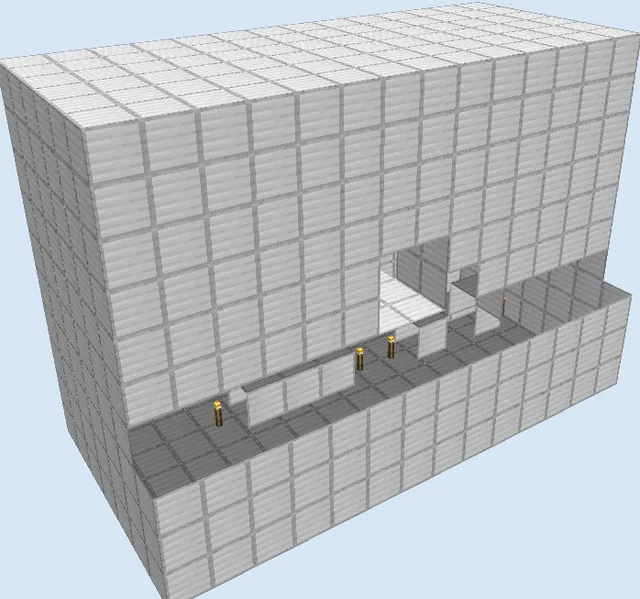
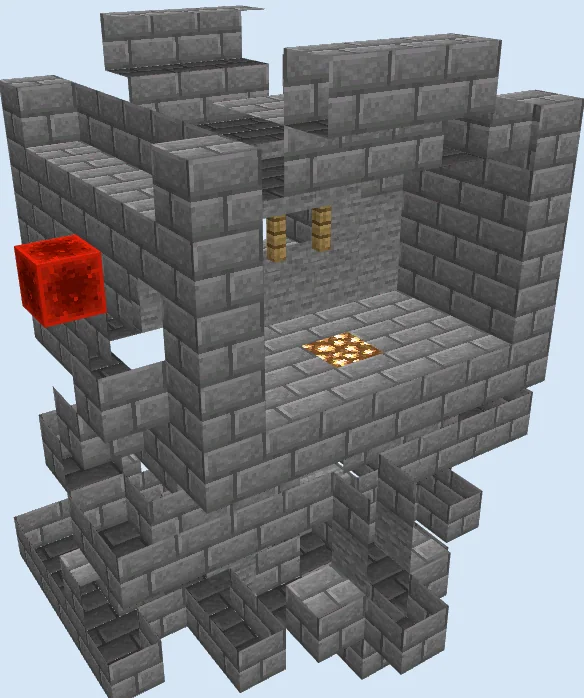
Layers 9–13 of 13Enclose the upper redstone circuitry by topping off the structure with stone brick slabs and solid blocks across the ceiling up to layer 13. Add torches along the entryways, place pressure plates on the floor thresholds, and detail the exterior edges with decorative stepped brick patterns.
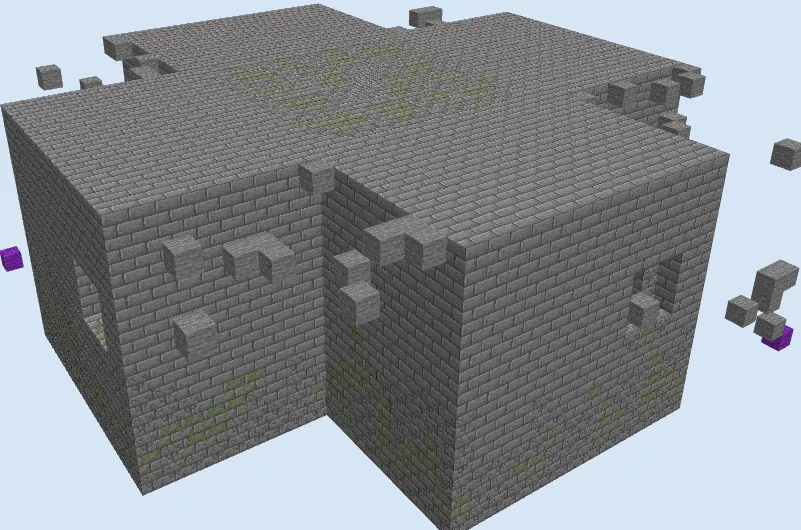
Finishing touches
Walk across the pressure plates to confirm all sticky pistons retract in synchronization and extend fully when released. Ensure that all internal redstone cavities are properly illuminated with torches so hostile mobs cannot spawn inside the wiring crawlspaces and disrupt your repeaters.
Frequently Asked Questions
Can I replace the iron blocks with regular stone?
Yes, any solid opaque block will conduct redstone power, but iron blocks provide clear contrast during construction to help you differentiate circuit lines from structural masonry.
Will this design work in newer game versions?
The redstone circuits rely on core piston and repeater mechanics that have remained consistent across updates, but you should test the build in a creative test world first to ensure all timings behave properly.